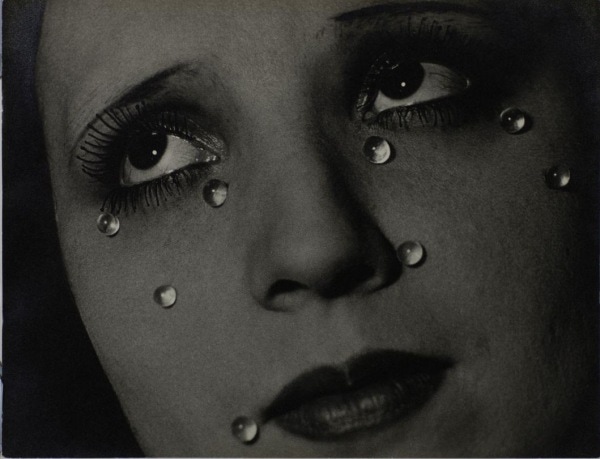
Gallery Visit: The Radical Eye
|
This exhibition was a collection of the private photos of Elton John. Many of the images were in a Modernist style and are early cases of photography. Their was a variety of portrait photos, architecture and macro shots of a variety of objects and subjects. I found some of the original cuttings from the contact sheets some of the most interesting.
|
|
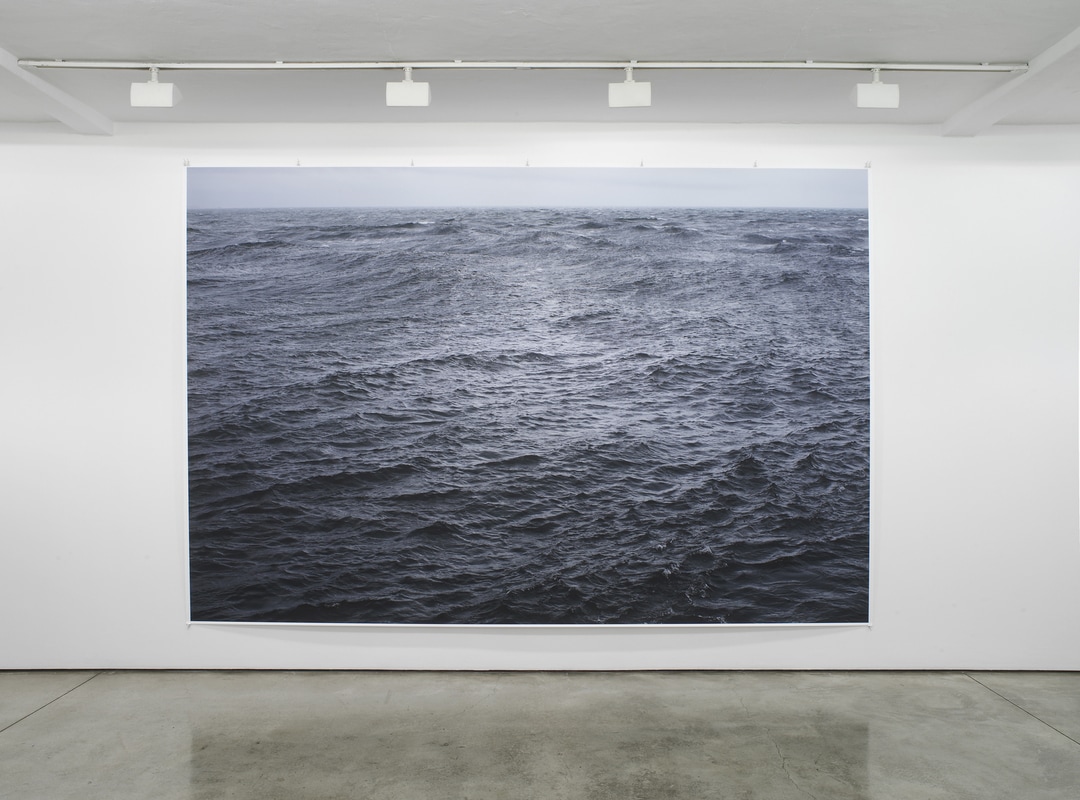
Gallery Visit: Wolfgang Tilman 2017
|
Wolfgang Tilmans’s new show at Tate Modern is as much a large-scale installation as it is a traditional museum exhibition. The many photographs on the walls of the event’s 14 rooms are curated by the artist himself, shunning conventions of chronology and theme in favour of configurations that constitute Tilmans’s “personal response to the present moment”.
He displays images that show clearly his own personal point of view regarding politics and social culture. Both the content of his work and their installation show his opinion on certain cultural subjects. This serves effectively to point to the inherently subjective nature of all photography, subverting the documentary qualities many associate it with. |
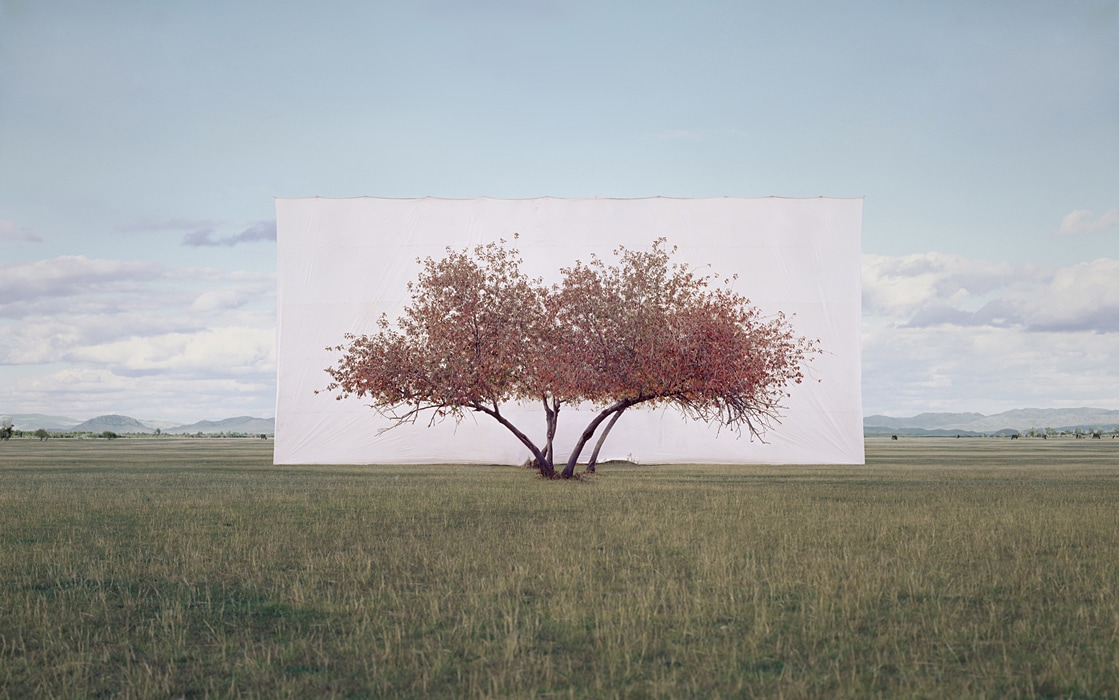
Structure in Nature
Artist: Myoung Ho Lee
|
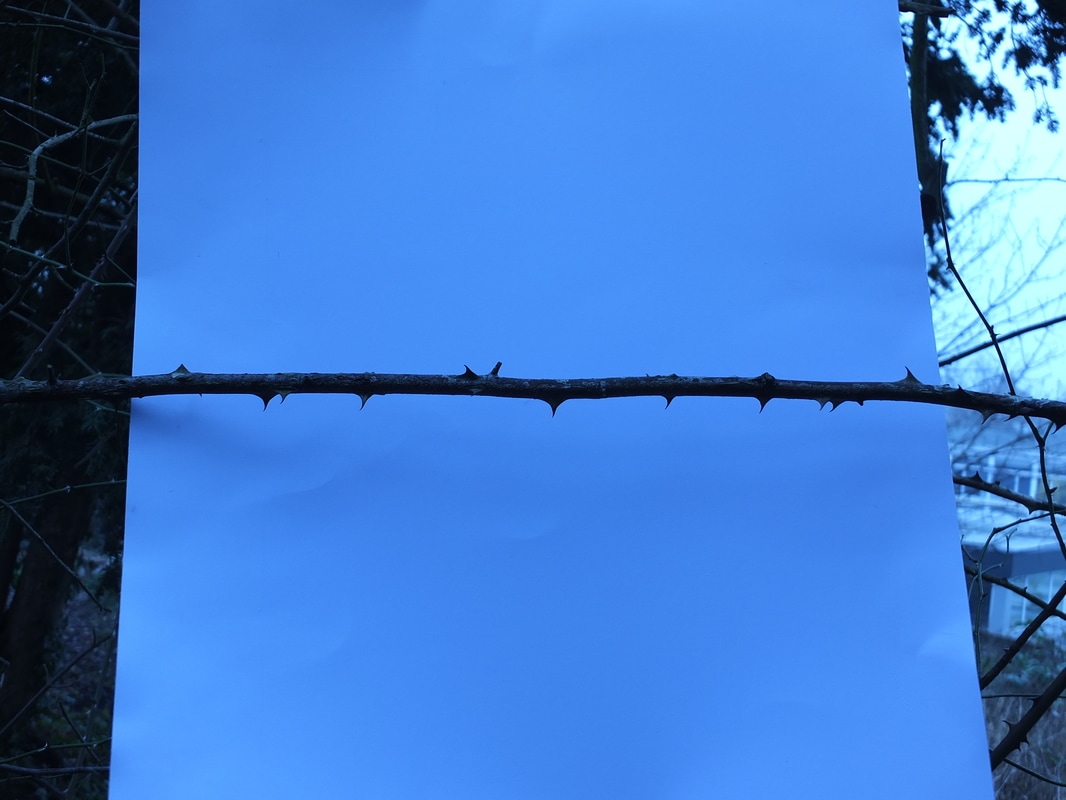
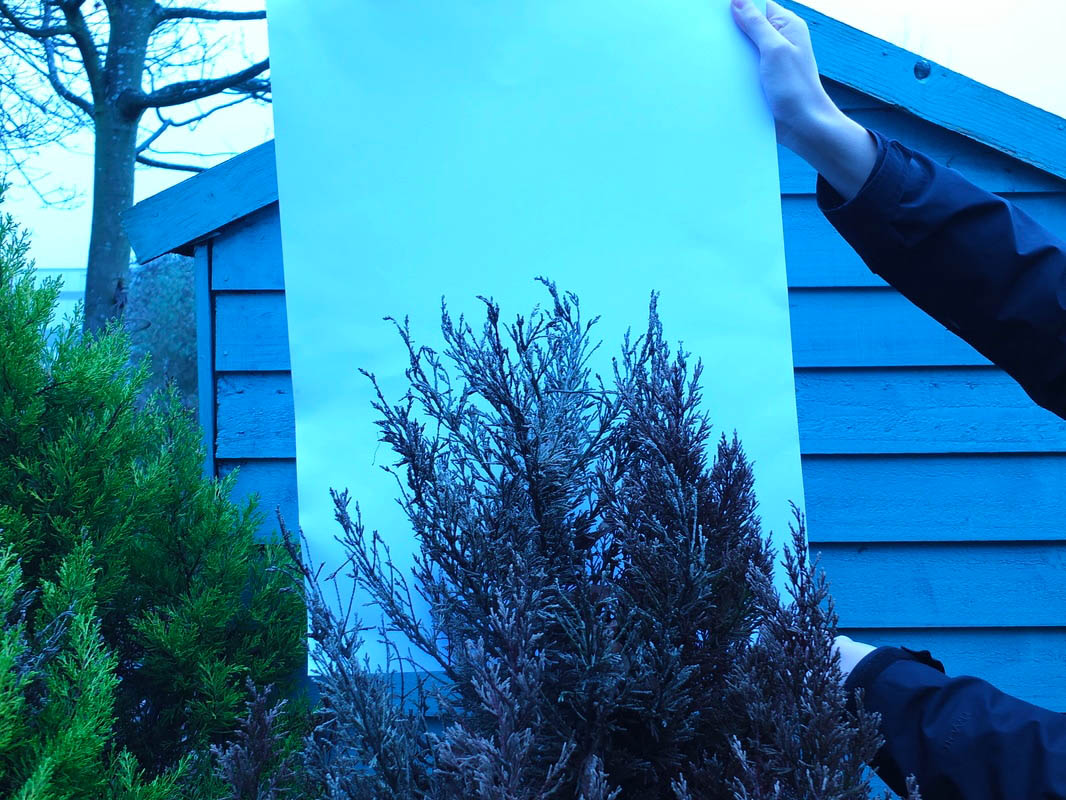
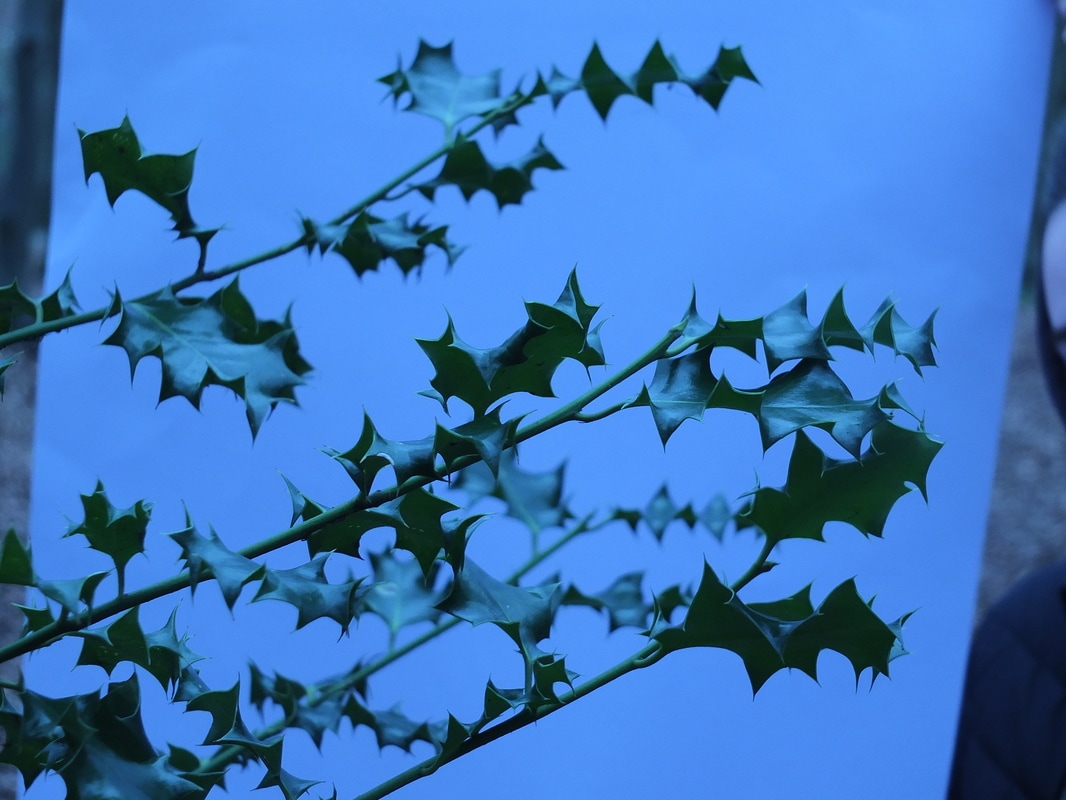
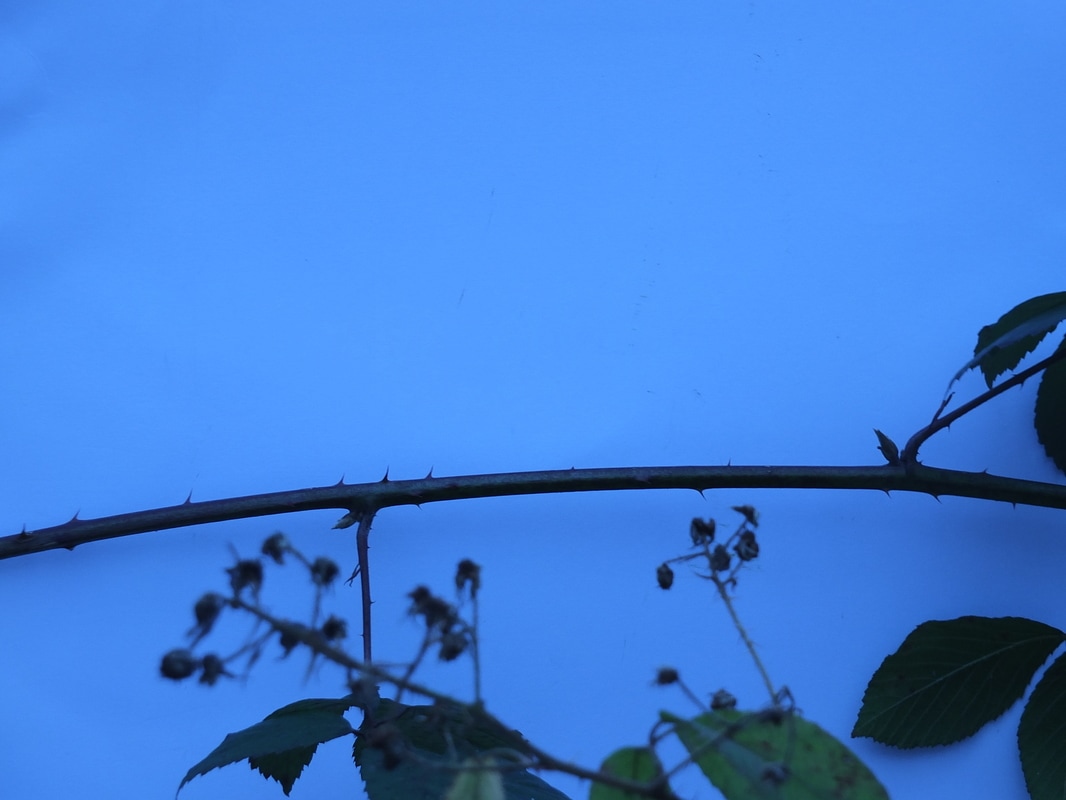
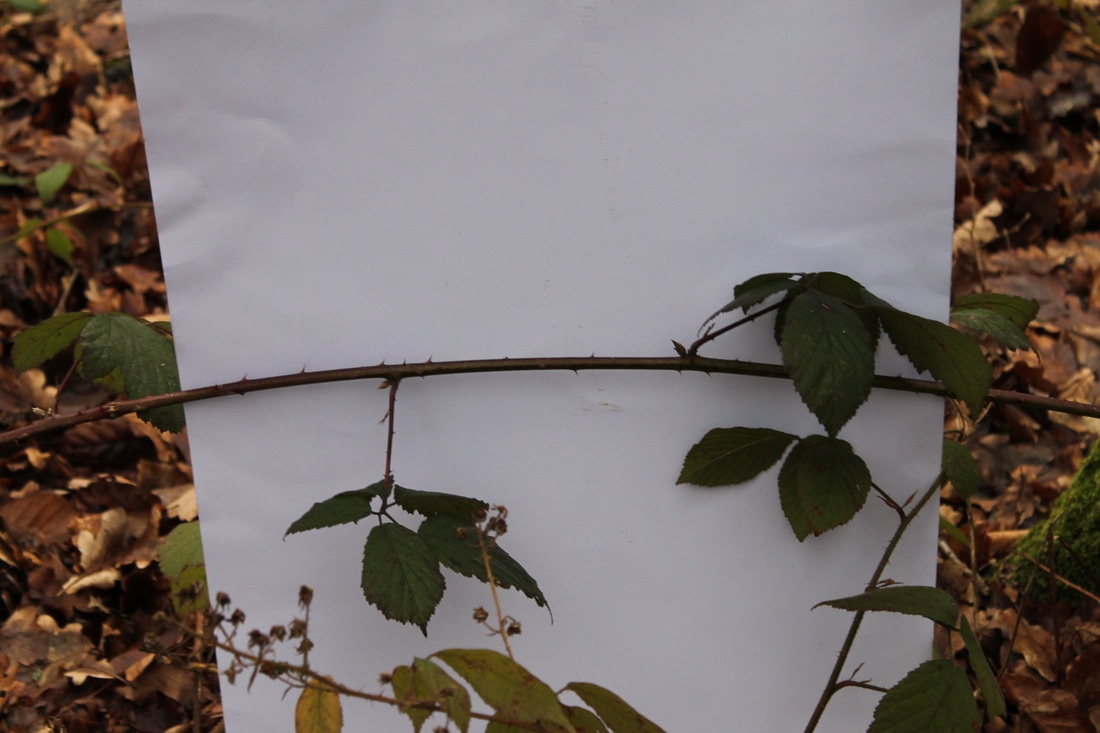
Myoung Ho Lee separates subjects from their original circumstances to derange the difference between subject and image. His work reveals nature by twists and turns, a little fabrication and optical illusion.
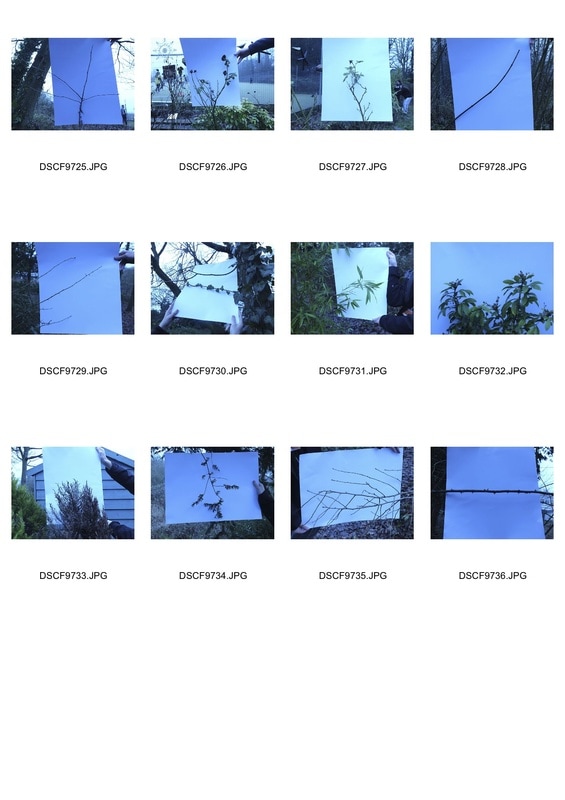
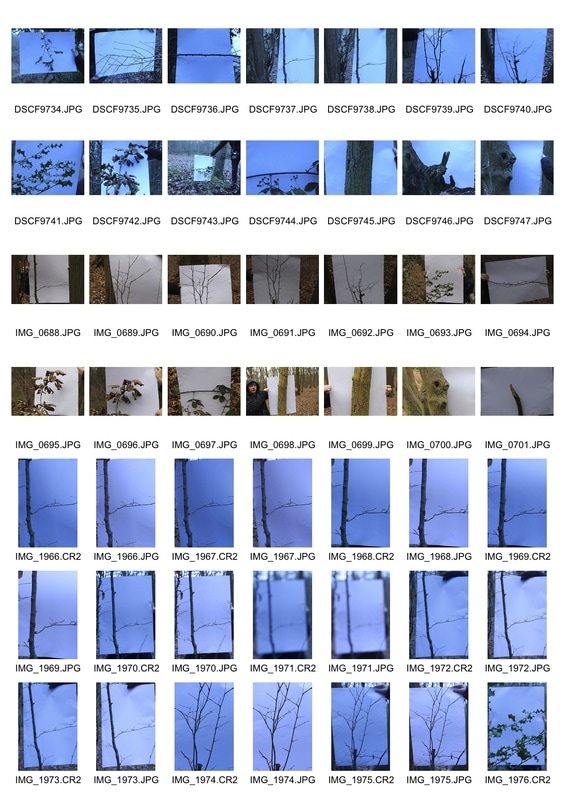
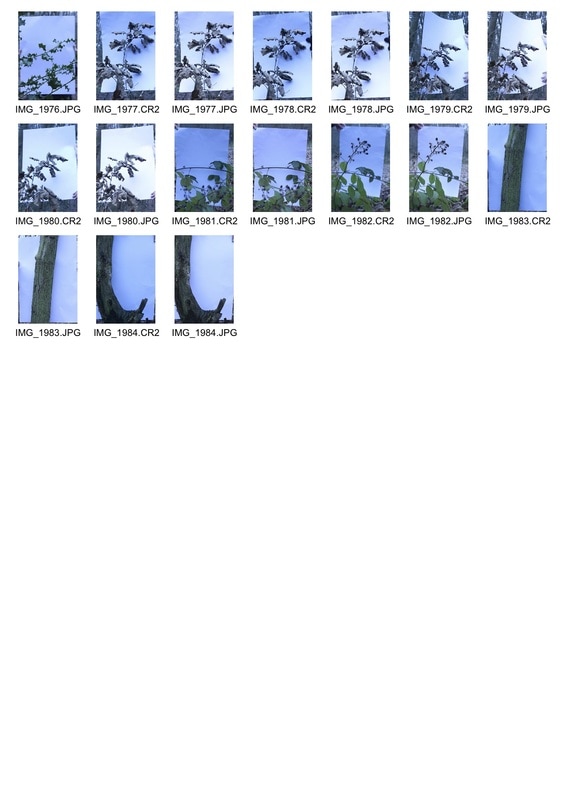
I obviously could not take picture on the same scale as Myoung Ho Lee but i attempt to recreate something similar using small plants. Unfortunately i had the white balance off and had to correct it in photoshop. |
First Response
|

|
|
Second Response
|
|
|
|
|
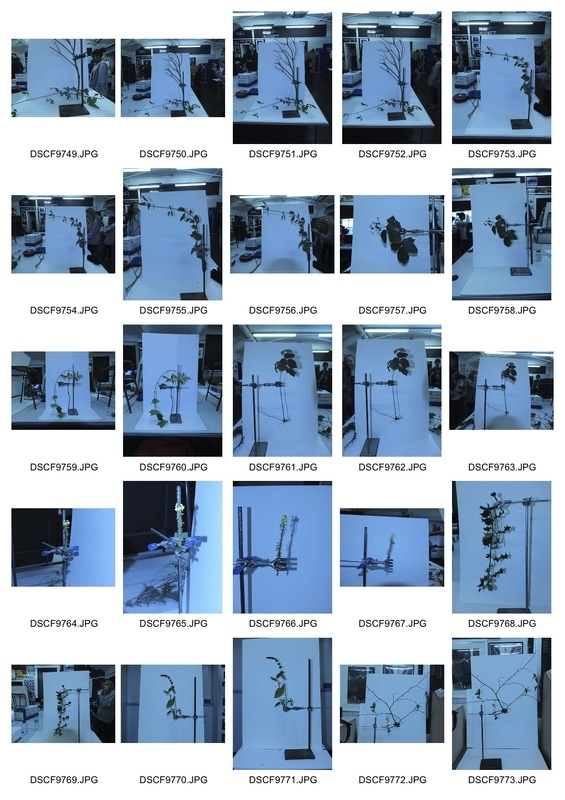
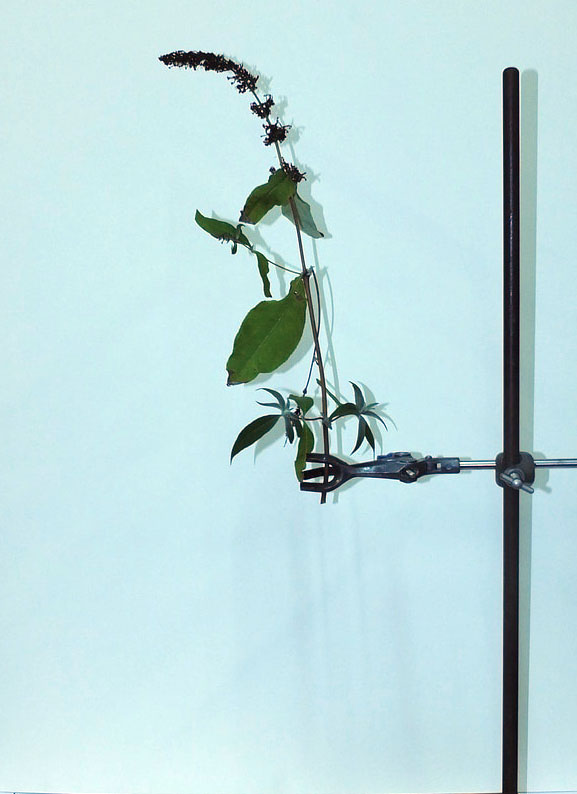
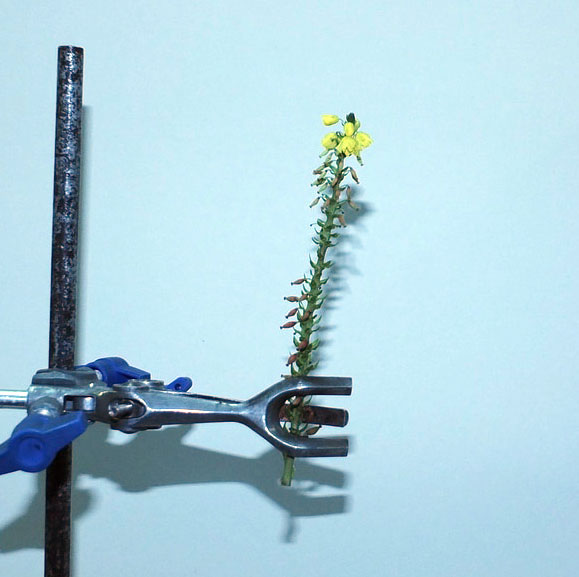
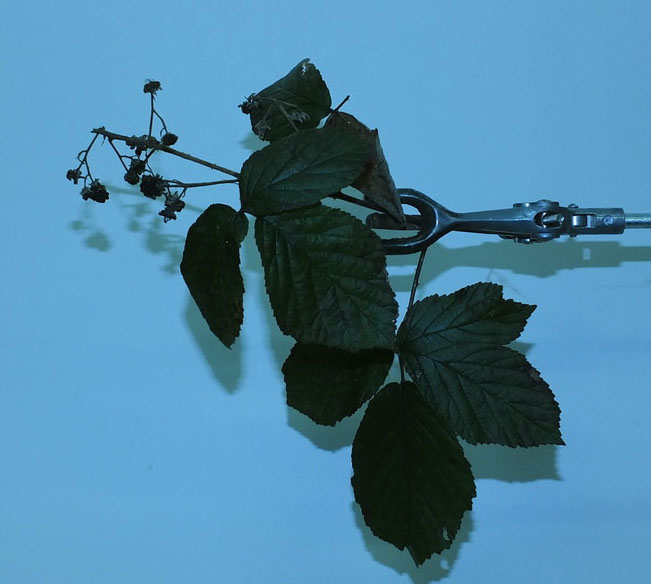
Artist: Sanna Kannisto
|
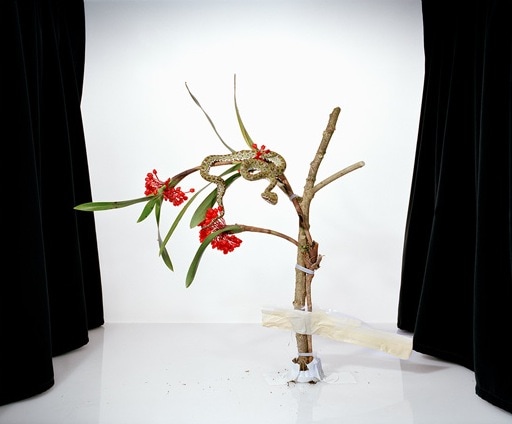
Sanna Kannisto was born in Hämeenlinna, Finland. Her works are compared to photos taken by biologists during experiments due to her cynical approach to photography, she uses bright lighting and chemistry stands to support the plants that she use in her art.
|
my response
In my response, i made the mistake of having my white balance off in the photos. So i increase the whites in photoshop after taking the photos and cropped out some of the negative space and mess in the background.
|
|
|
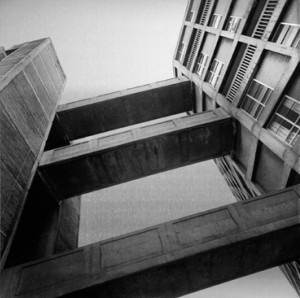
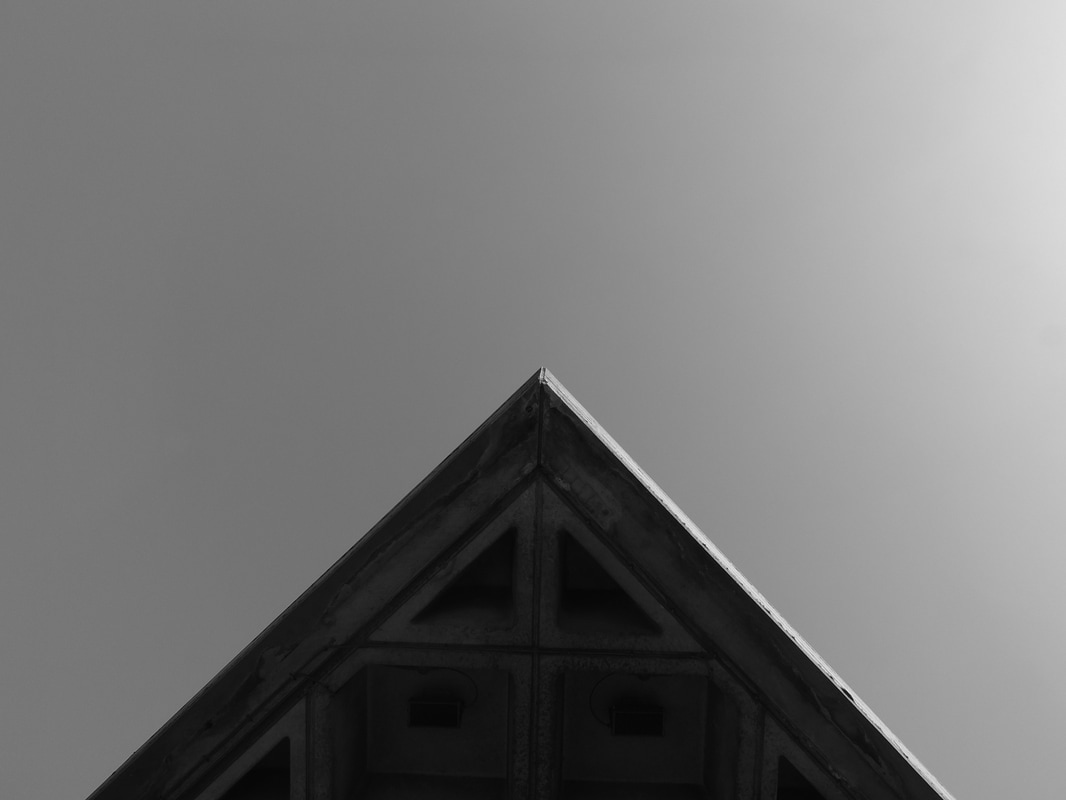
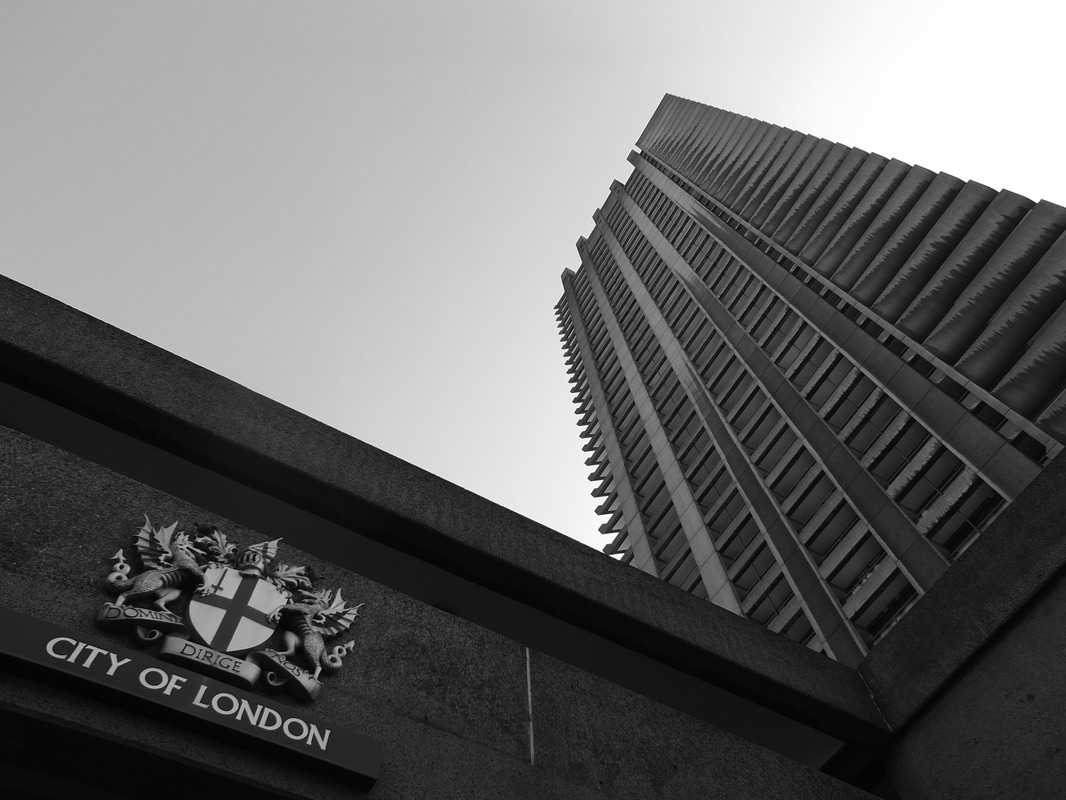
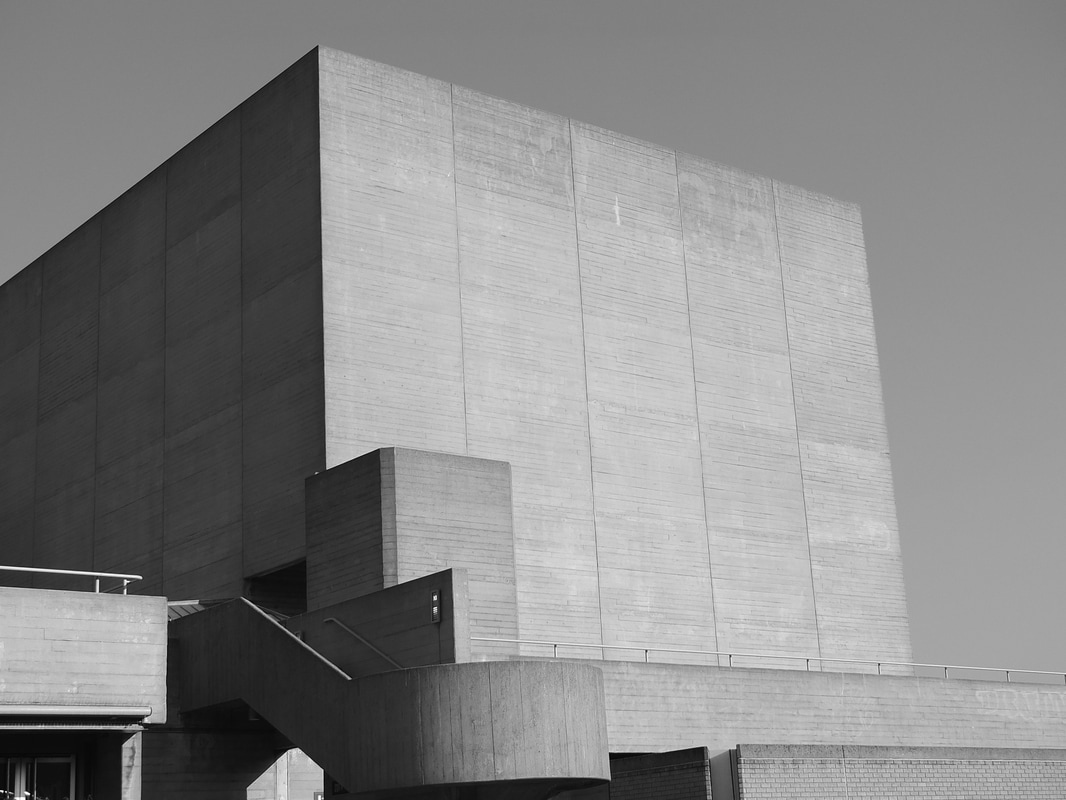
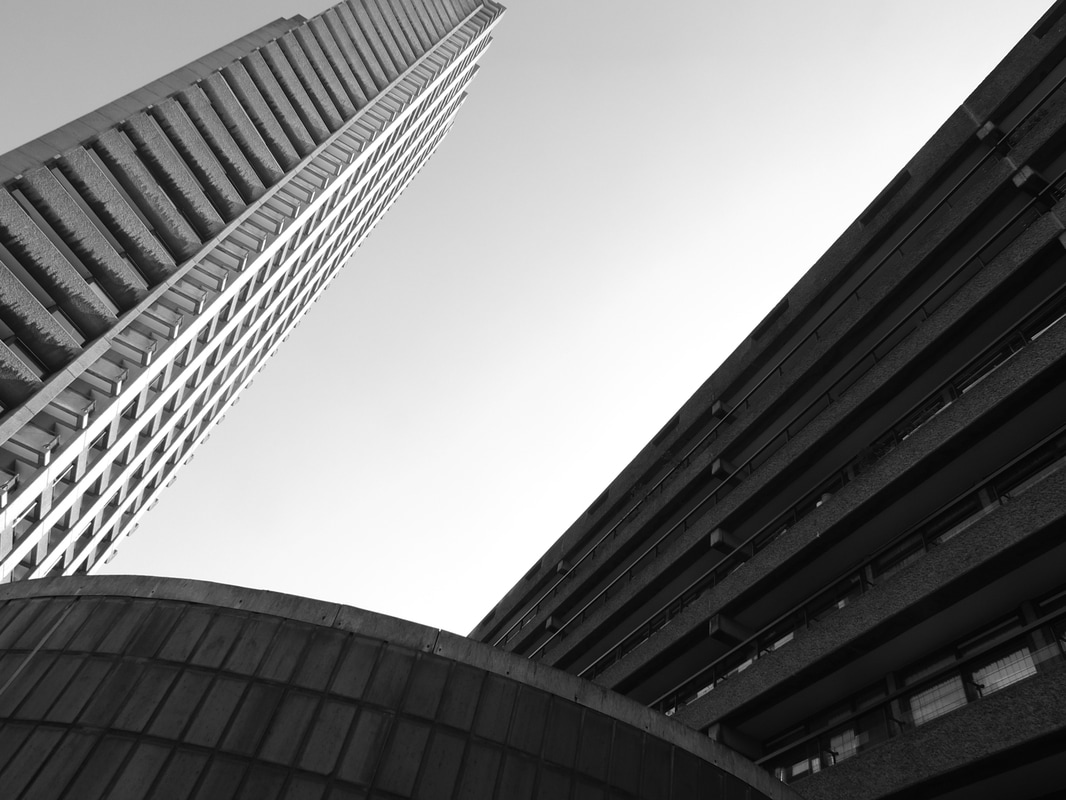
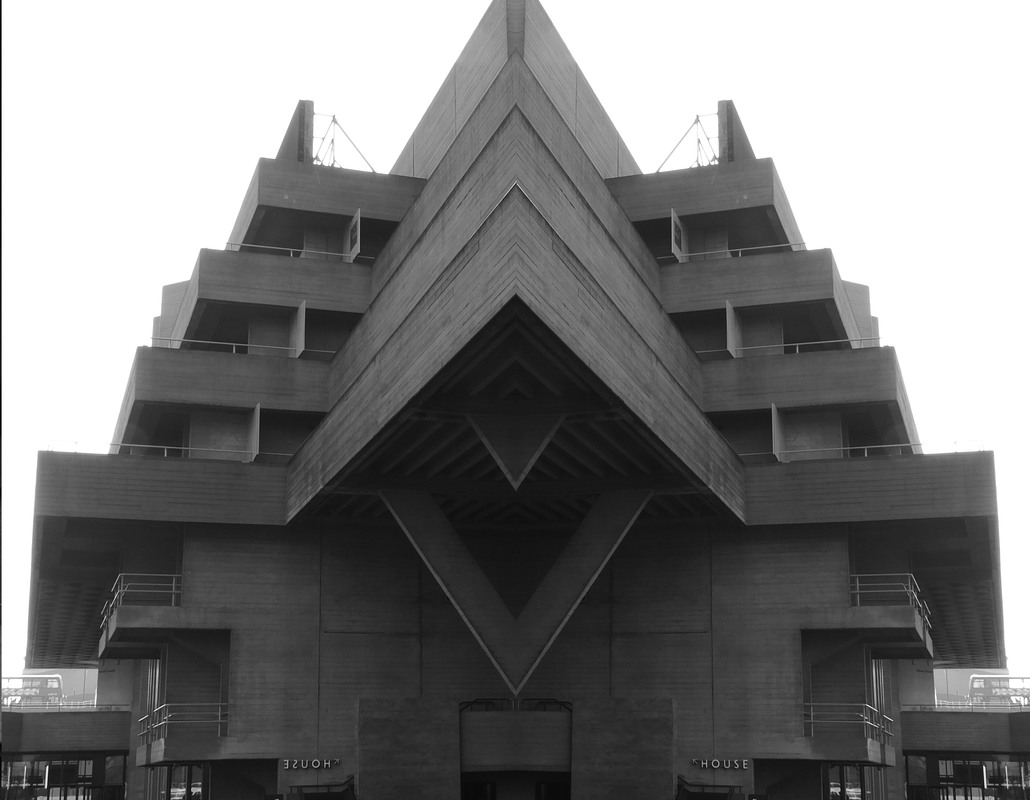
Brutalism
Artist: Simon Phipps
|
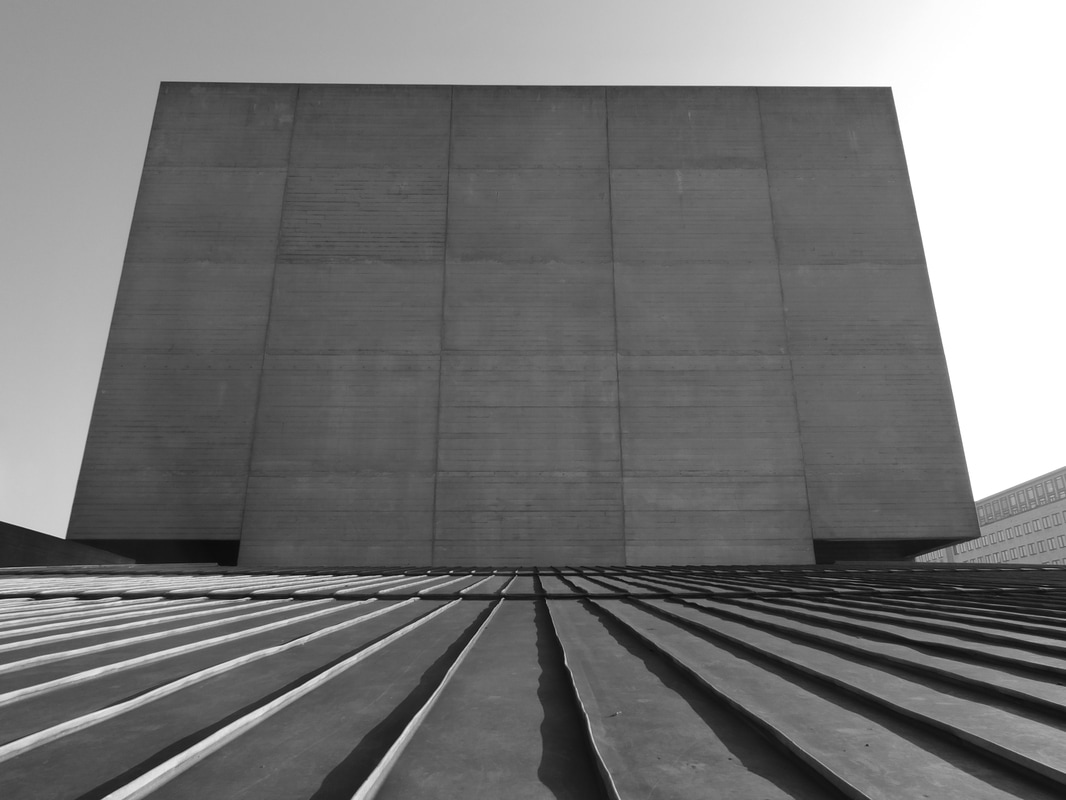
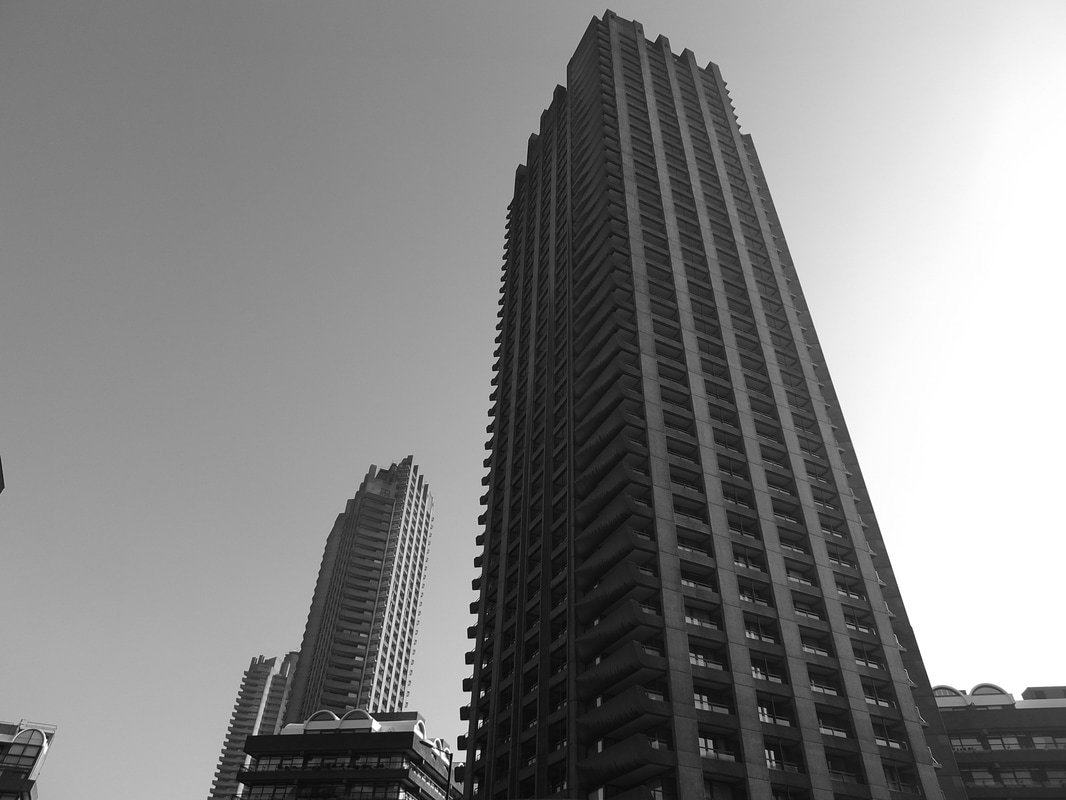
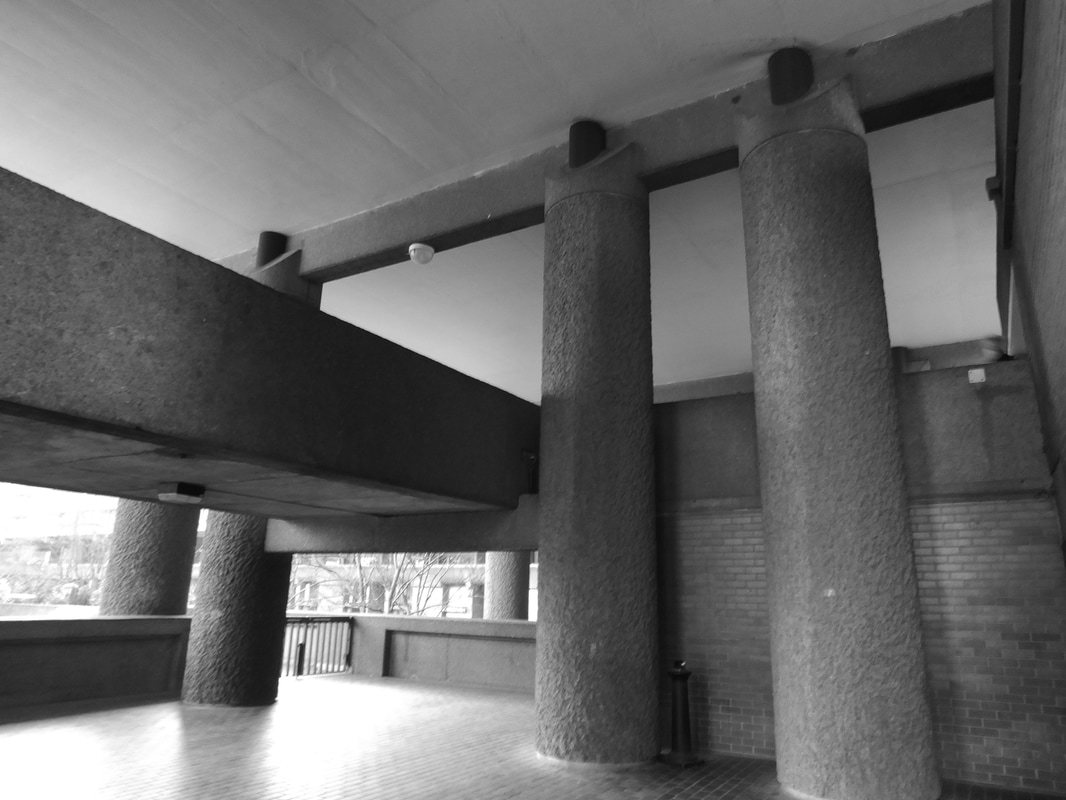
Simon Phipps is a fine art photographer operating in the UK and has captured a wide variety of subjects. His work is often referenced to as a good example of brutalist photography. In this unit, I responded to his Brutalist, Black and white, prints. His work is often referenced to as a good example of brutalist photography.
My choice of response was to go to some of the brutalist buildings in London, i went to National theatre and the Barbican. I used the Black and White pre-set on my camera, my shutter speed was a 1/200 and my aperture fs5.5. |
My response

|

|
|
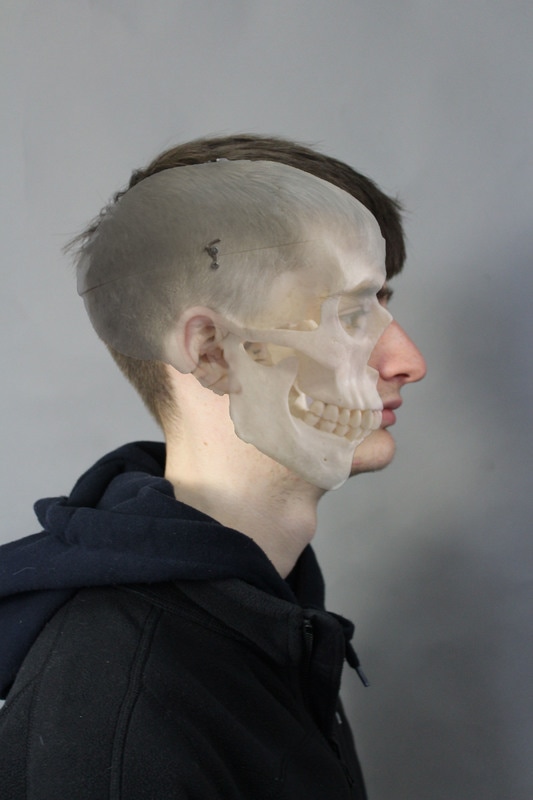
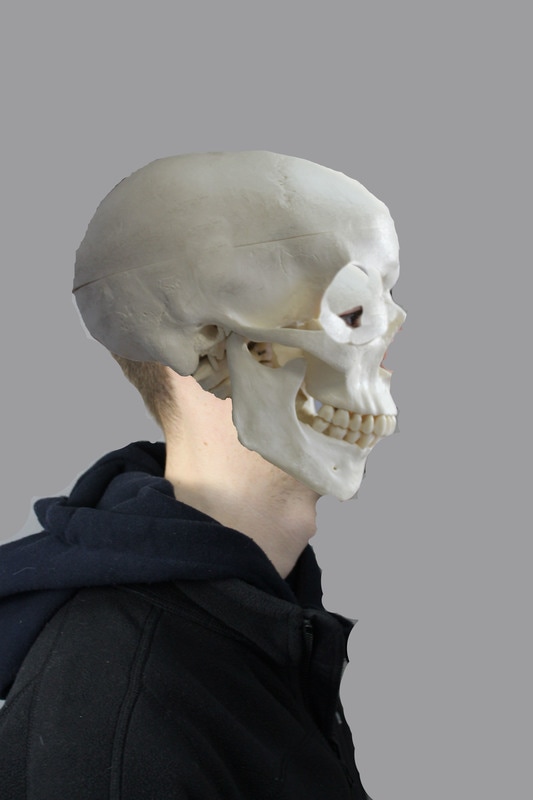
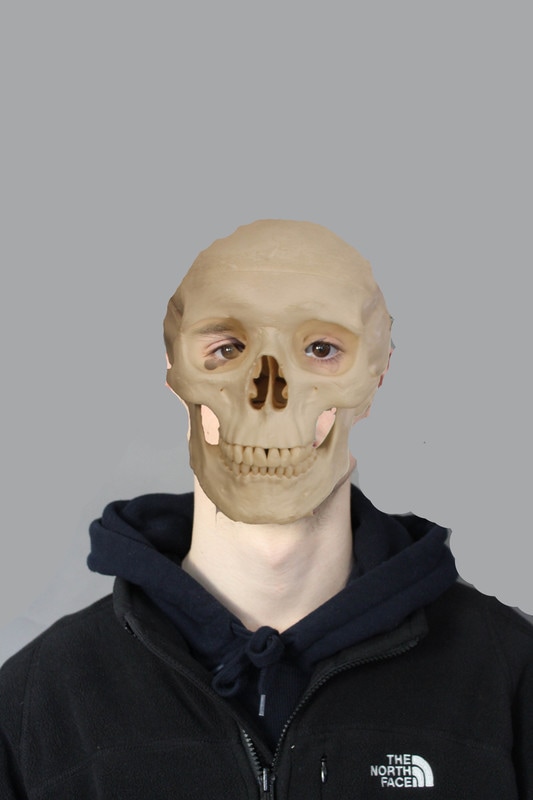
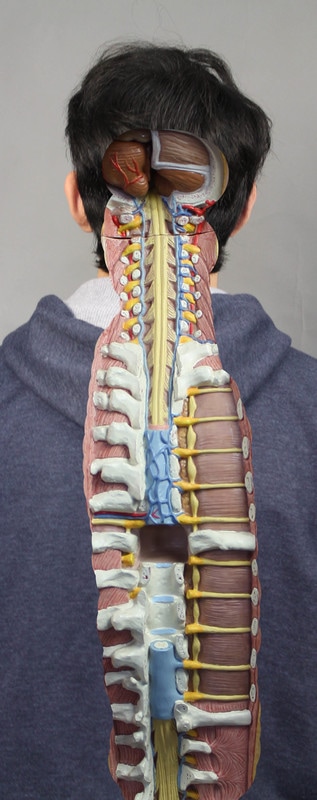
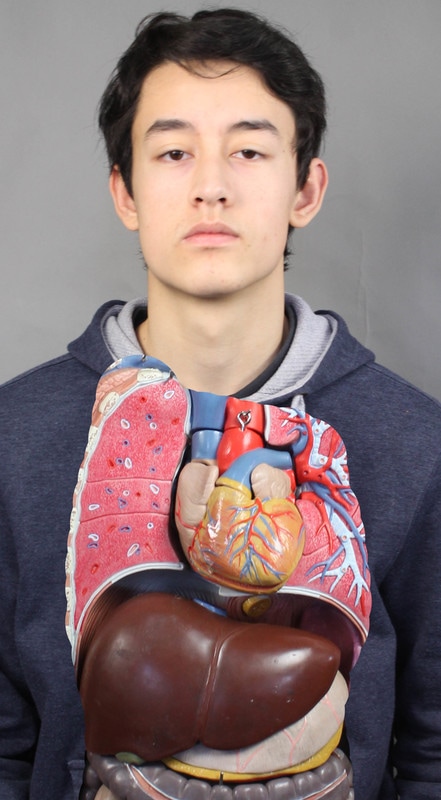
Structure of the body
First response
|
|
|
|
|
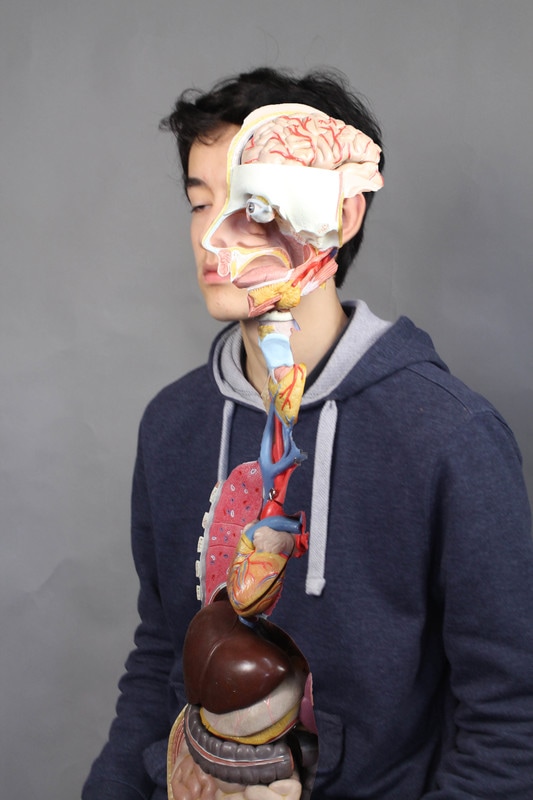
Second Response
|
|
|
|
|
Strands
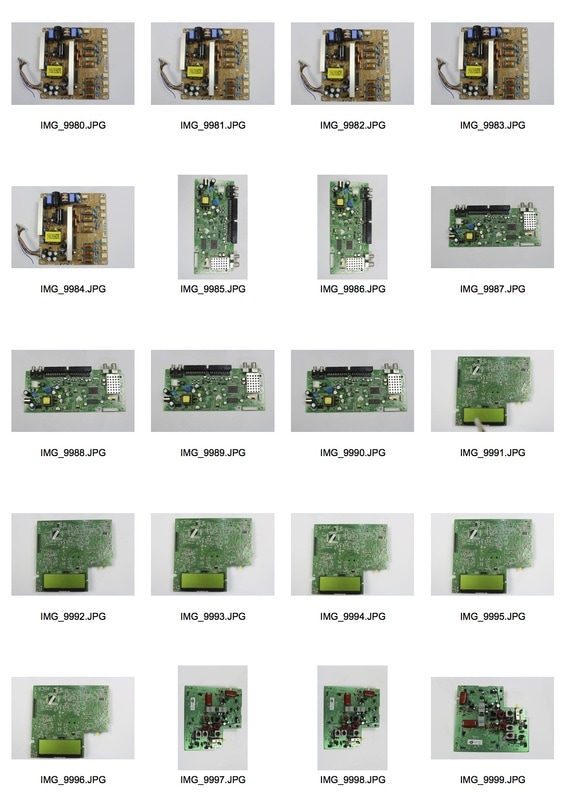
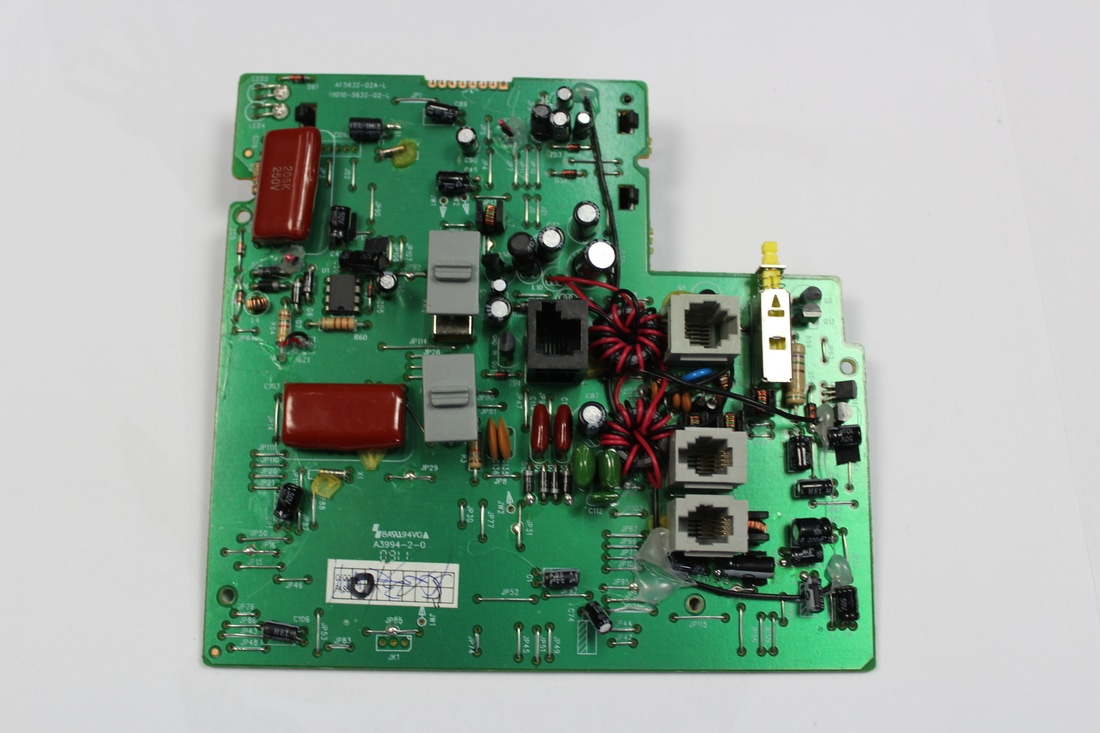
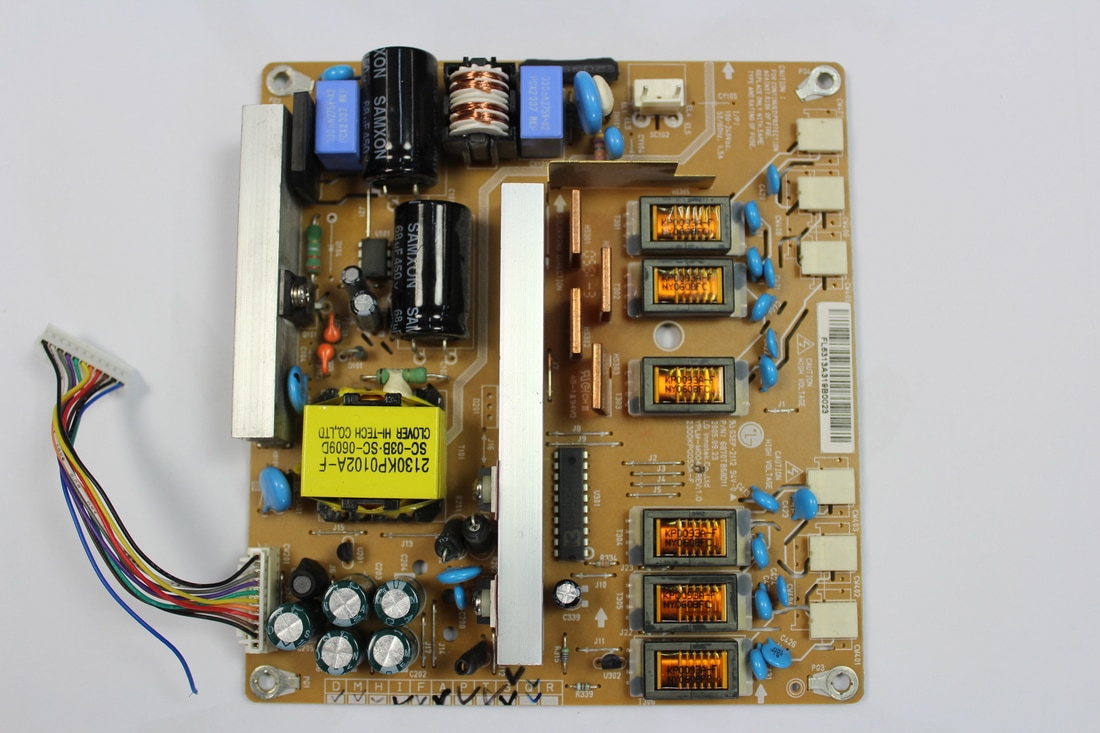
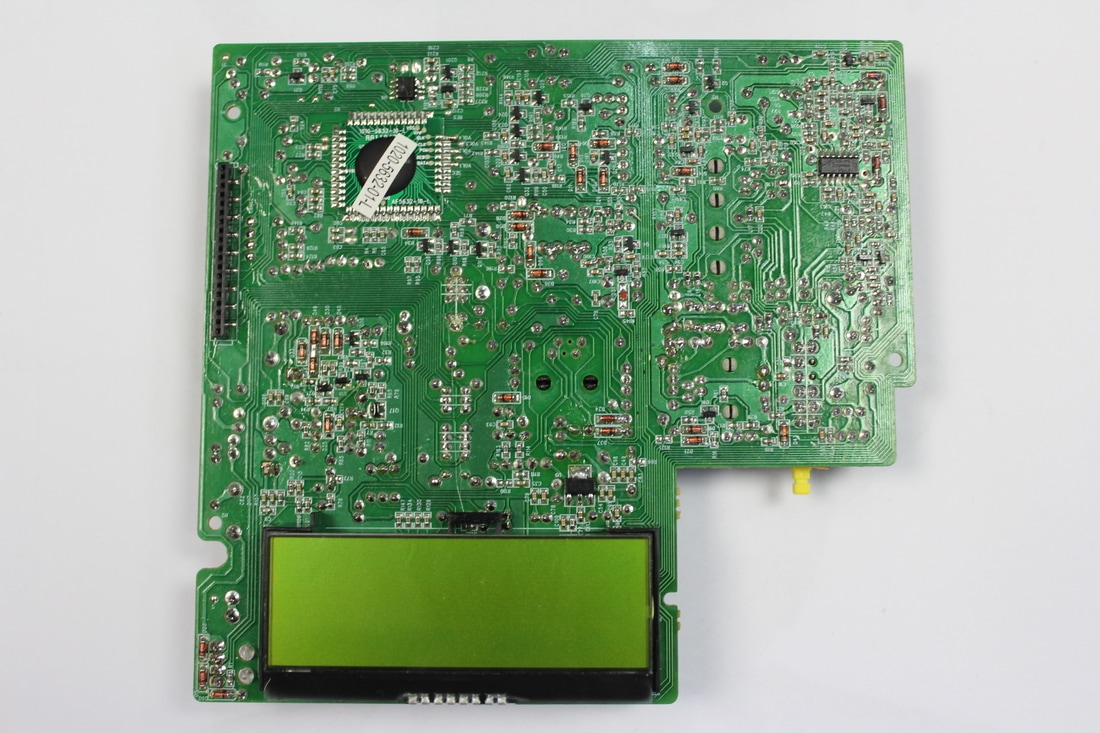
Stand 1: Circuits
For many people, one of the first things they think about when mentioning structured objects, computer parts are the first and foremost. As someone doing computer science and also someone with a interest in computer, i had an abundance of pieces of circuitry to work with. This strand, I was already considering for usage as my chosen strand, so this attempt ended up being merely a first attempt with my camera and its basic settings.
|
|
|
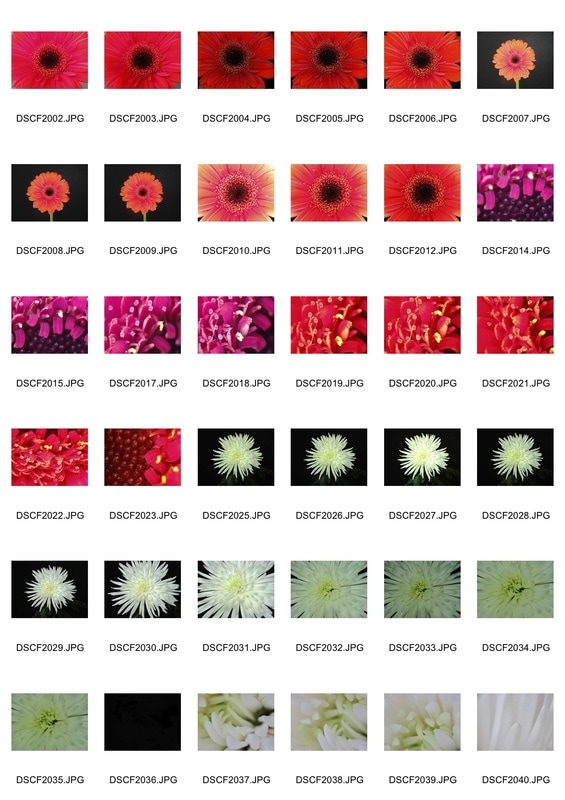
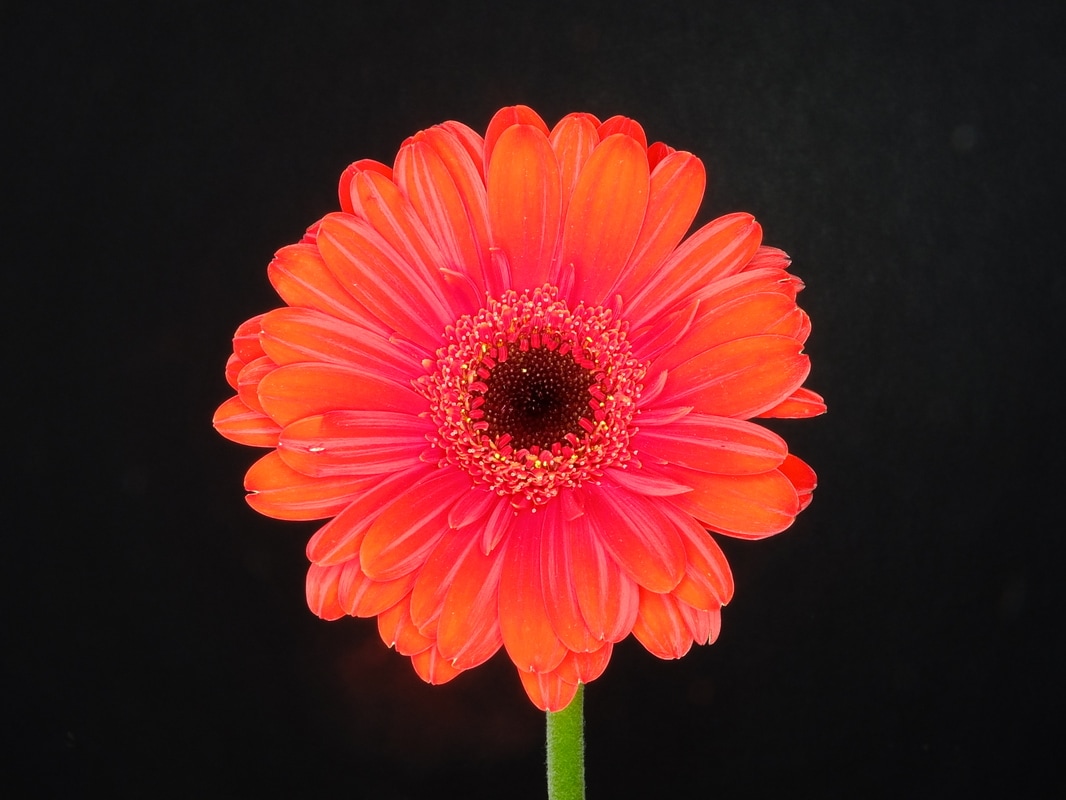
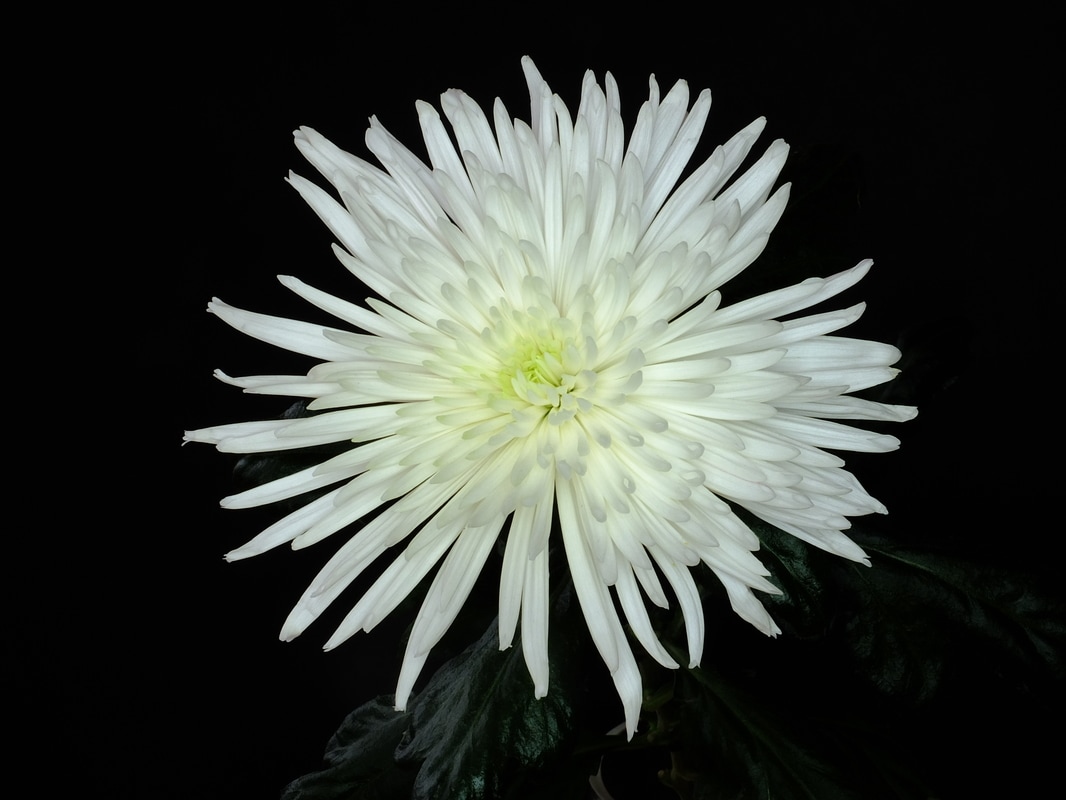
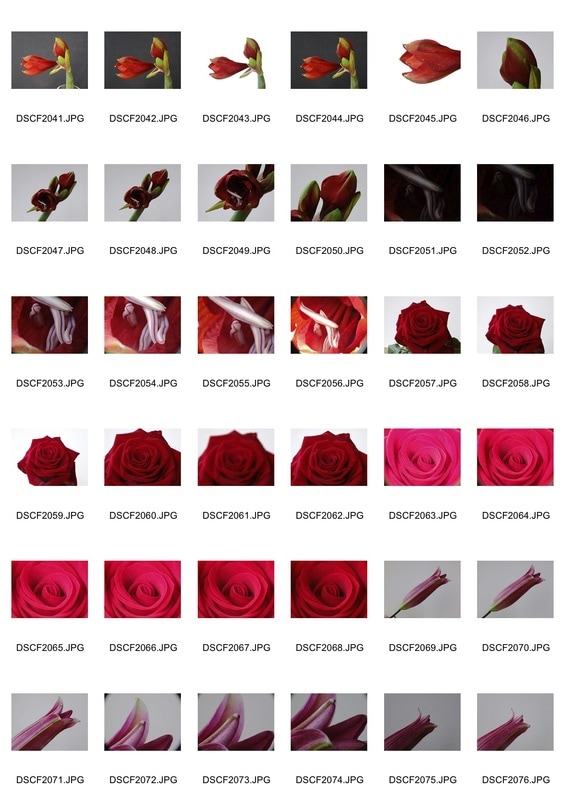
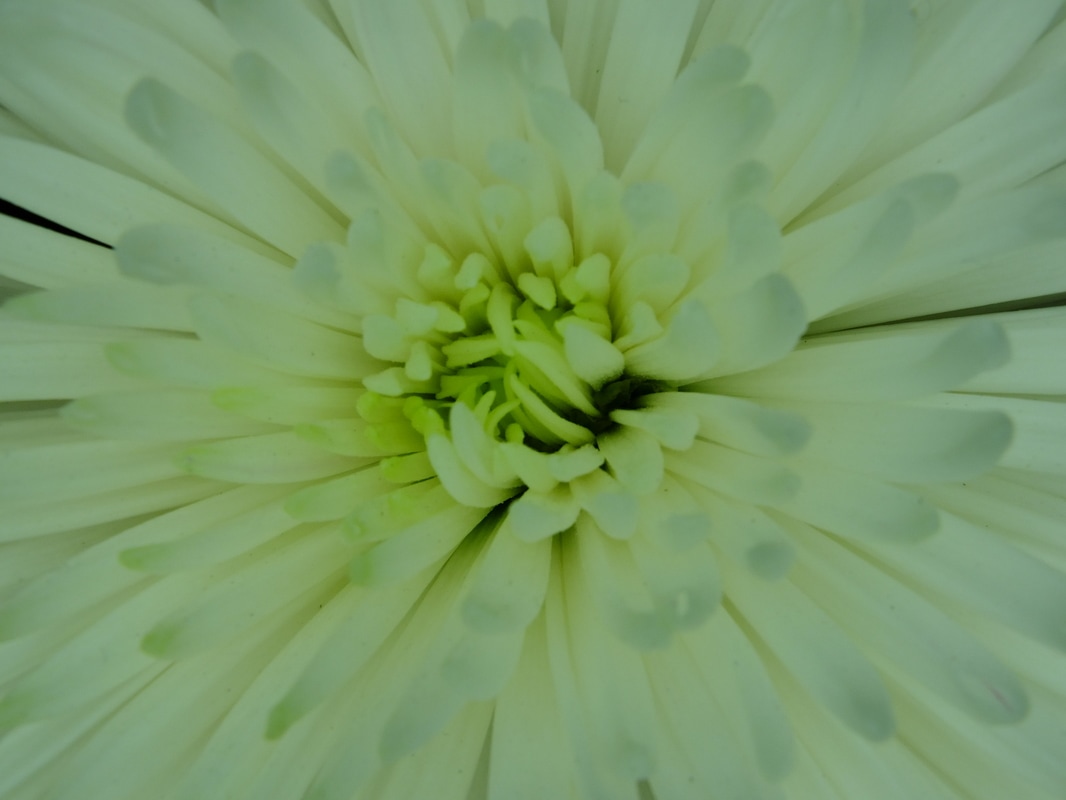
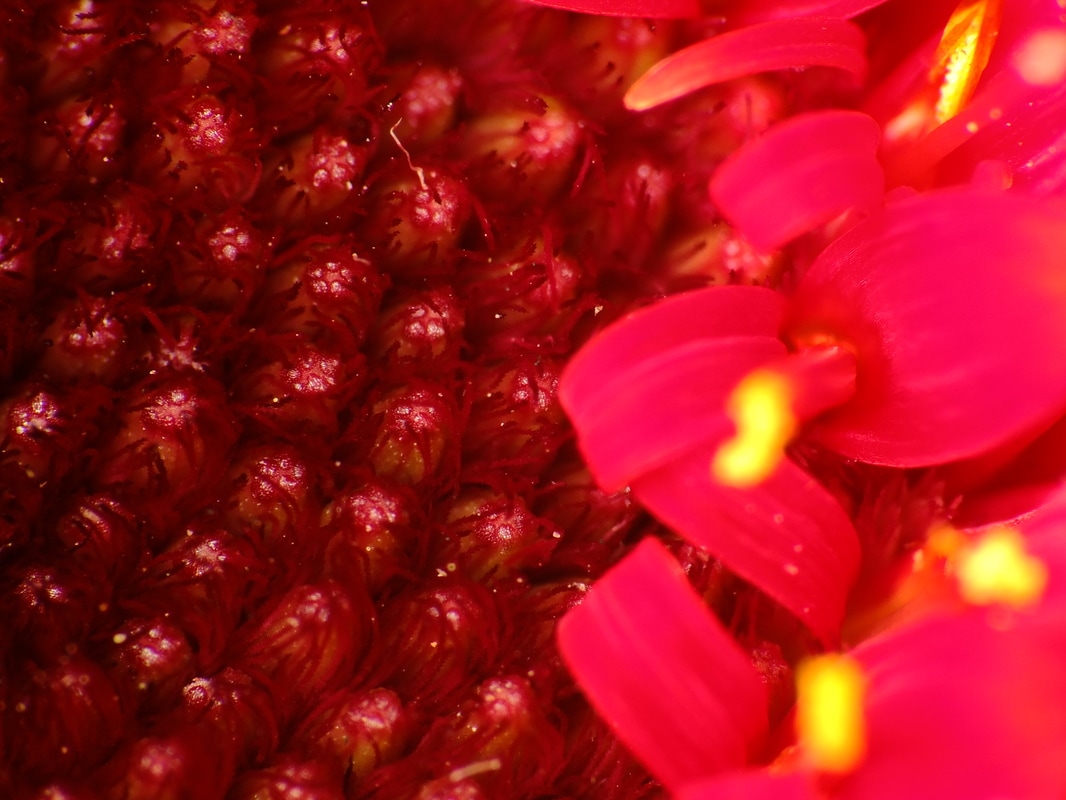
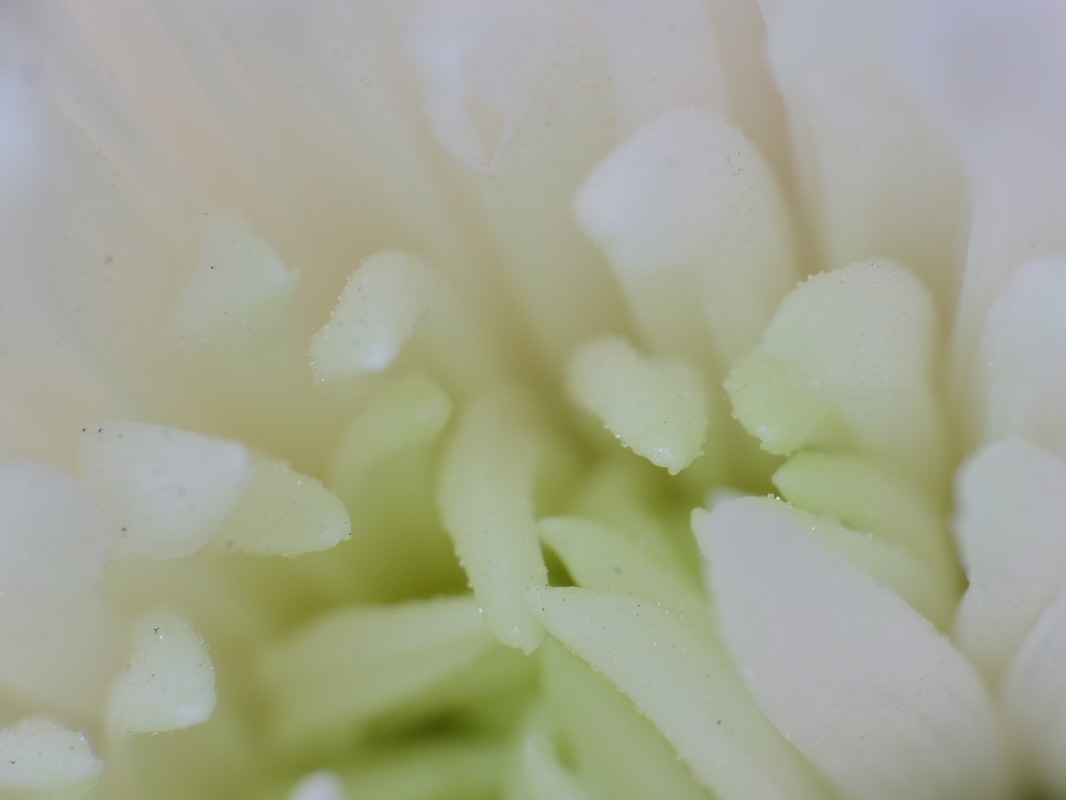
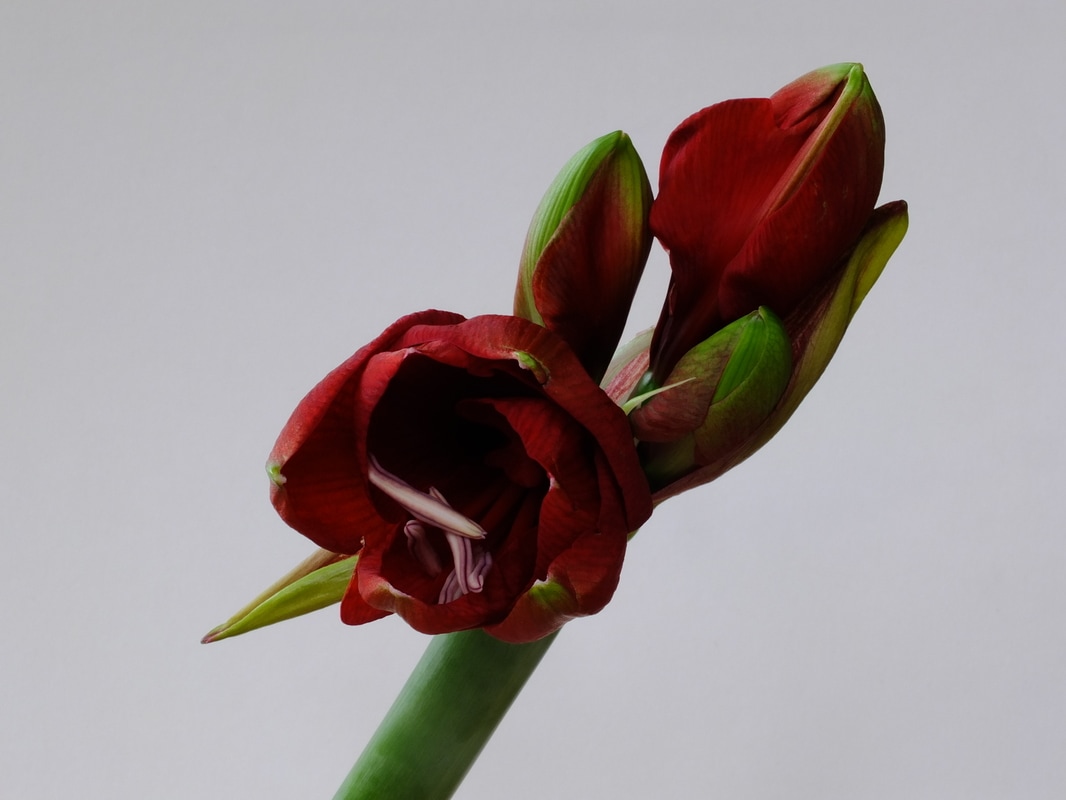
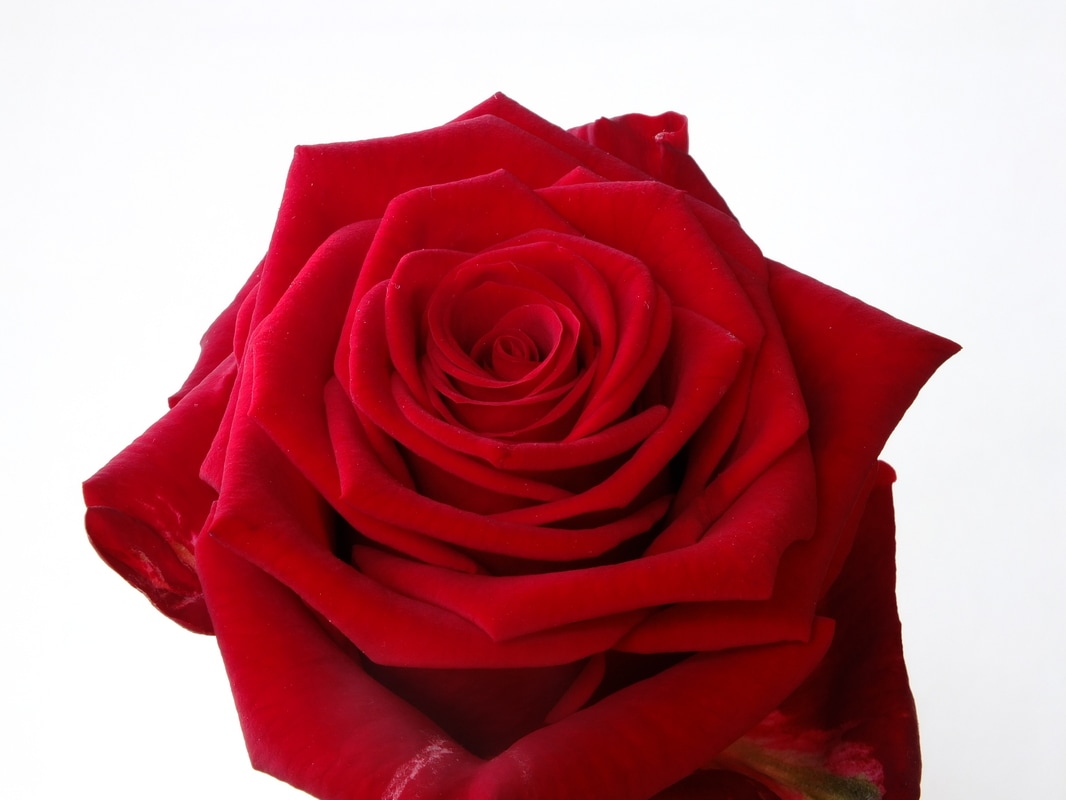
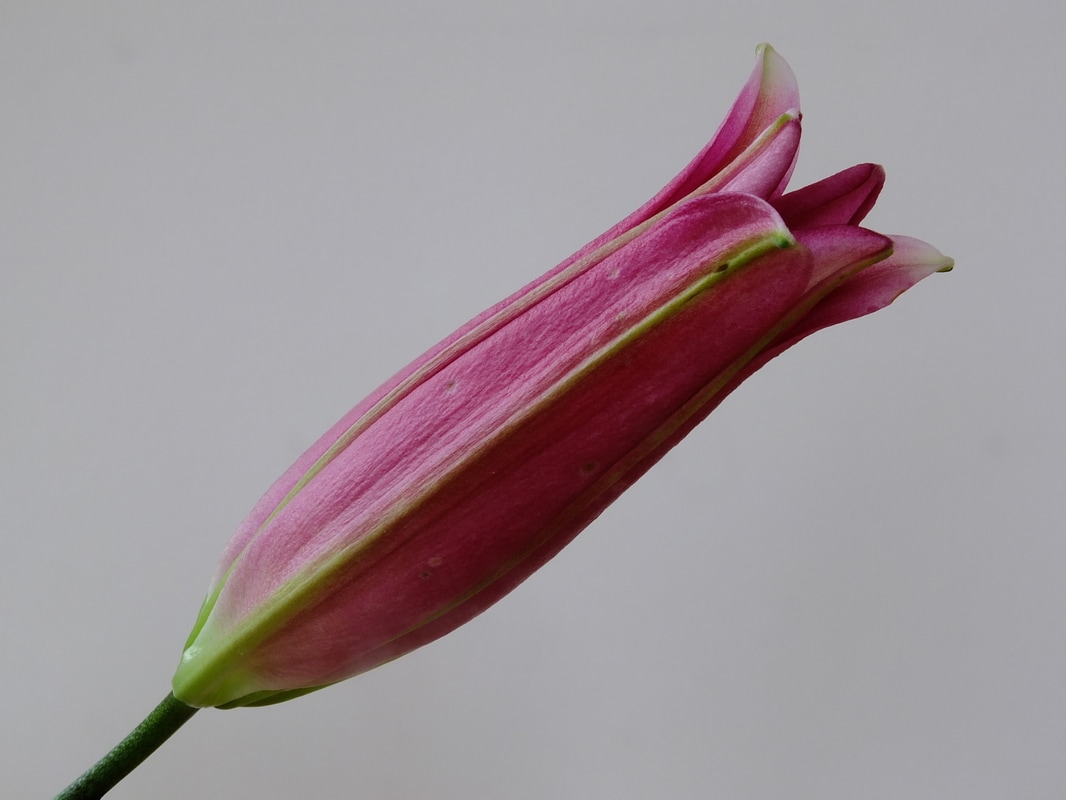
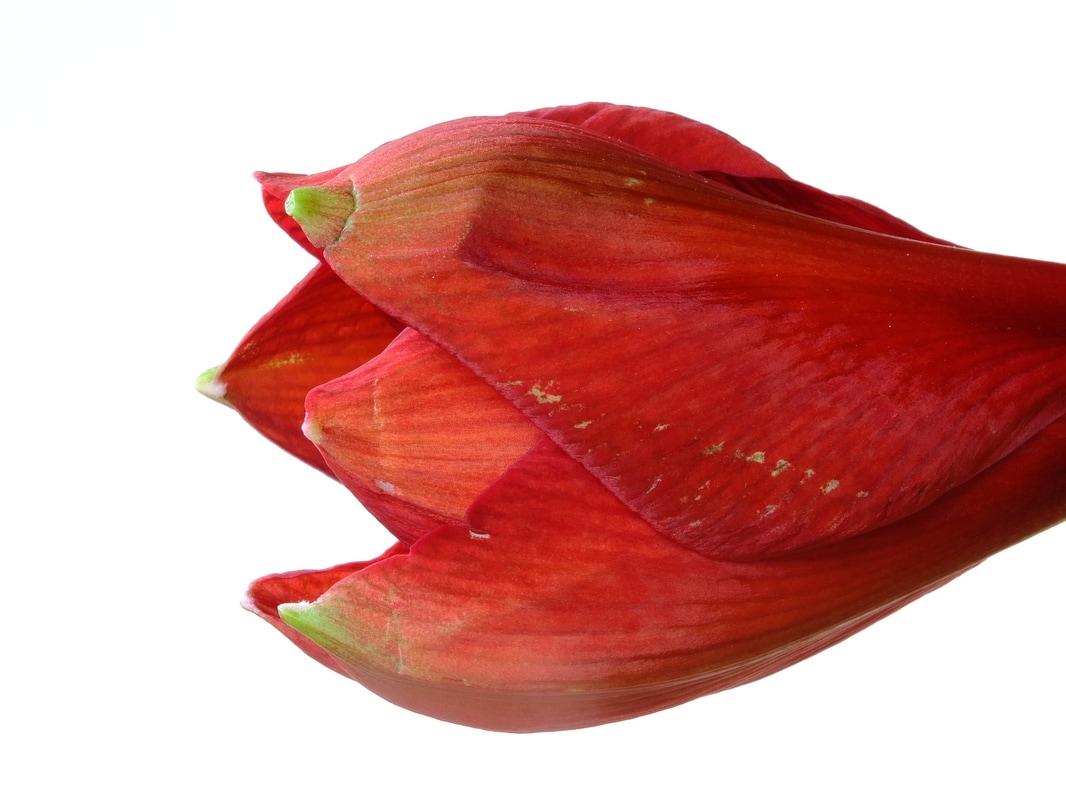
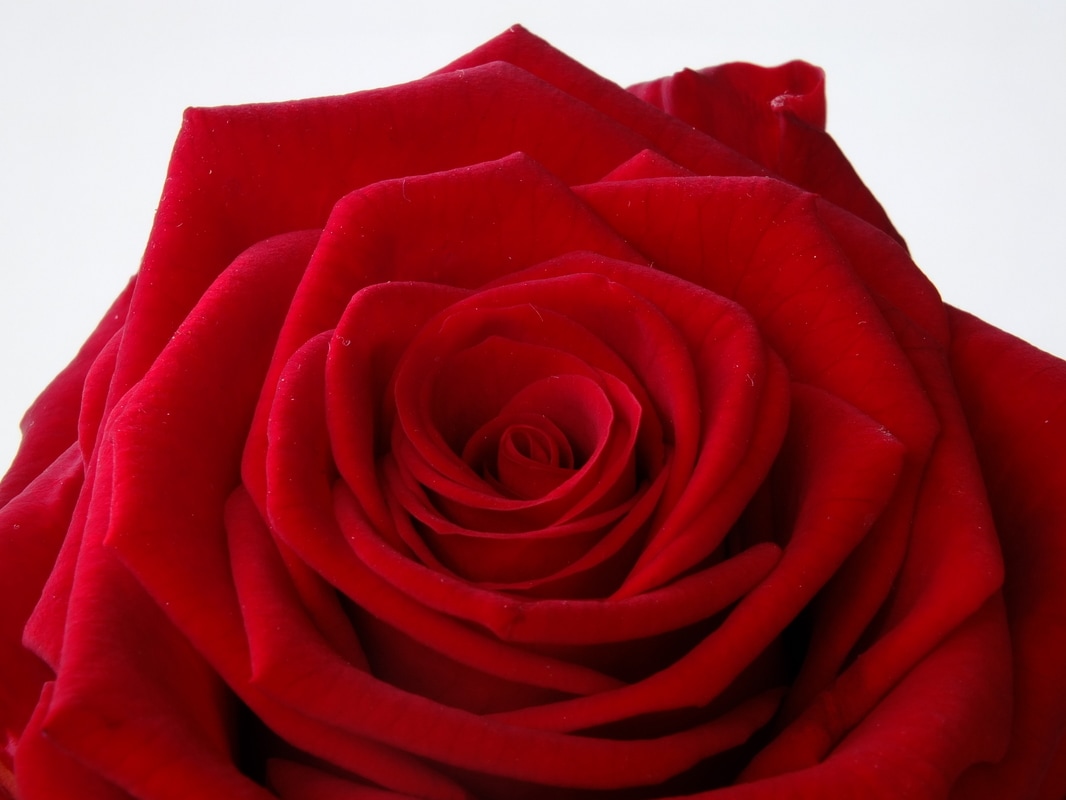
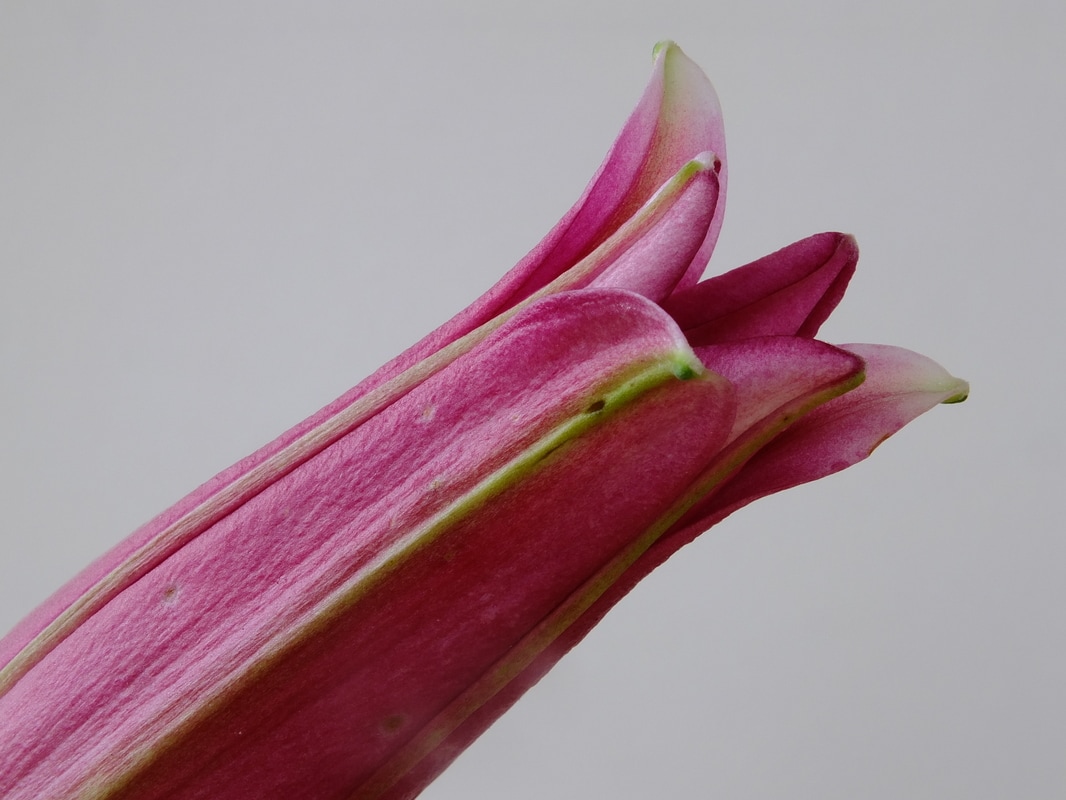
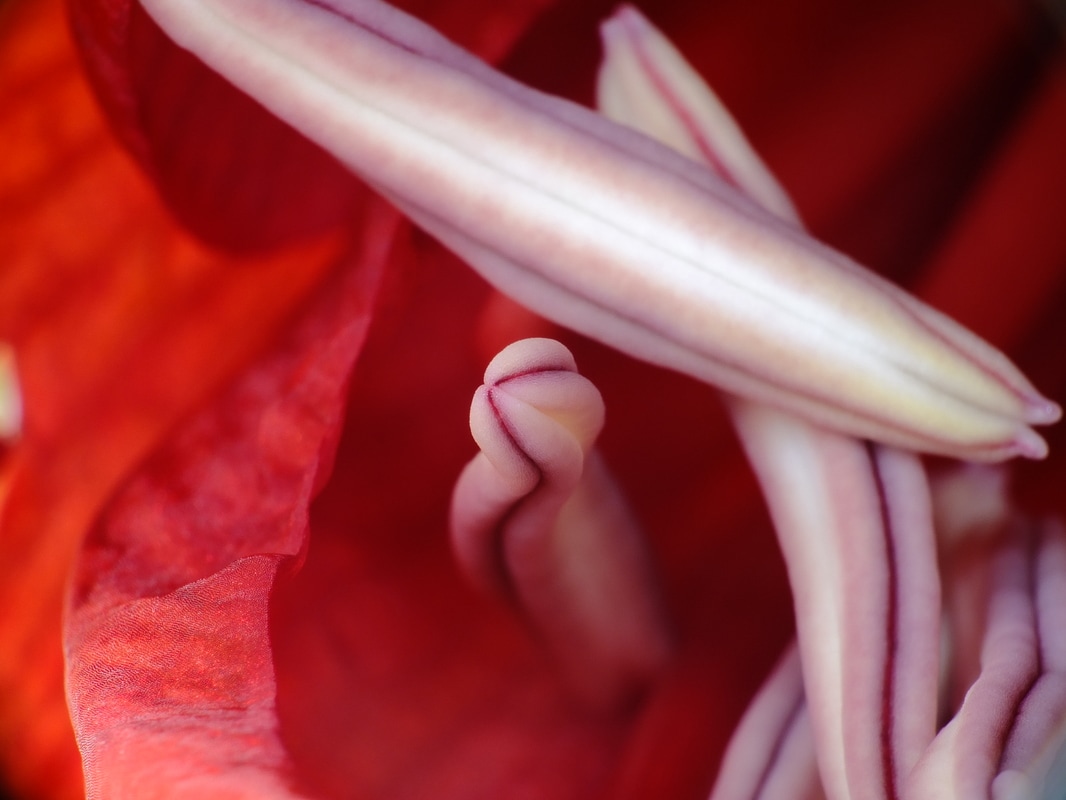
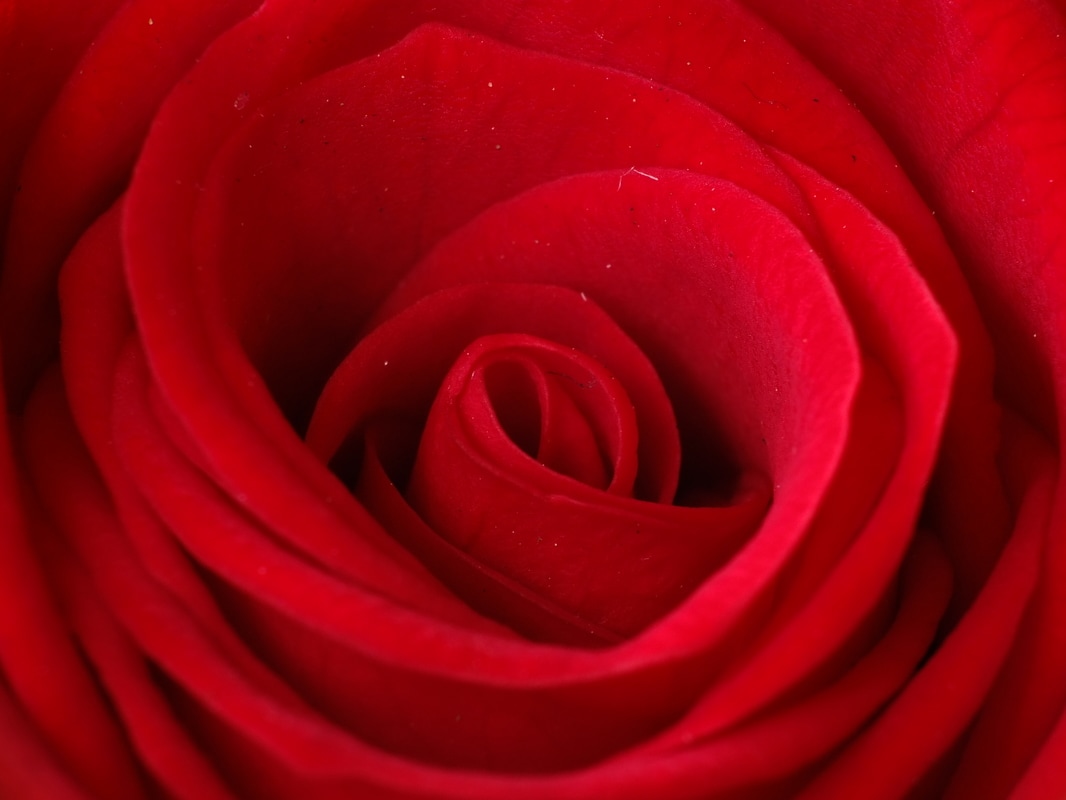
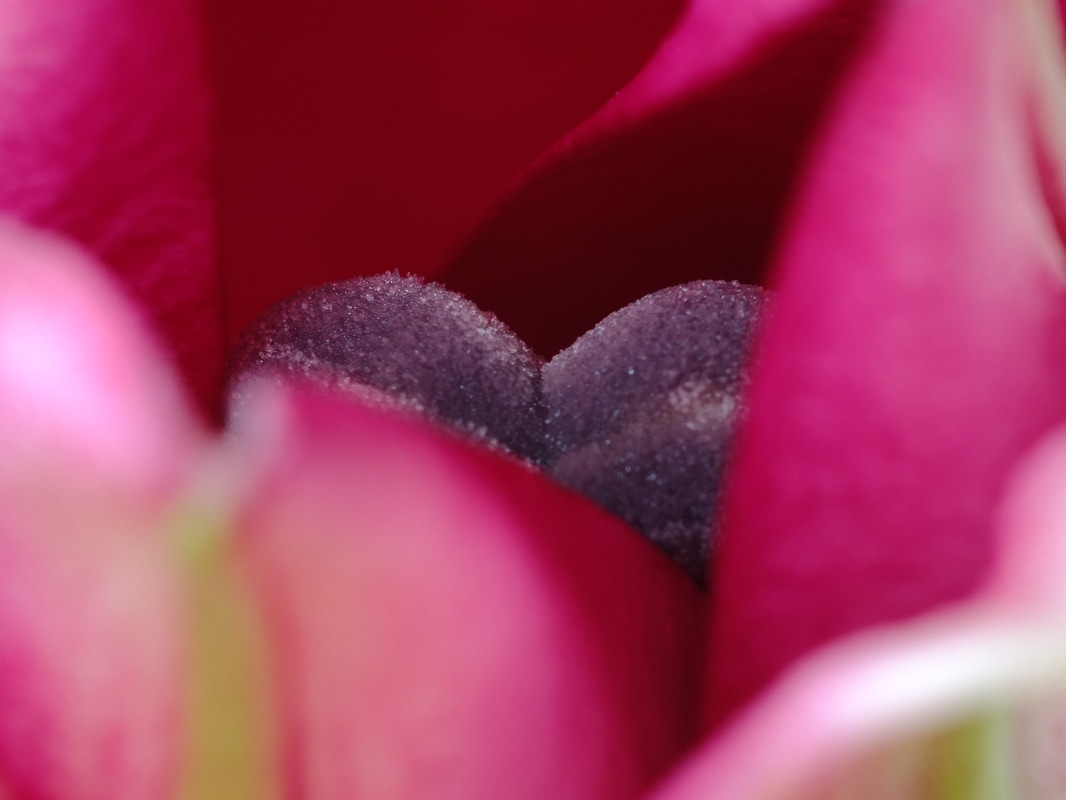
Stand 2: Structure Flower
Artist: Graham Owen
|
Graham Owen has established himself as an artist and natural photographer. The detail of Graham's "artificial insects" has won him International acclaim and award. His artistic insects are incorporated into leading lighting designs, private and institutional art collections, as well as high advertisements & film.
For my own response, i will use the macro setting on my camera to take close up of flowers. |
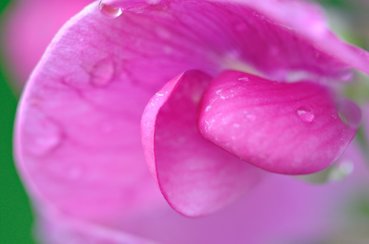
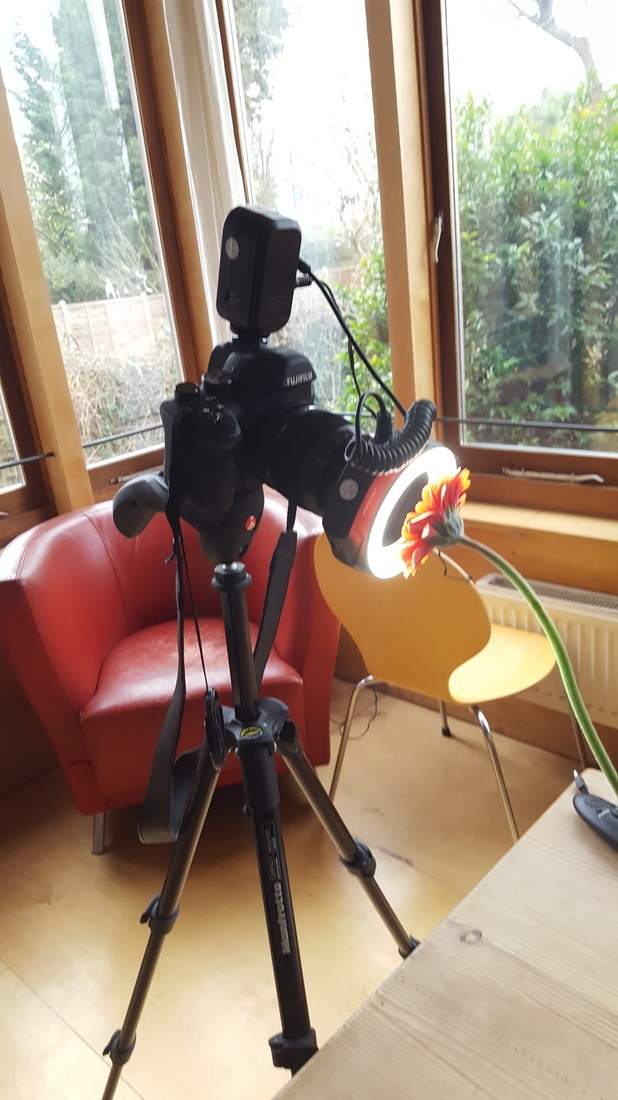
my response

|
I initially started wide aperture (3.2f) for the photos of the whole flower but when I decided to take closer photo I used a small aperture (11f) to increase the depth of field. I used the LED ring to evenly light the flower and have no dark spots. If the petals looked slightly overexposed, I would lower lower the exposure by 2 thirds of a stop. I also had my camera set to take photos after a 2 second timer, i did this to prevent camera shake. For the very close up photos, i used a macro lens. I took the photos in front of a black or white board to draw the eye of the viewer away from the background and towards the flower's centre.
|
|
Photos
|

|
|
|
|
|
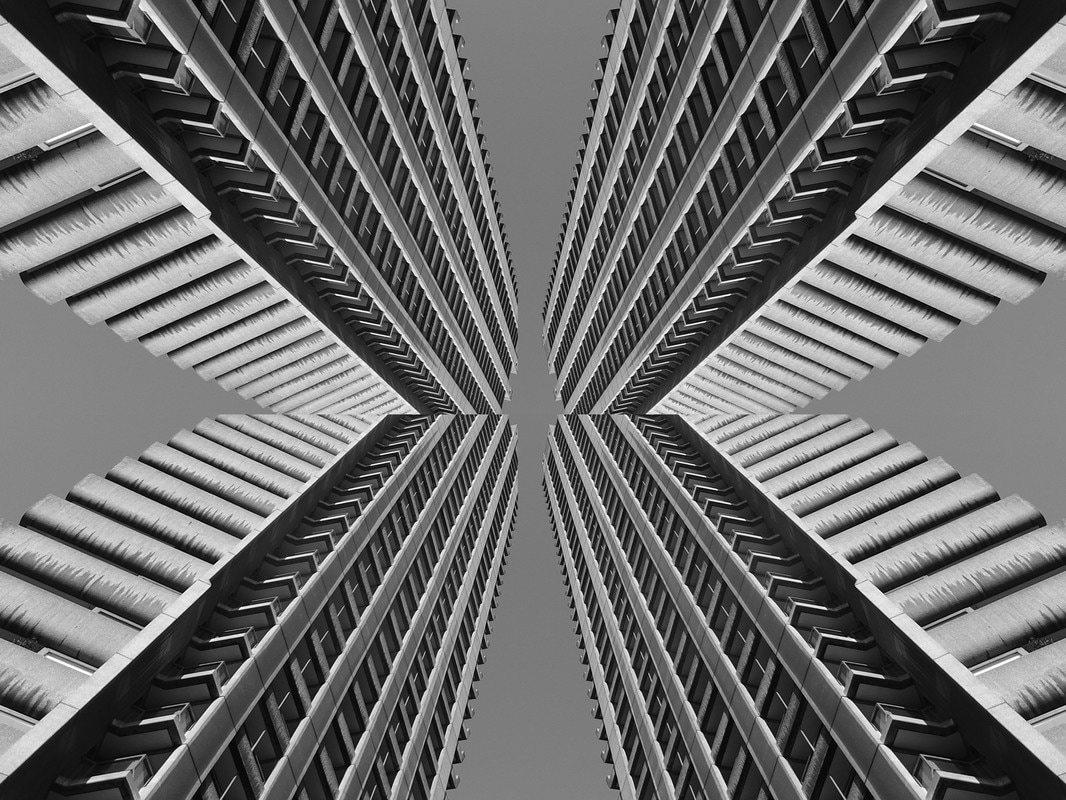
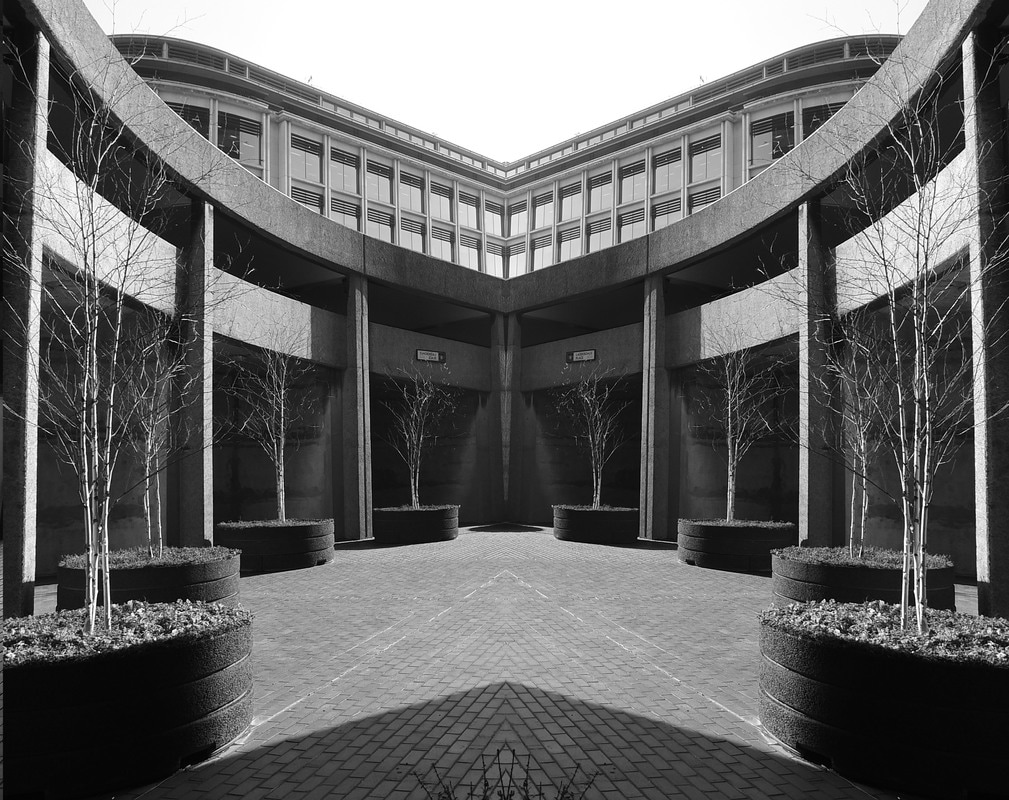
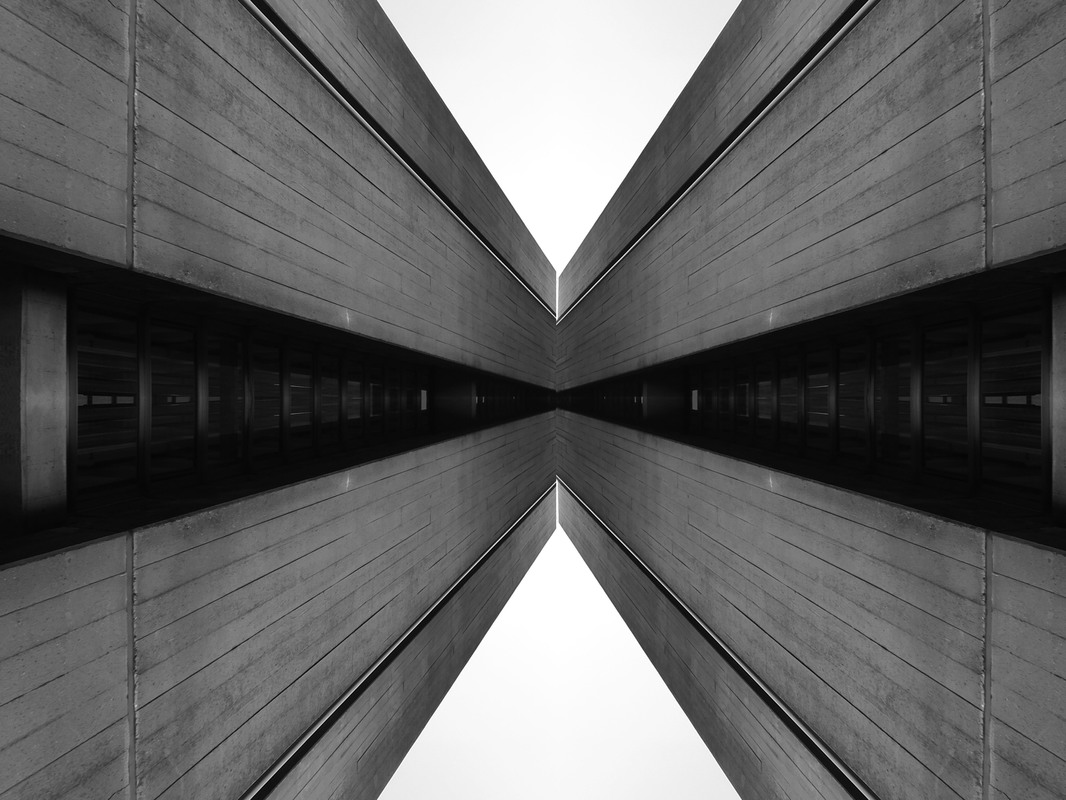
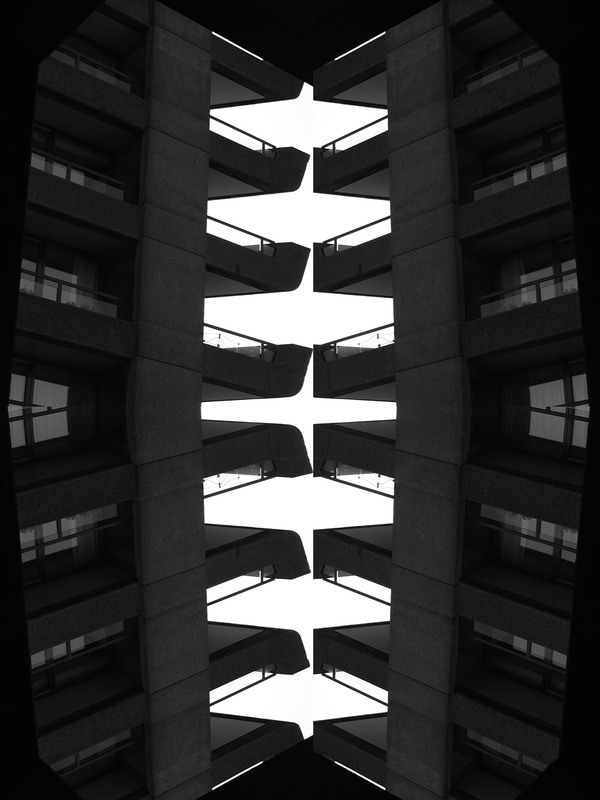
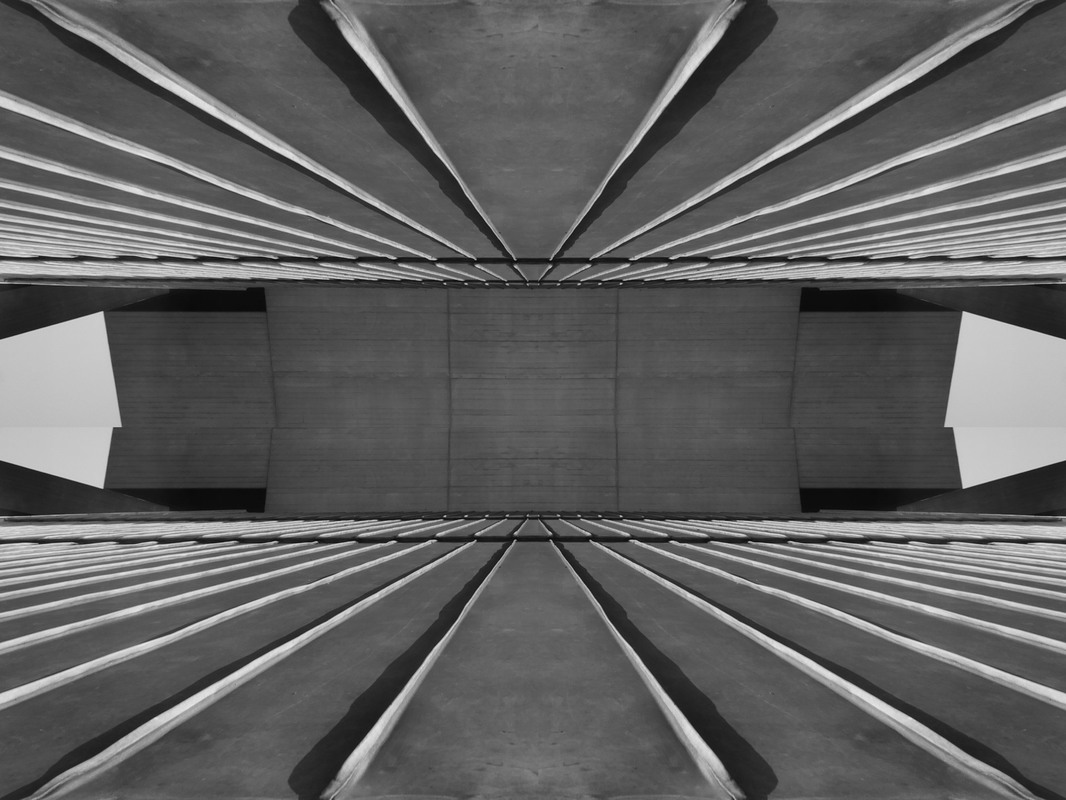
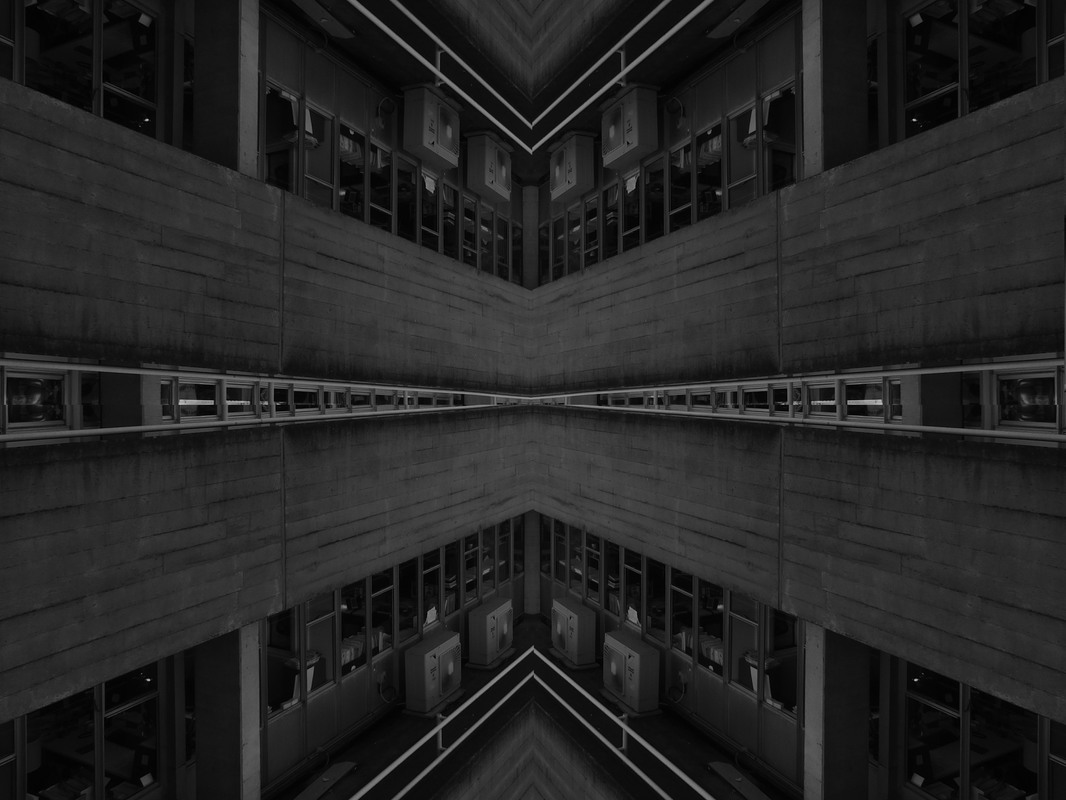
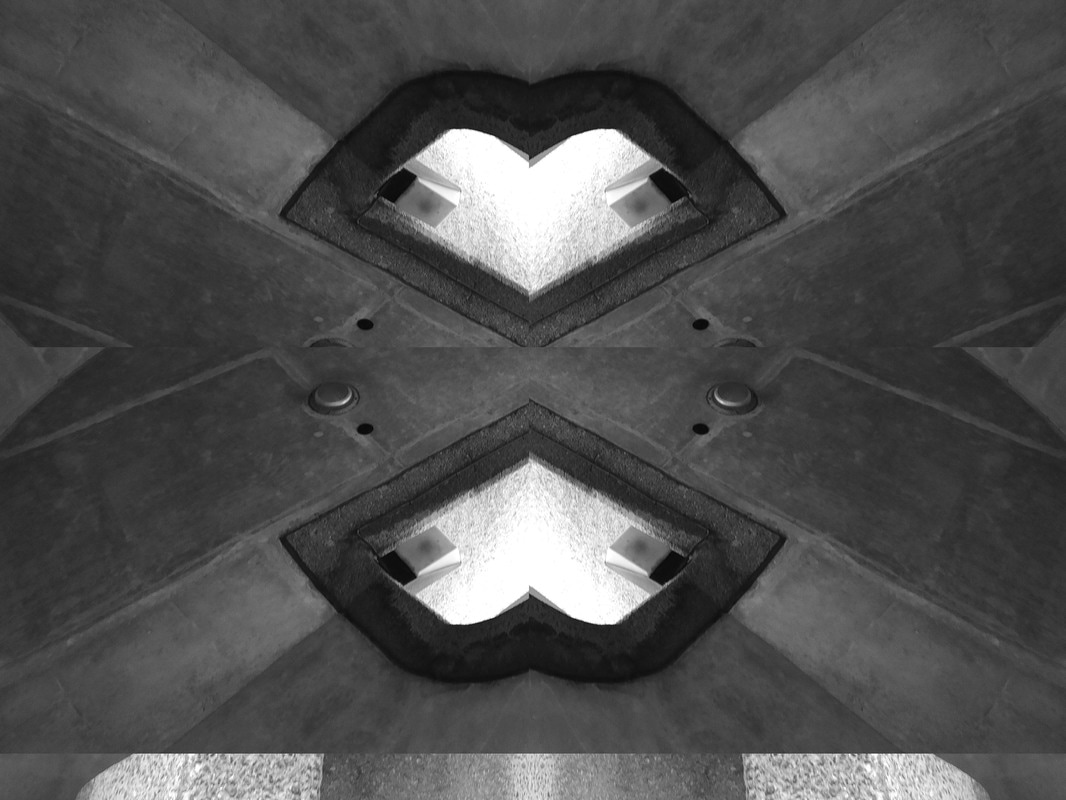
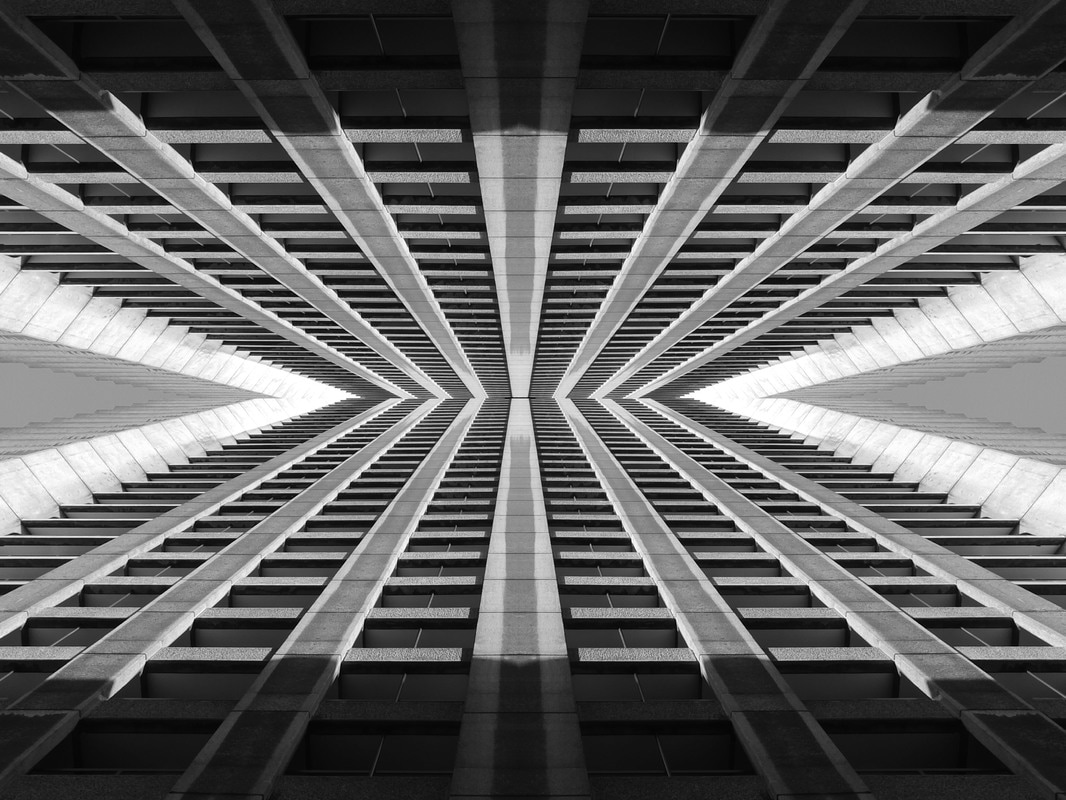
Stand 3: Editted Brutalism
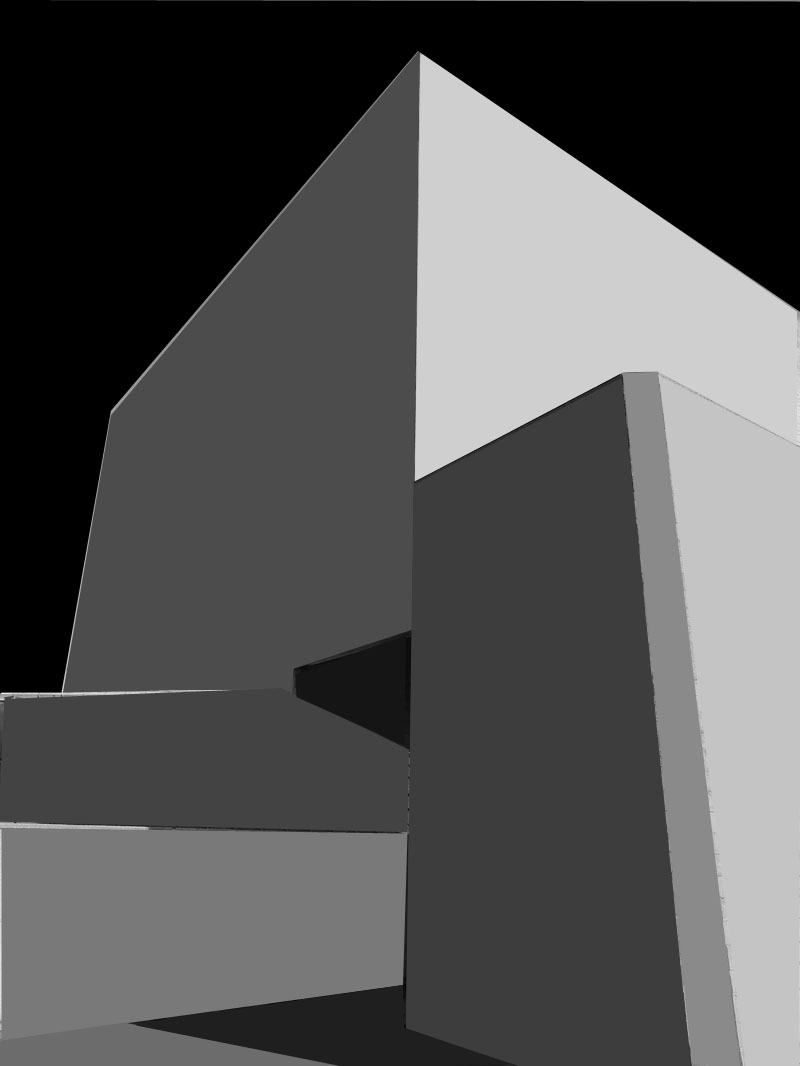
The goal with this strand was to edit brutalist photos into symmetrical abstract images, were the images had recognisably brutalist features but was still clearly not brutalist and had abstract features.
|
|
1: Load your brutalist image into photoshop.
2: Use the select tool to select half of the photo. 3: Press CMD + C and CMD + V to create a new layer with the selected section. 4: Use the cursor tool to move the new layer to the opposite side of the photo. 5: Go into the edit drop down menu and then the Transform menu, and select the flip horizontal option. |
Before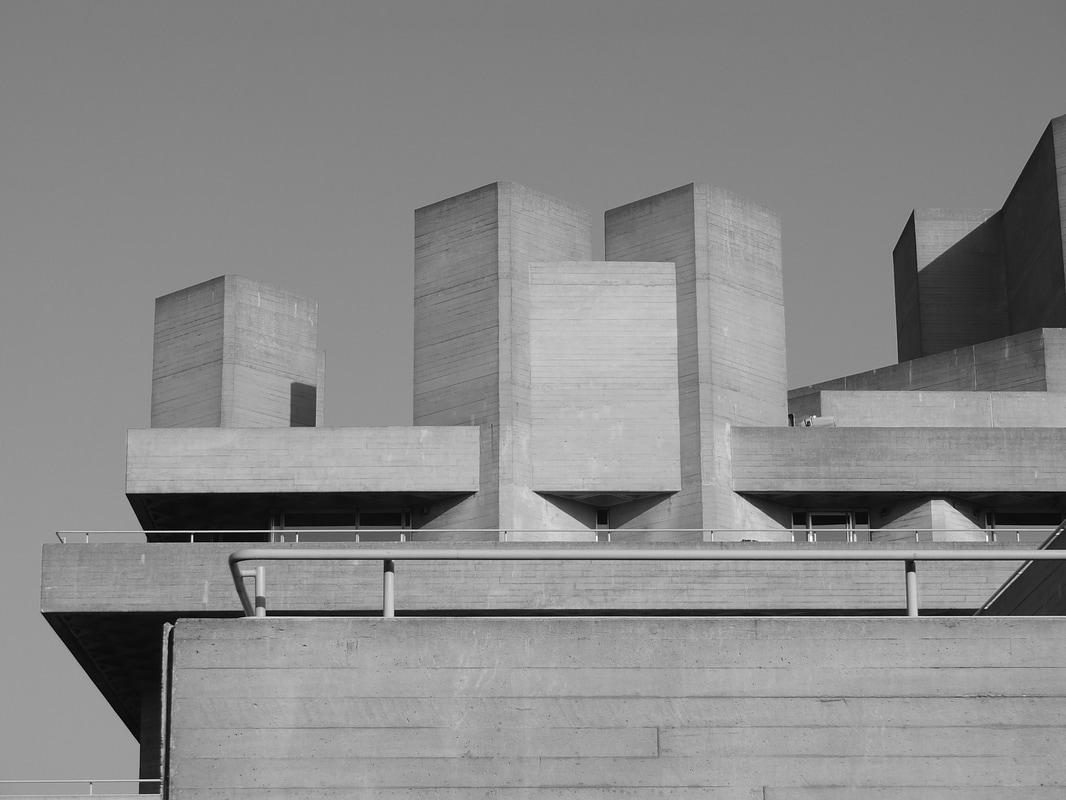
|
After
|
Photos
|
|
|
Developed Stand: Circuits
Development 1: Second attempt
For this development, I used studio lights to light the circuit boards. This development was really to experiment with what i could do and to isolate some of the problems that would have to be fixed with later developments. What i found was that without a tripod, no matter how stable I held my hands I would still struggle to get in-focus photos.
|

|
|
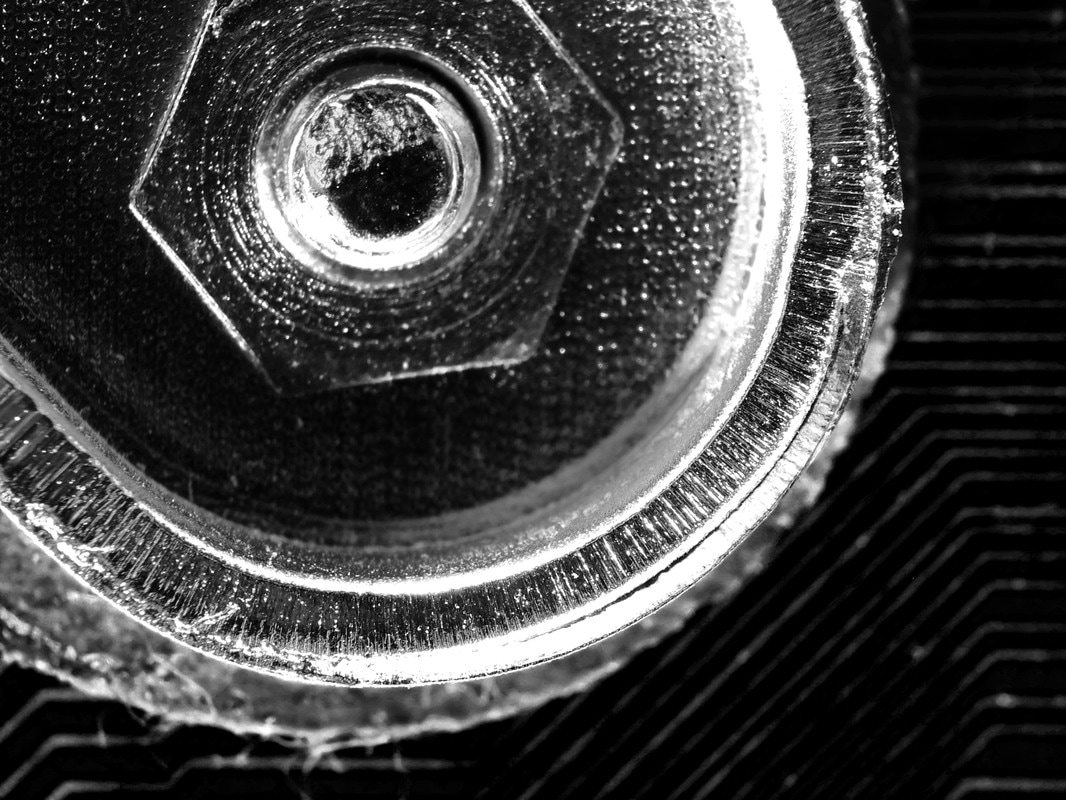
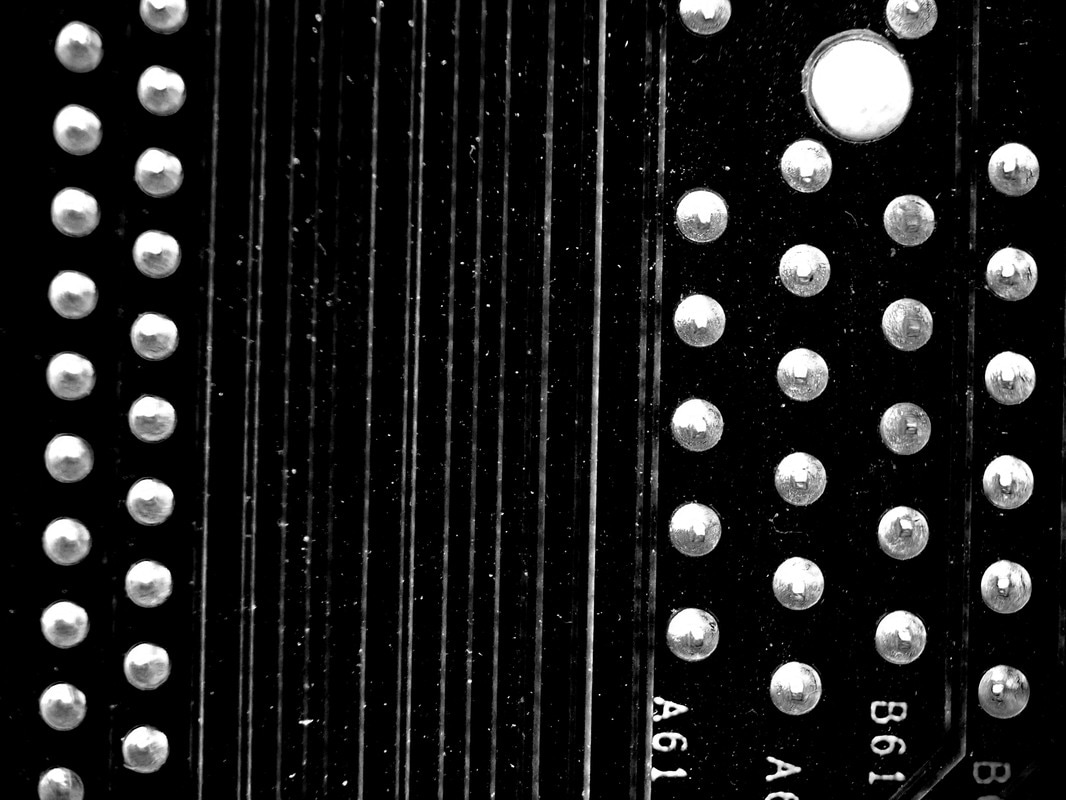
Development 2: Macro shots of curcuits
.For this development. I began experimenting with the macro setting on my camera. my goal was to take close up and in focus images of the circuit boards. i found while taken these photos that there were many problems of the light reflected of the circuit and that the macro setting was not enough to make the circuit in focus.
|
|
|
Development 3: Edited Macro shots
Artist: Vladimir Zivkovic
|
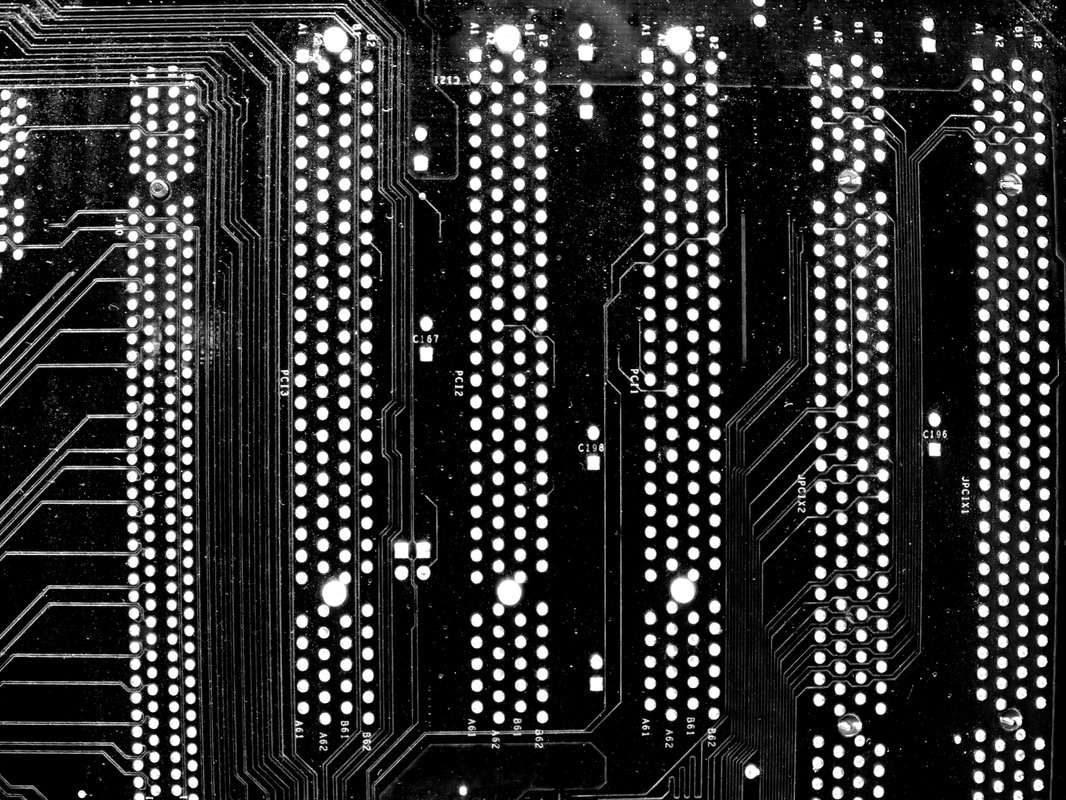
A Croatian photography, Vladimir Zivkovic, has been active for 16 years as a photographer. His "motherboard 100" series is the set of photos is what I'm planning to reply to. His motherboard photos are taken with a mono-chrome filter, this puts greater emphasise on the structure of the BUS connections on the circuit board
To do this i will use the macro setting on my camera and will set it to take mono-chrome images to try and replicate the effect Zivkovic's photos have. |
I used some of my previously taken photo for this development. I used photo shop and its black and white preset to try and match Vladimir Zivkovic style better.
|
|
1: Load the image into photoshop.
2: Crop away some of the mess and distracting features. 3: Use the black and white option in the image drop down menu. |
Before |
After |
|
|
Photos
|
|
|
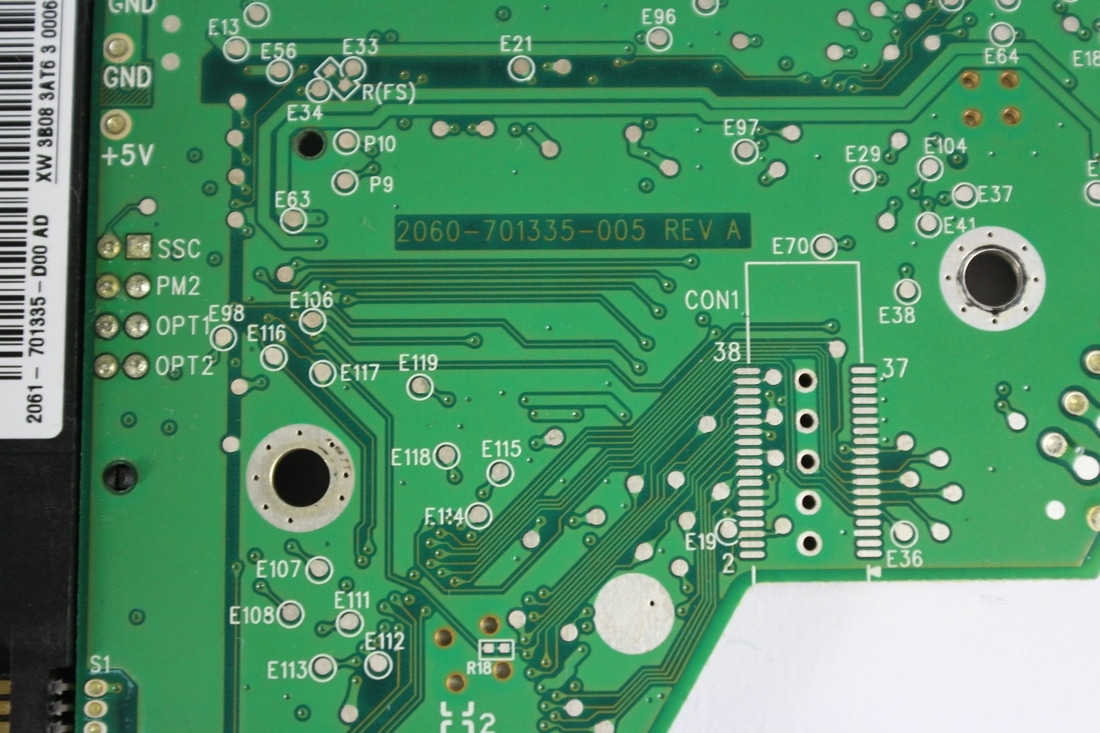
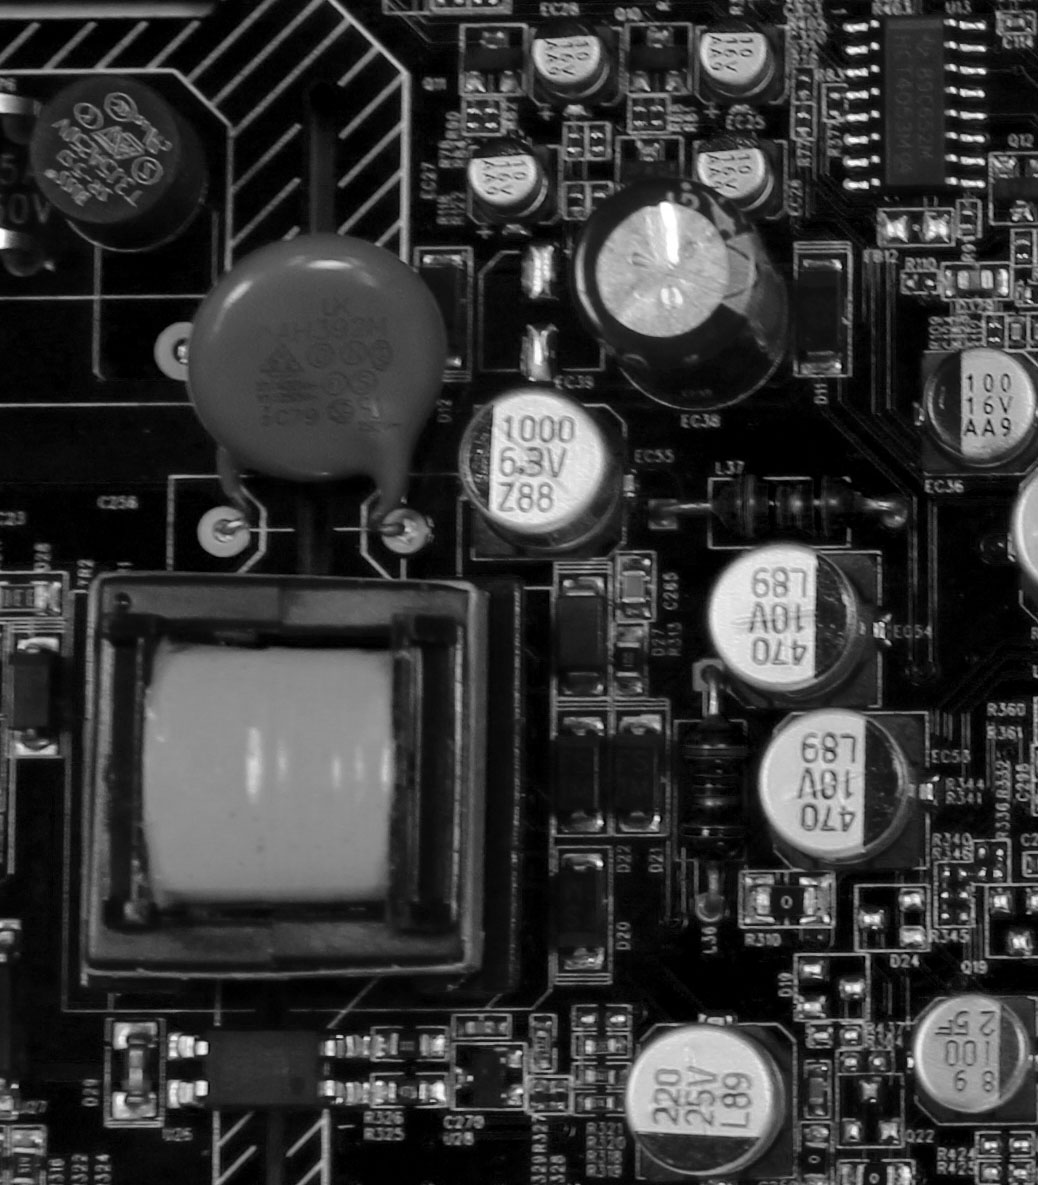
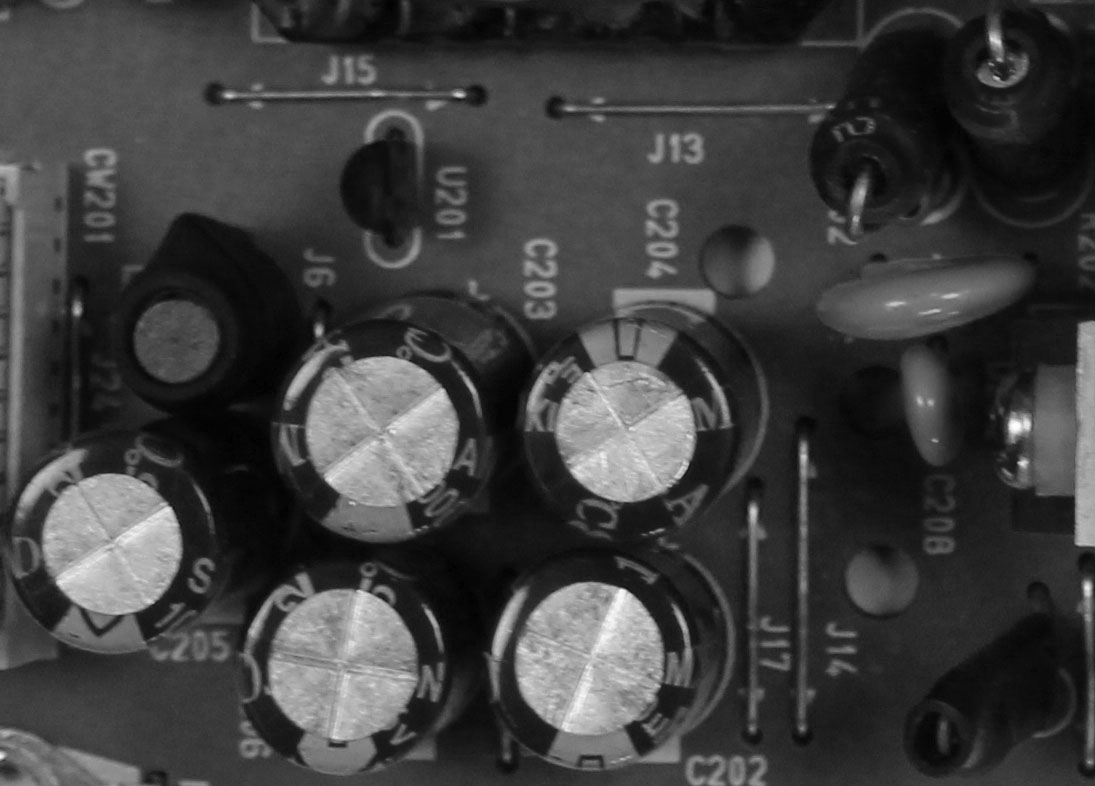
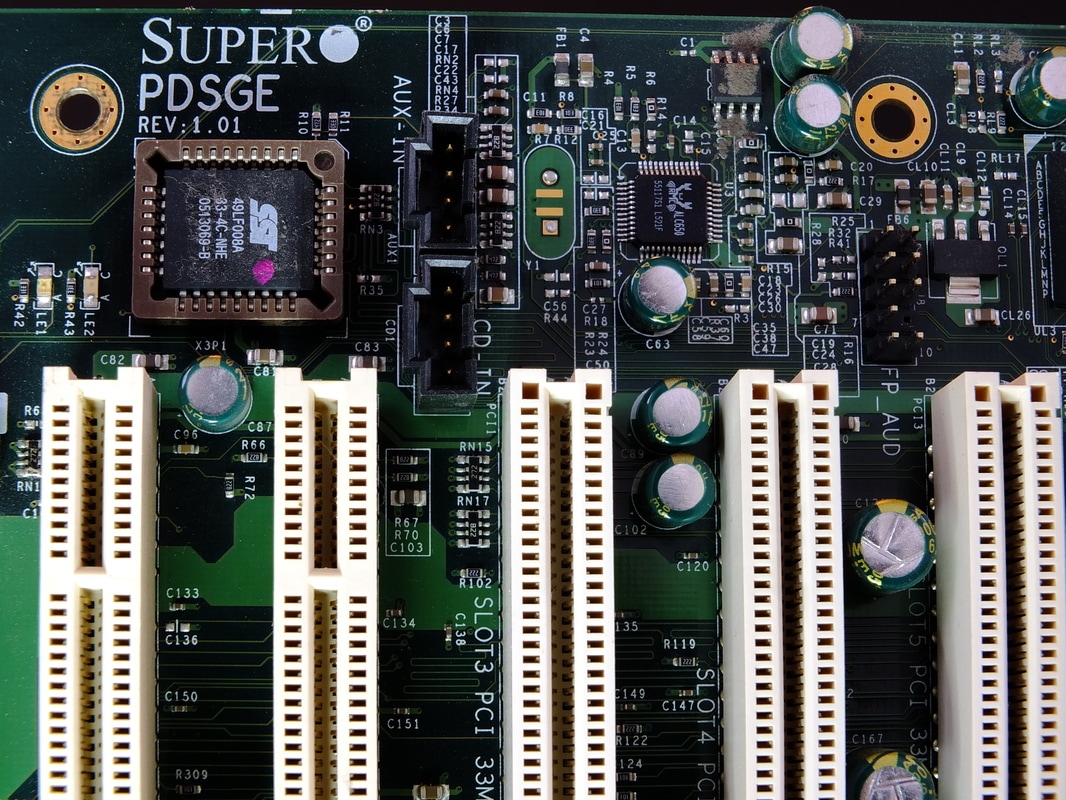
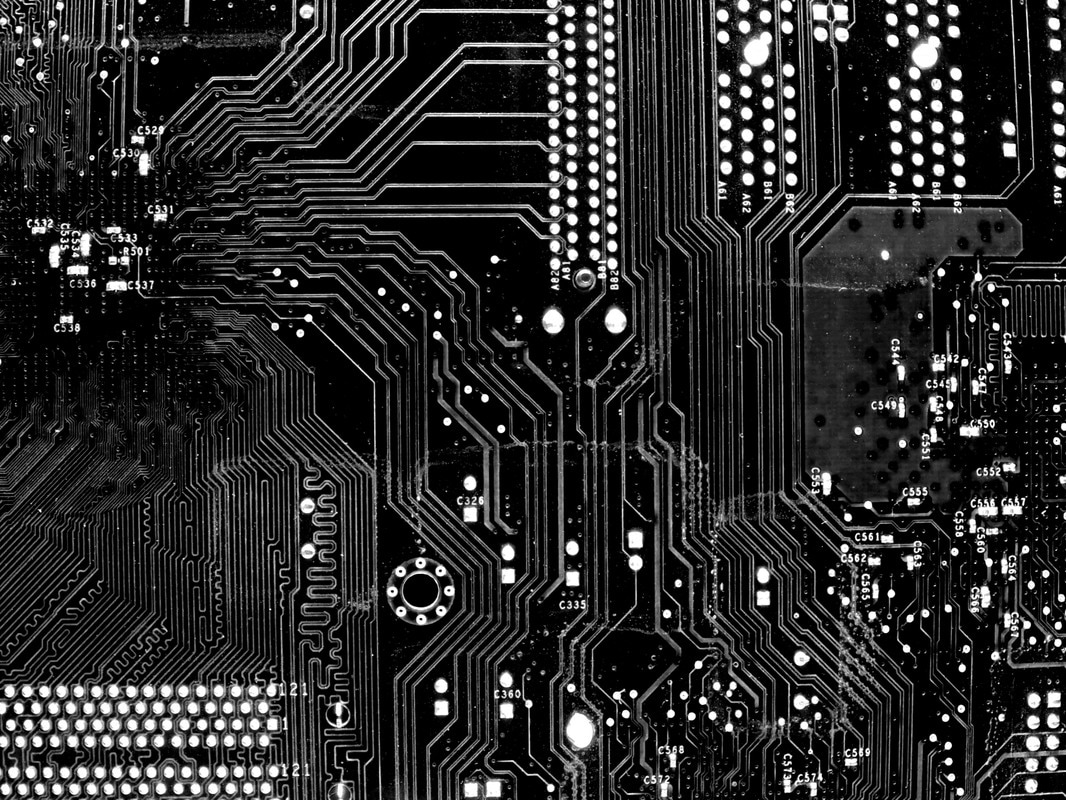
Development 4: Improved shots
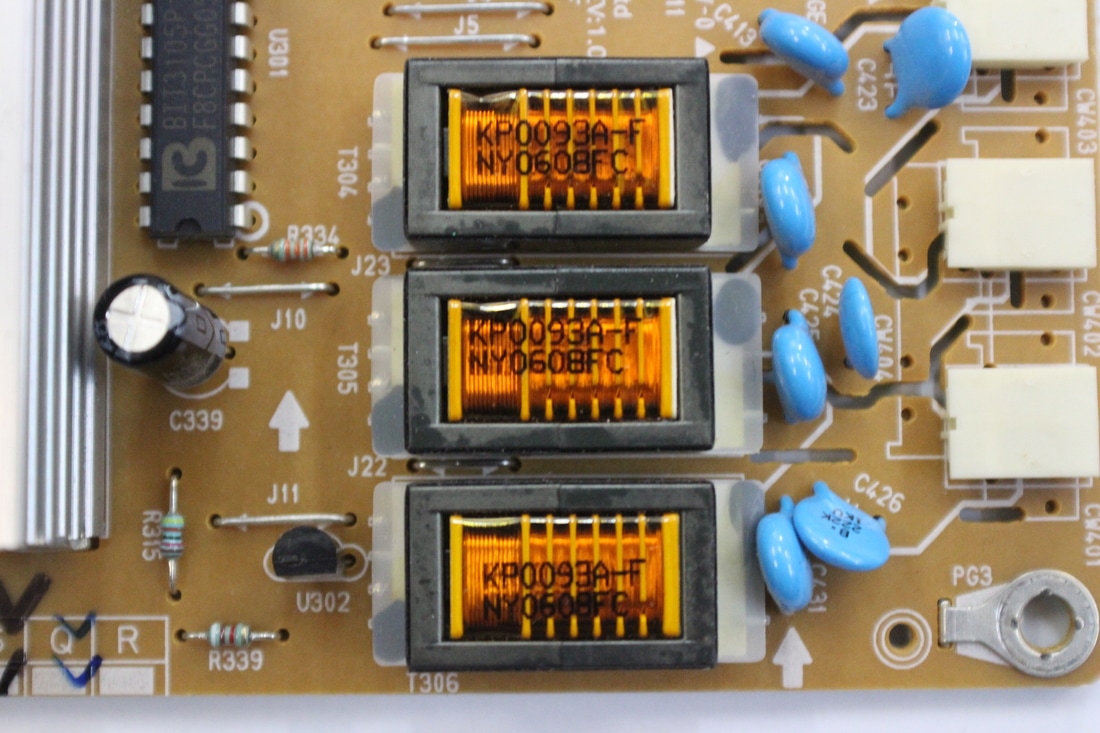
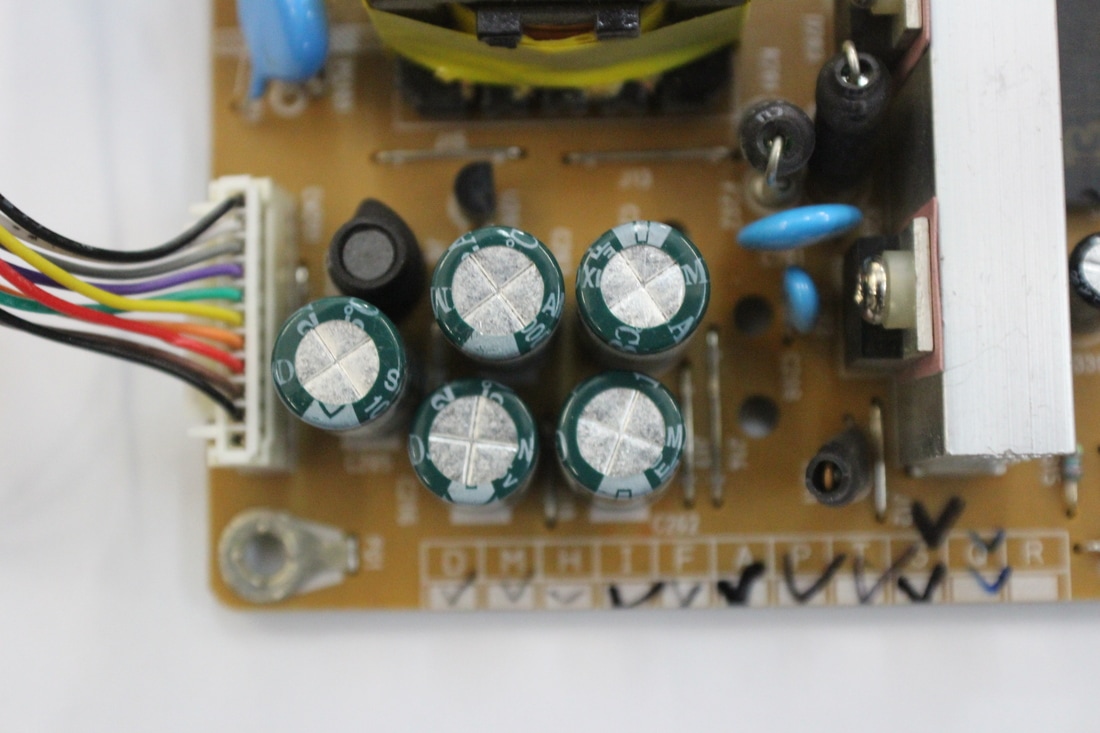
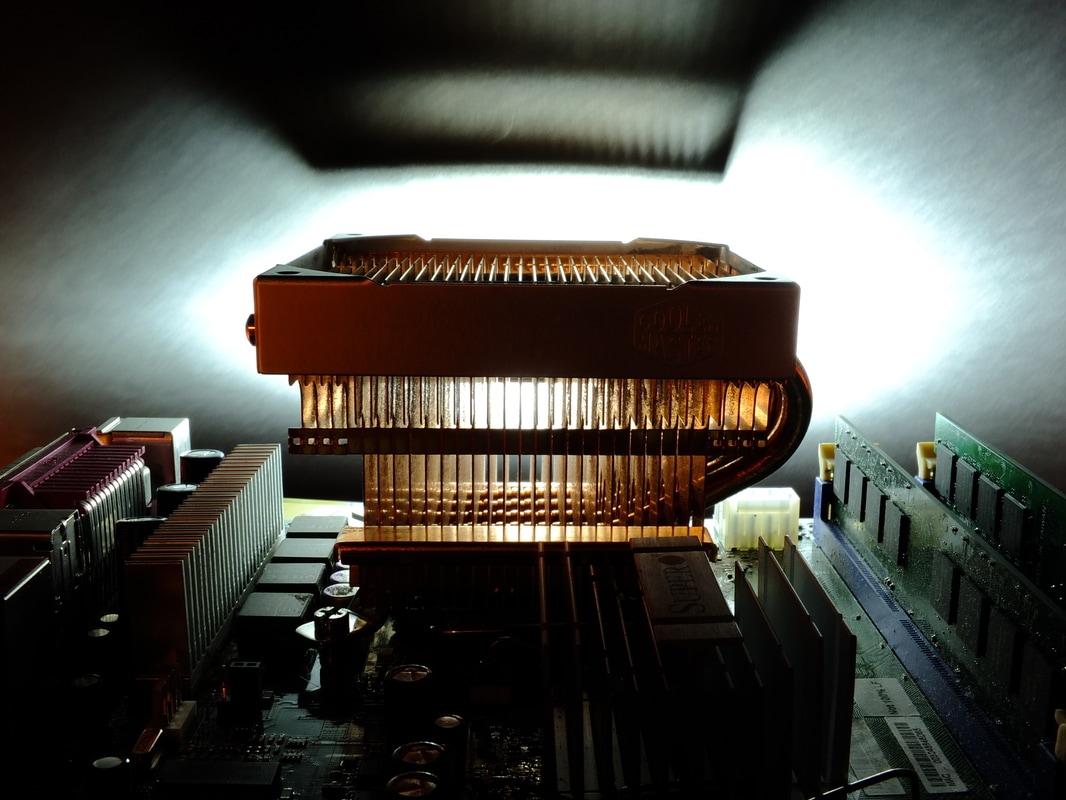
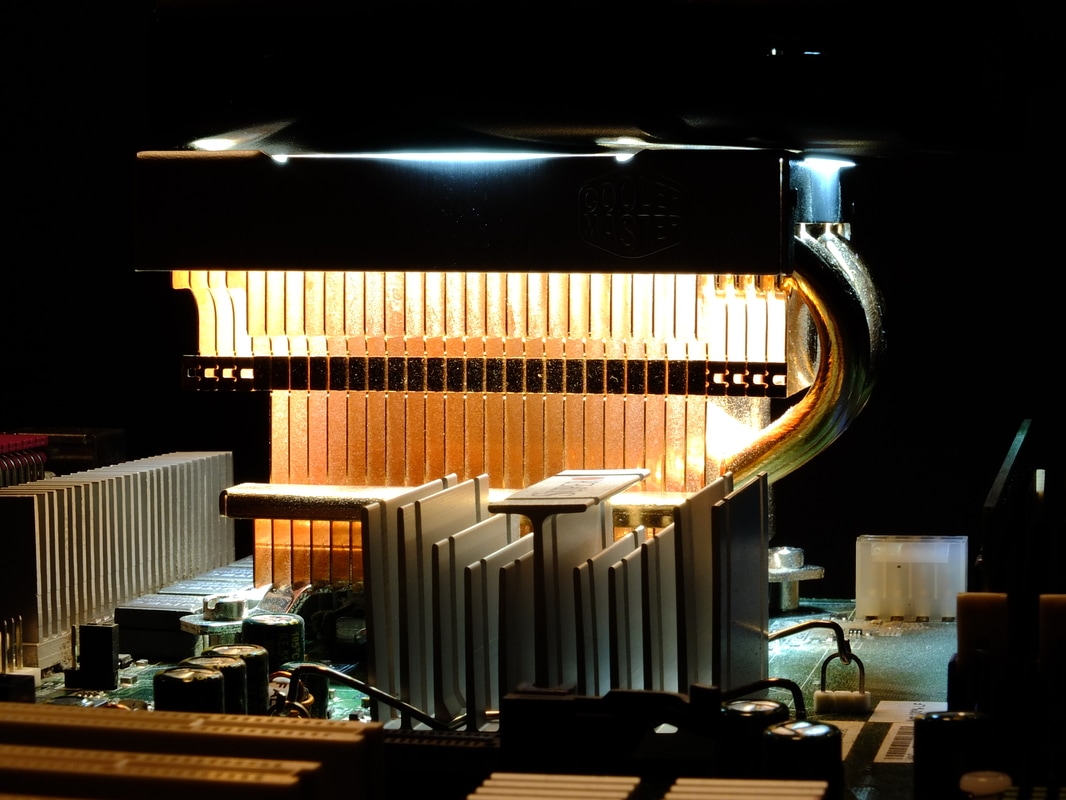
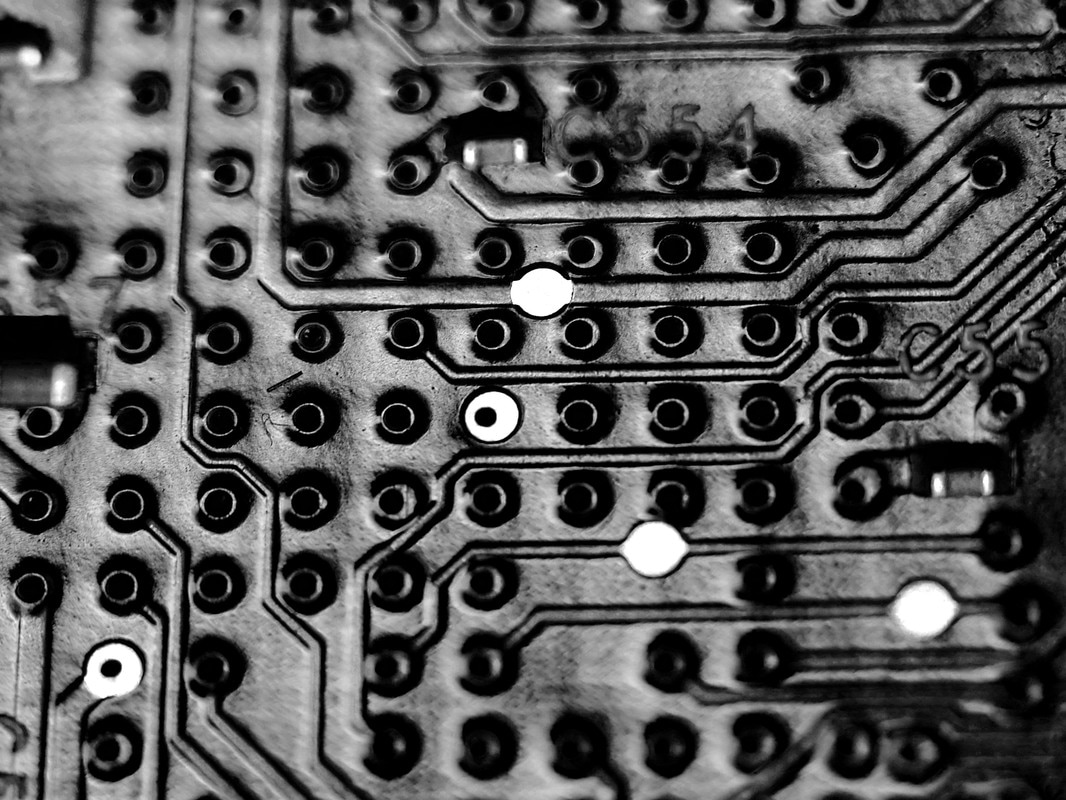
for this development, I used improved techniques of photography. The goal was to get very high quality and detailed images of a motherboard that i had at home.
Started at f11 to get a small depth of field but then changed to f3.6 could not use the LED ring due to reflection. i took multiple shots for each photos at varying depth of field. I also use a 2 second timer to reduce camera shake.
Started at f11 to get a small depth of field but then changed to f3.6 could not use the LED ring due to reflection. i took multiple shots for each photos at varying depth of field. I also use a 2 second timer to reduce camera shake.
|
|
|
|
|
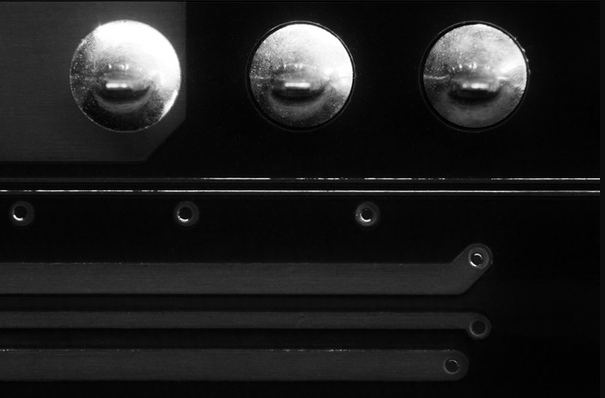
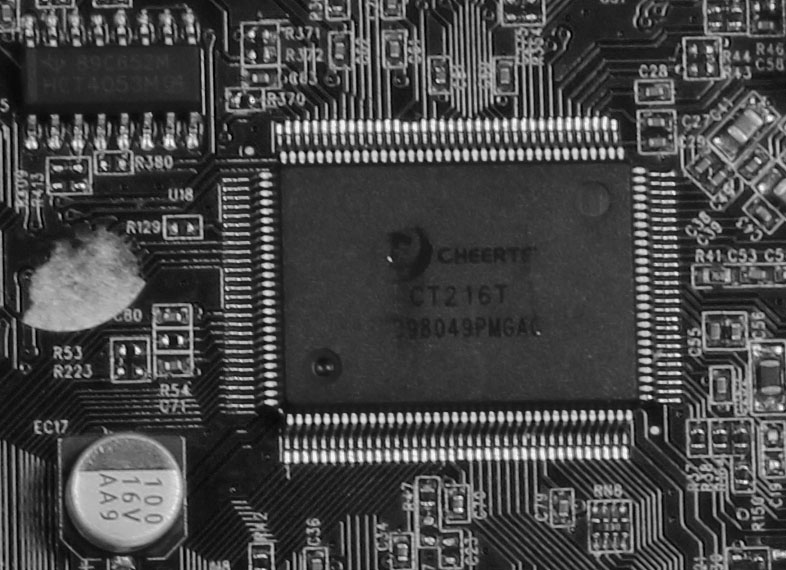
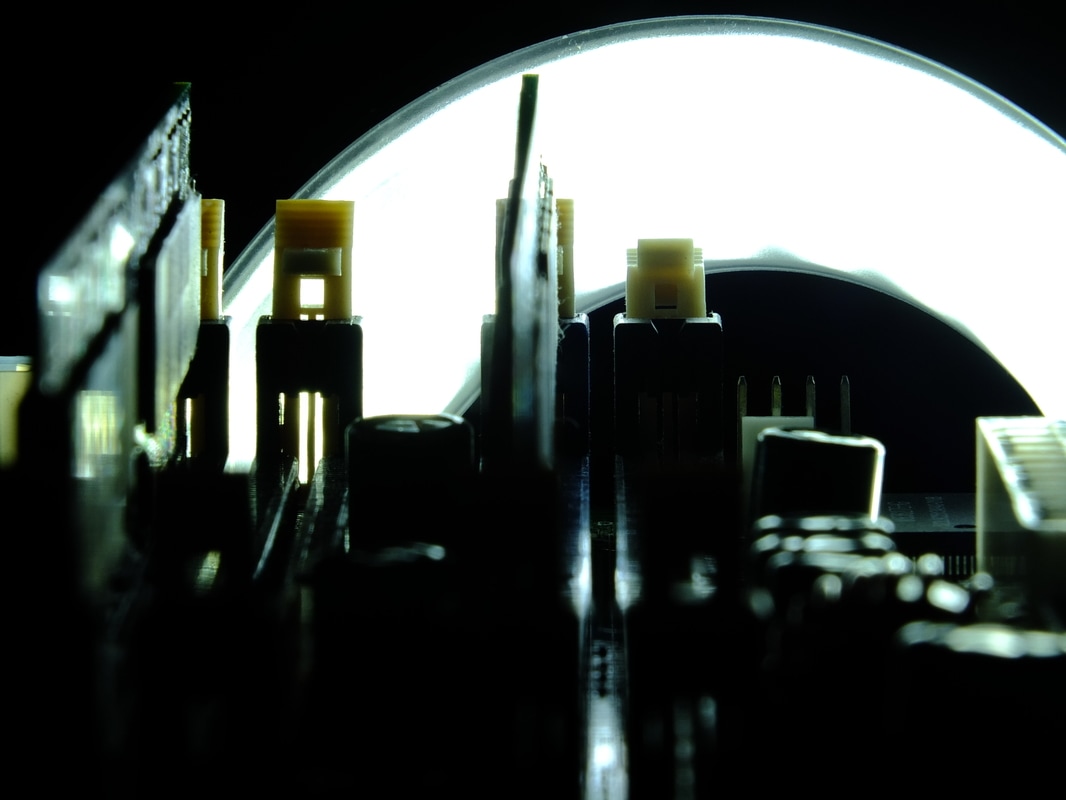
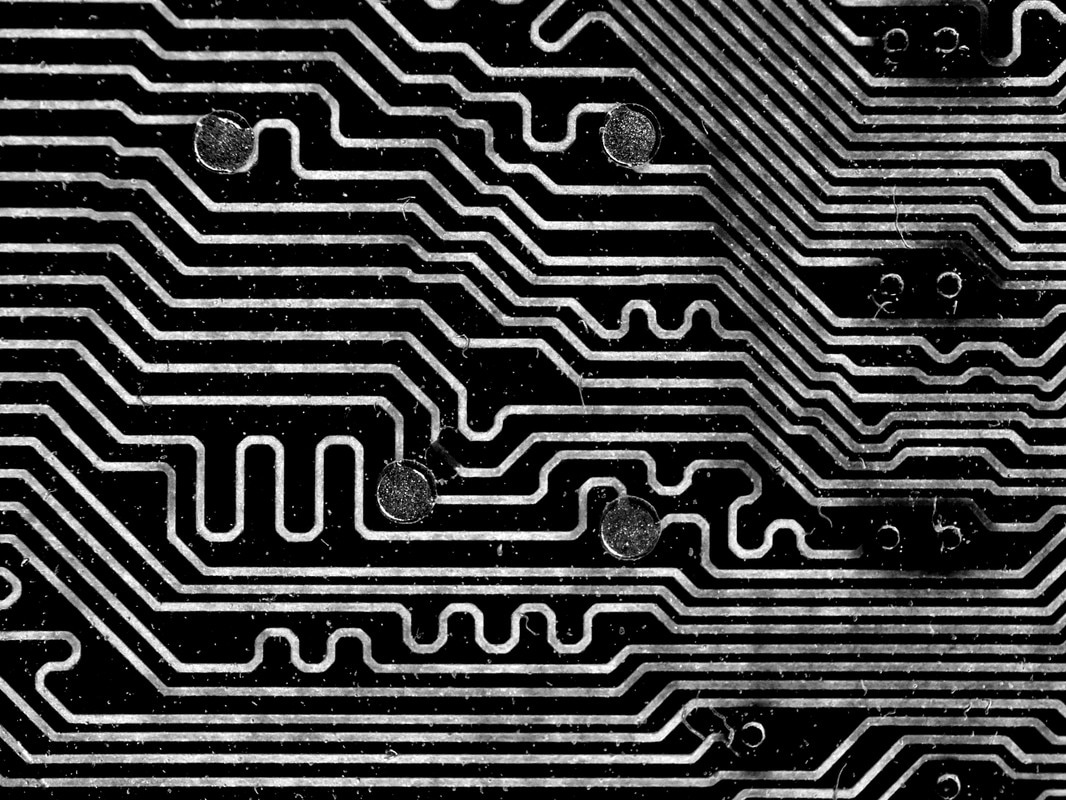
Development 5: Circuit City
My goal with this development was to experiment with angling the circuit board to create a city scape effect. I set my camera to f11 for a short depth of field. I did this to make the image more interesting and reminiscent of a brutalism style image. I also use my LED camera ring to light the board from different angles to get shadows.
|
|
|
|
|
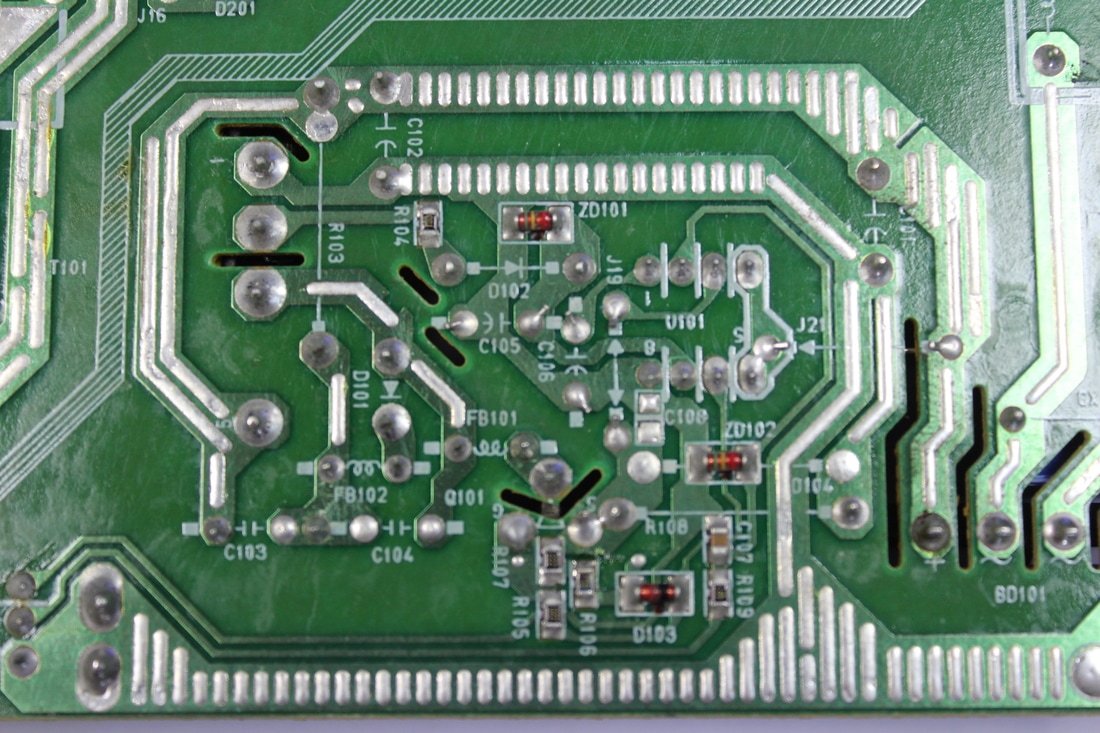
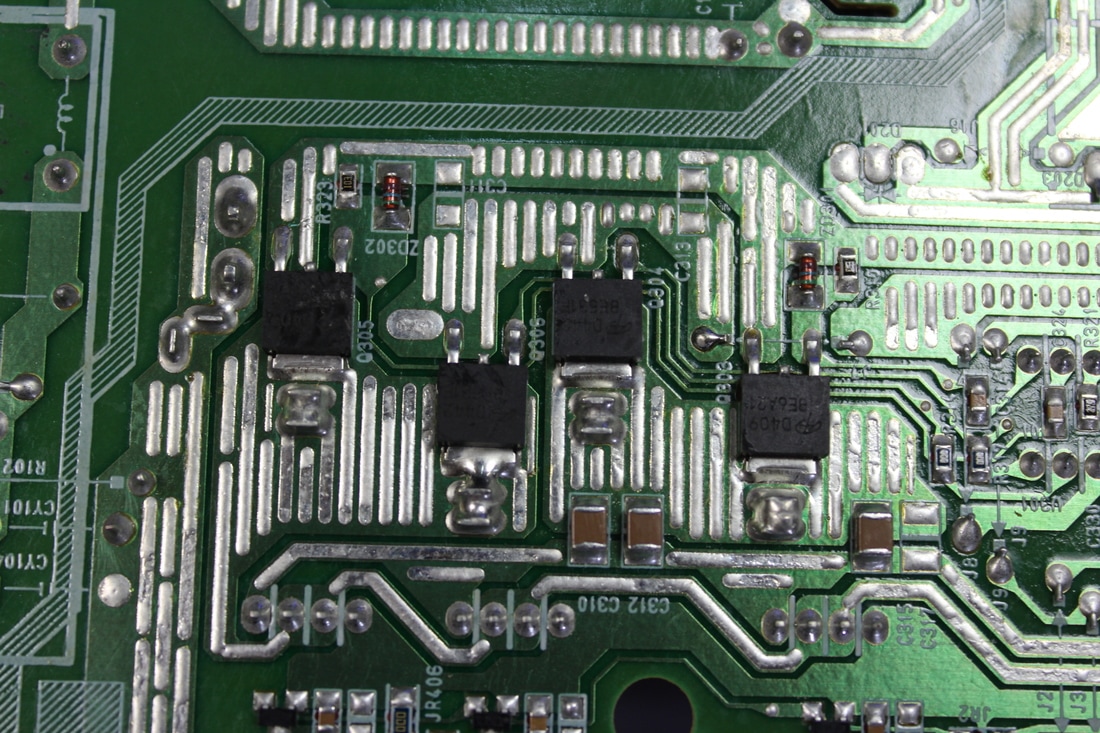
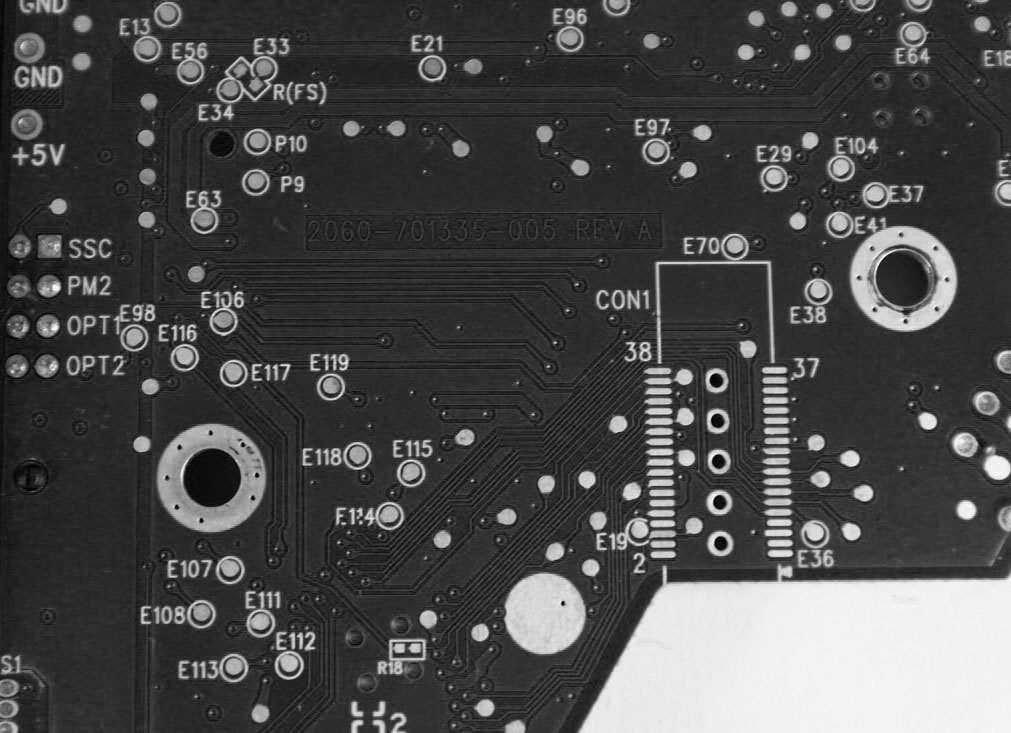
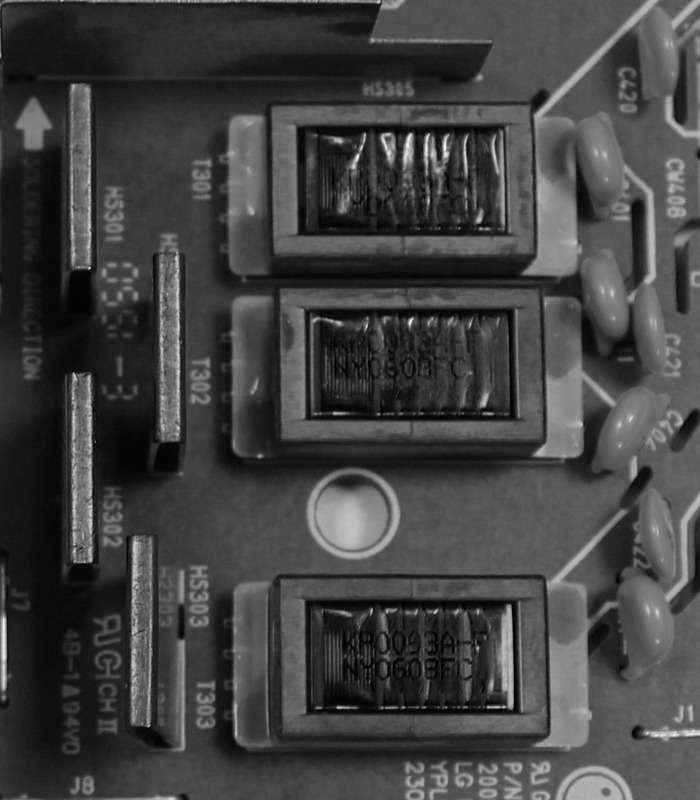
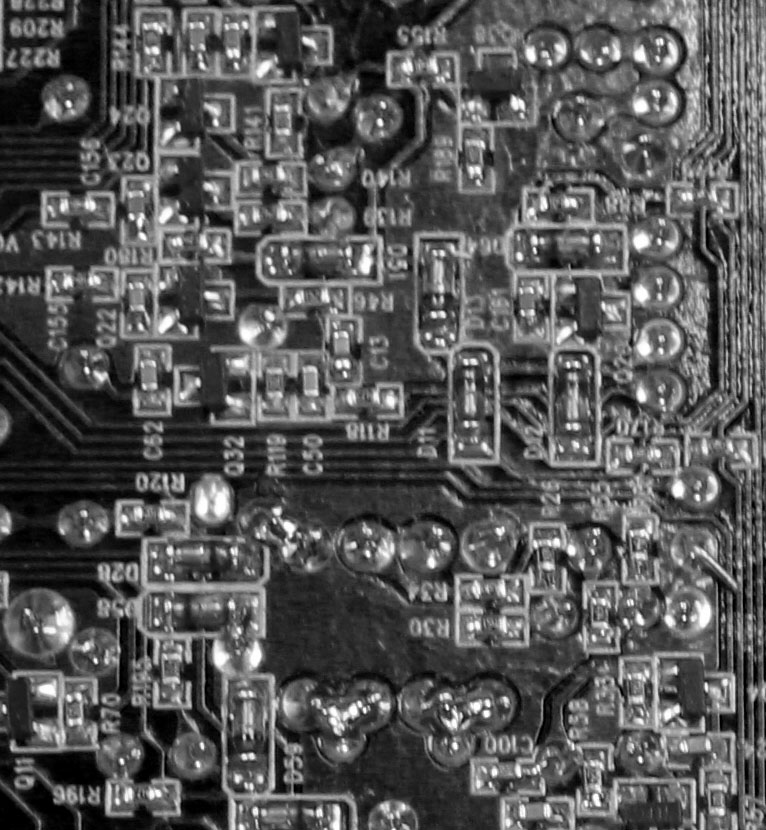
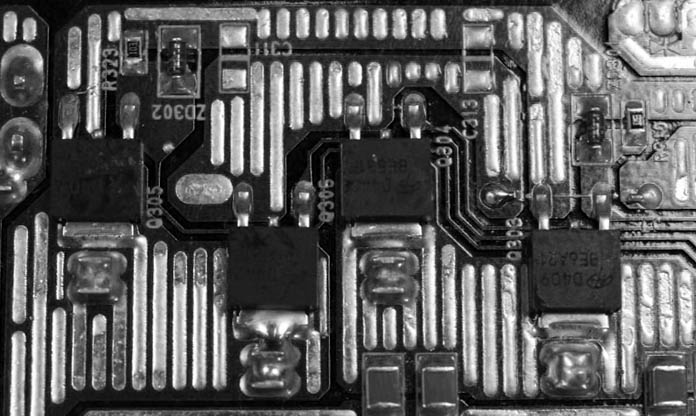
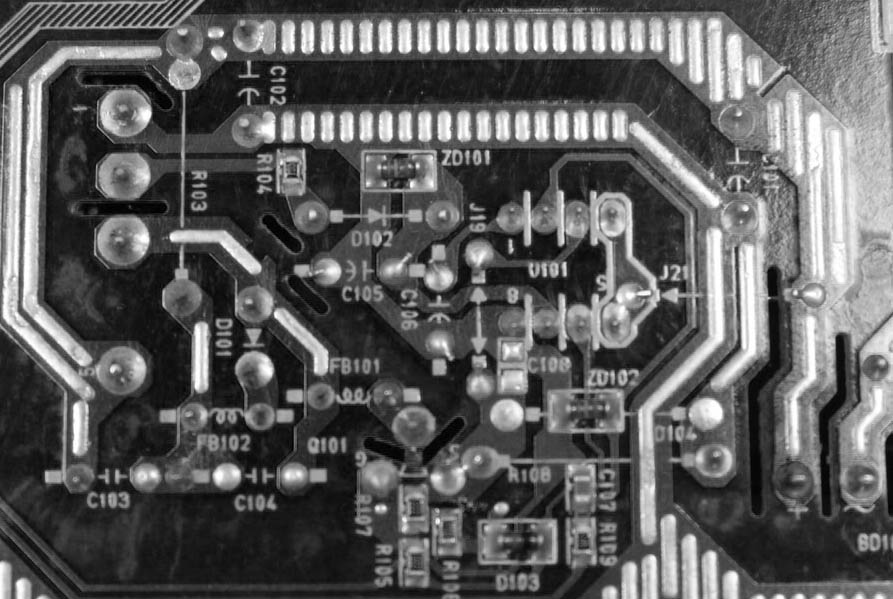
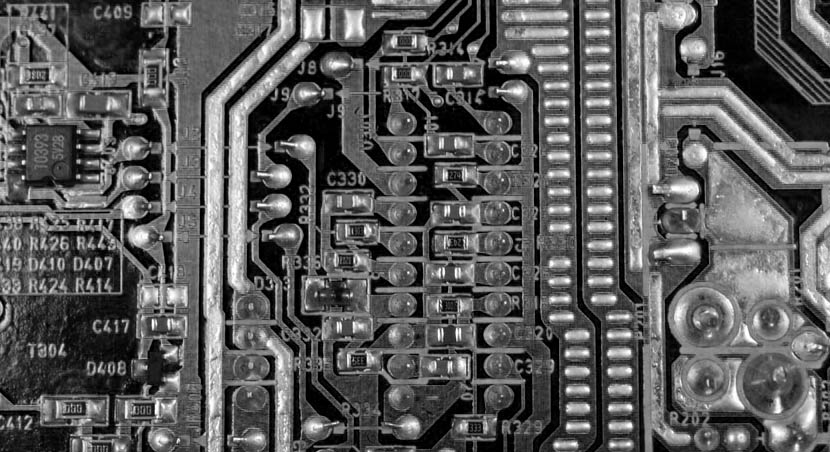
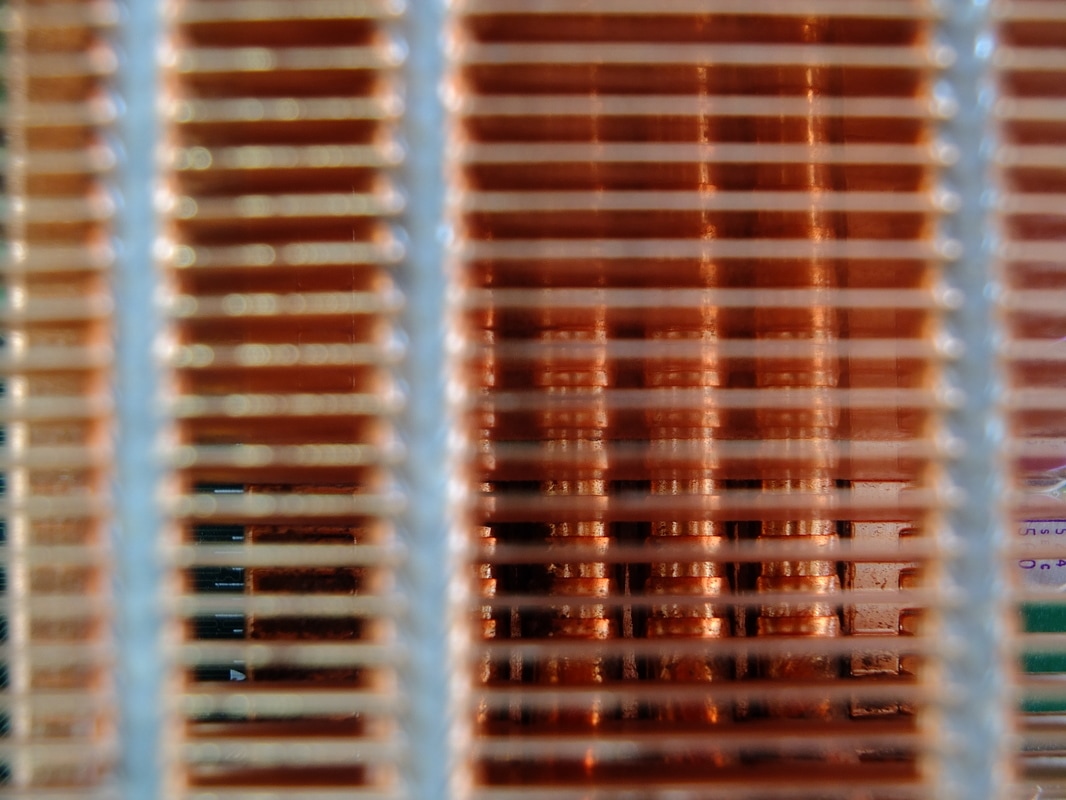
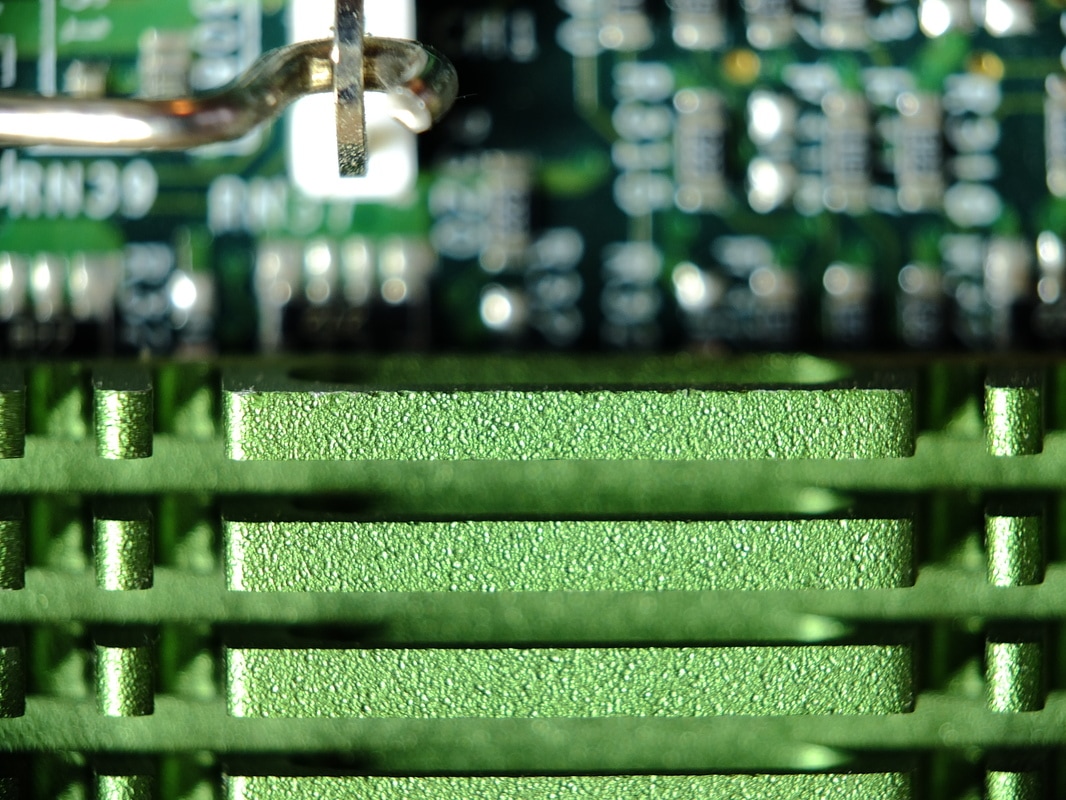
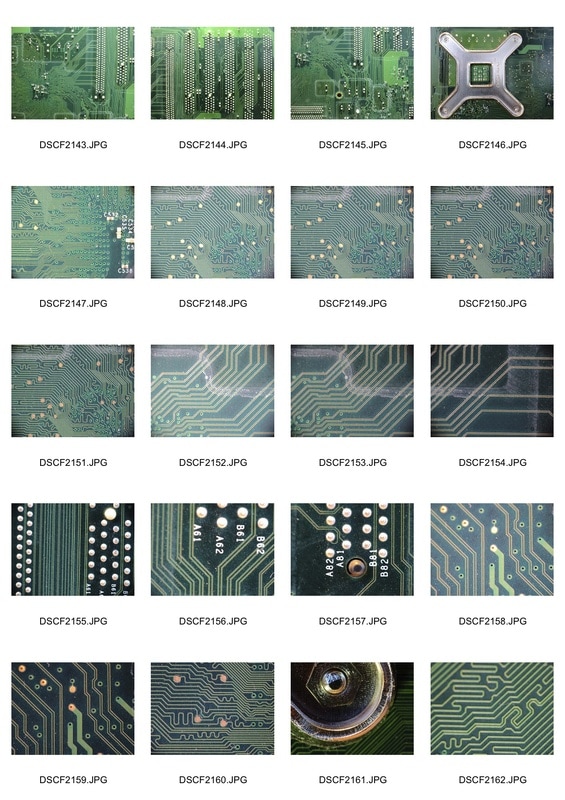
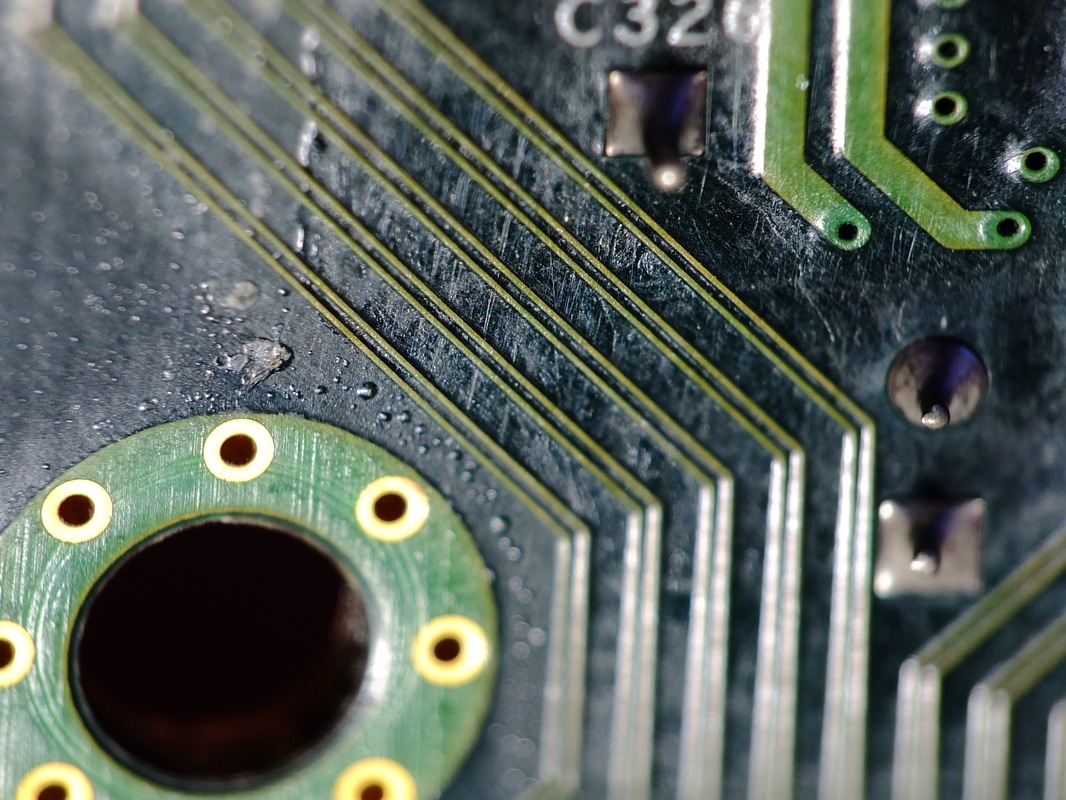
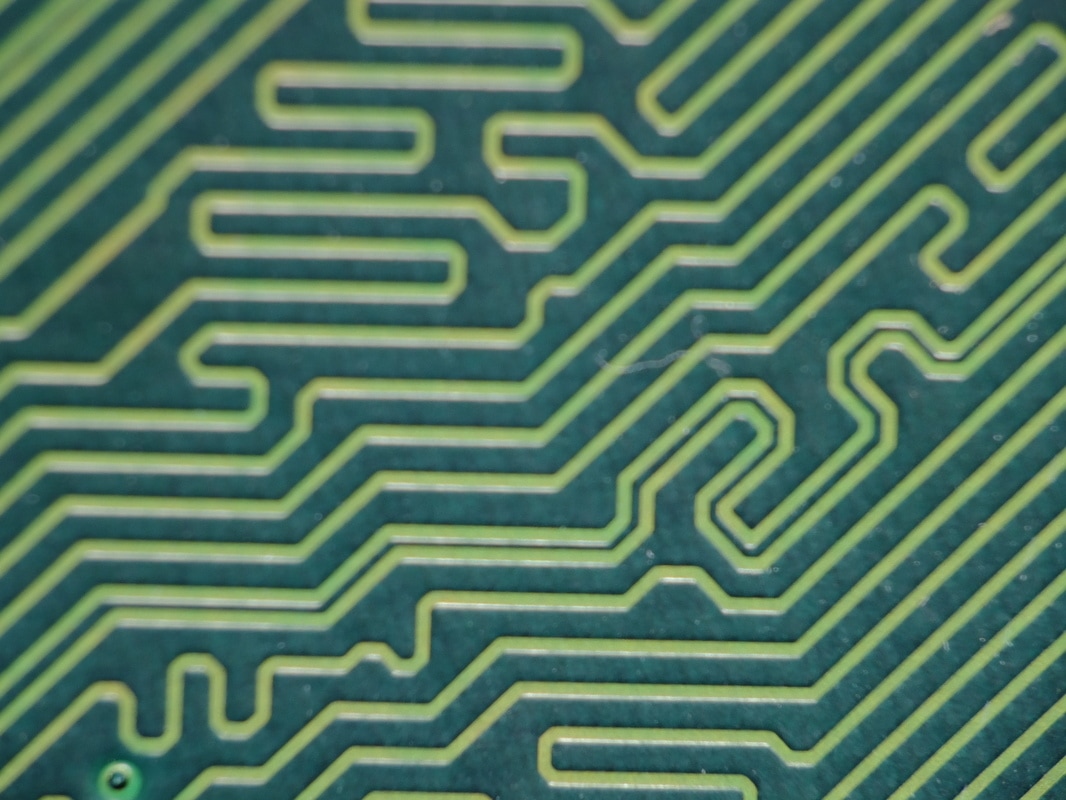
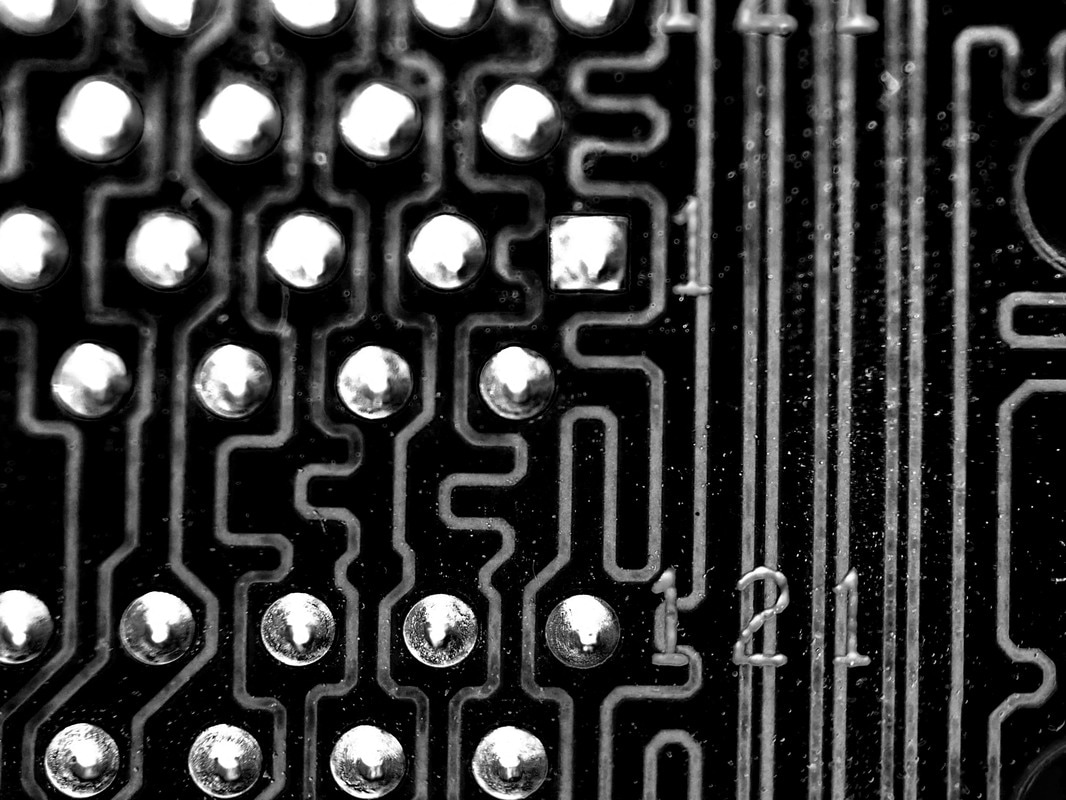
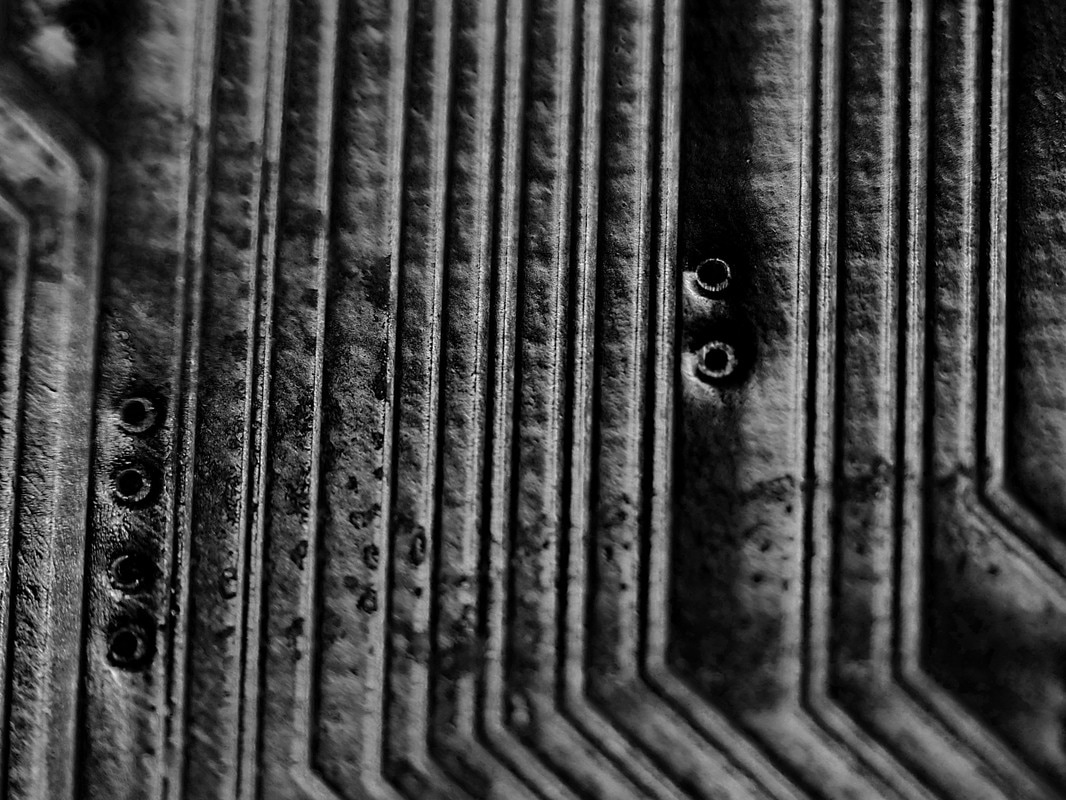
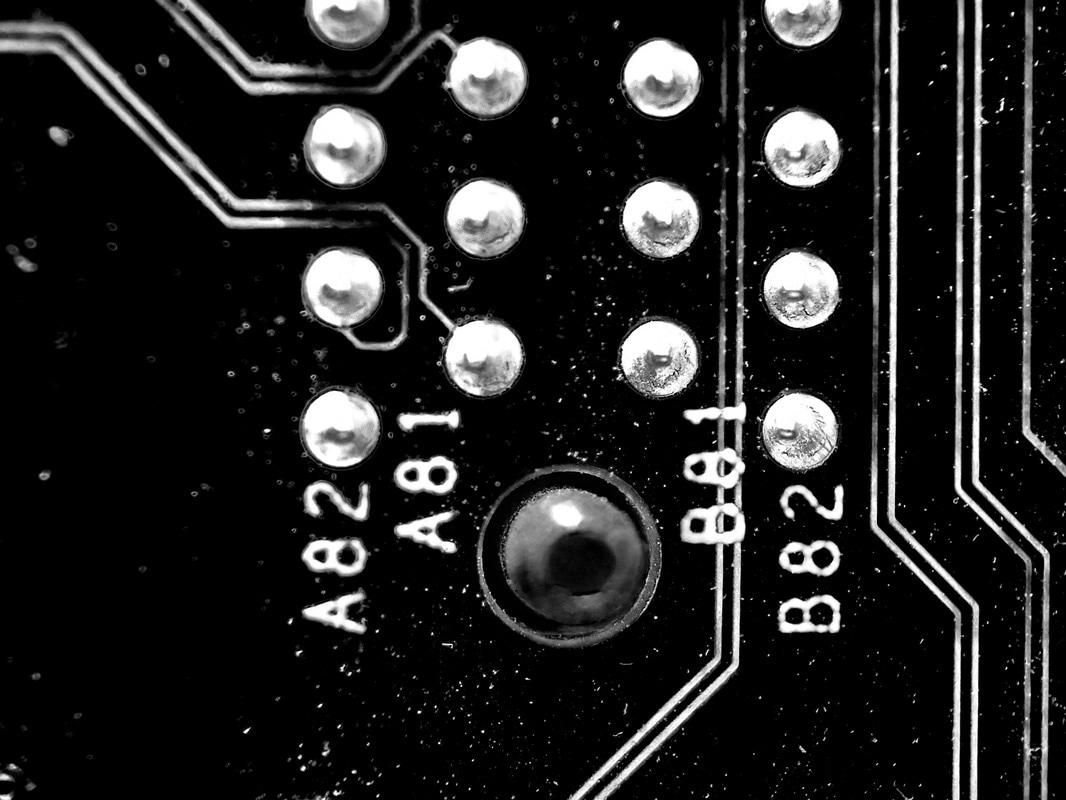
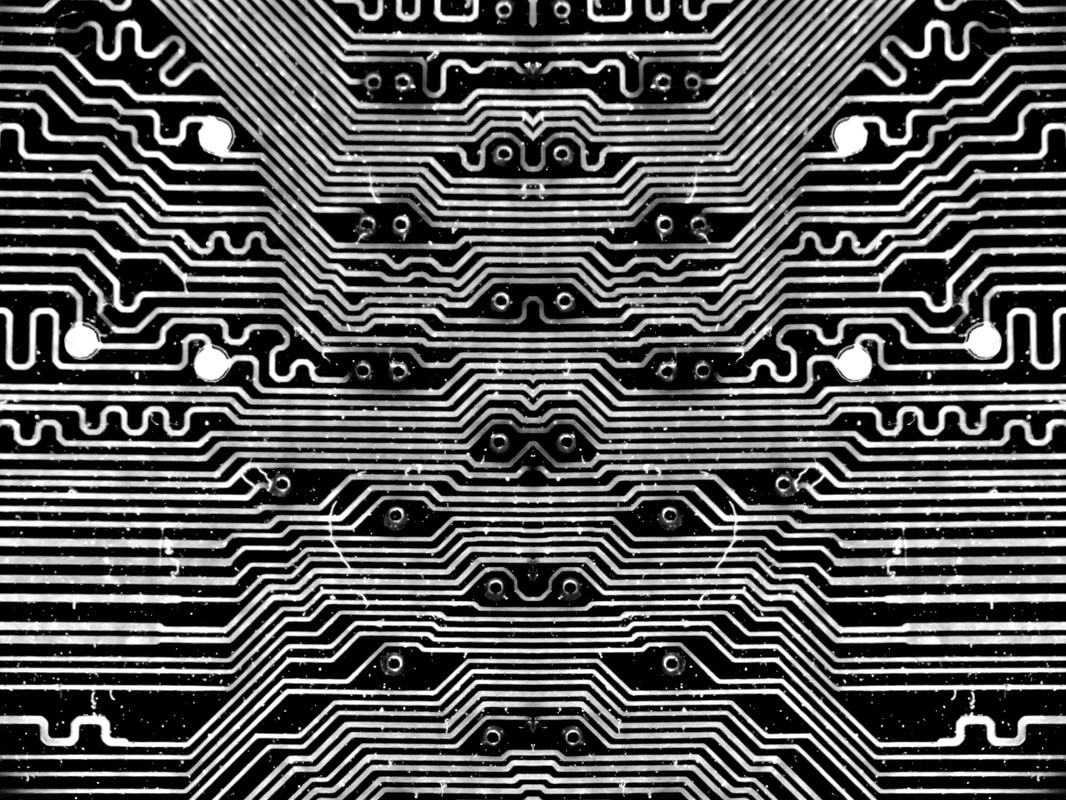
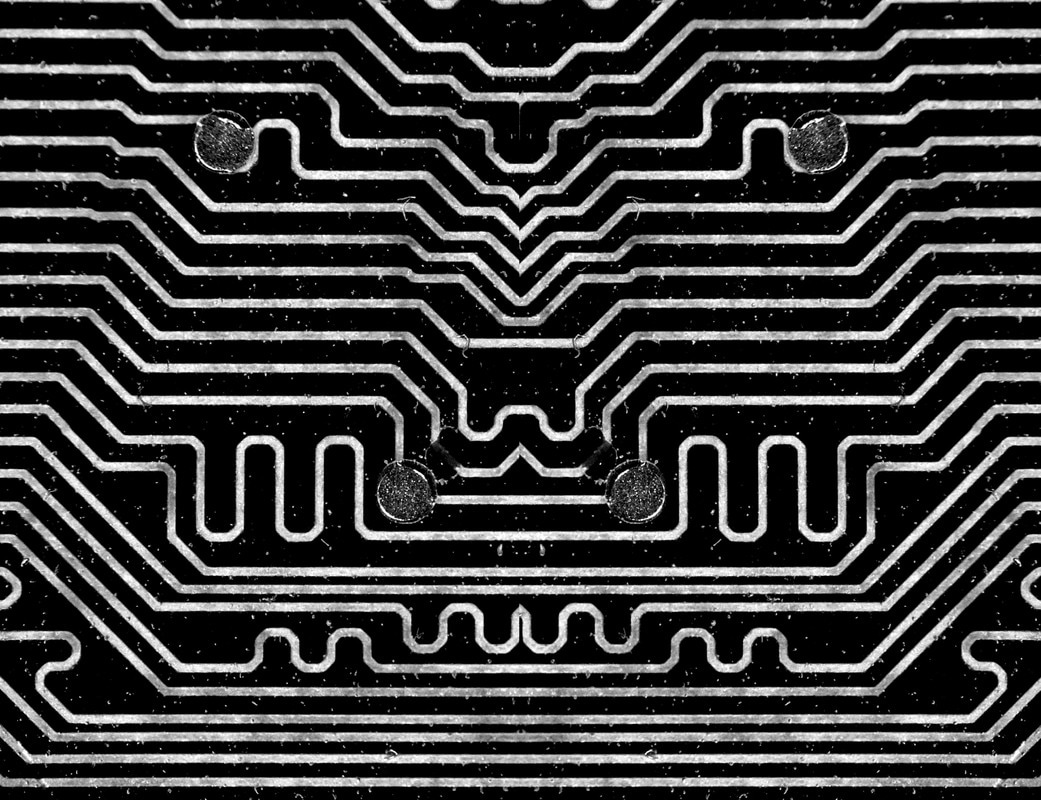
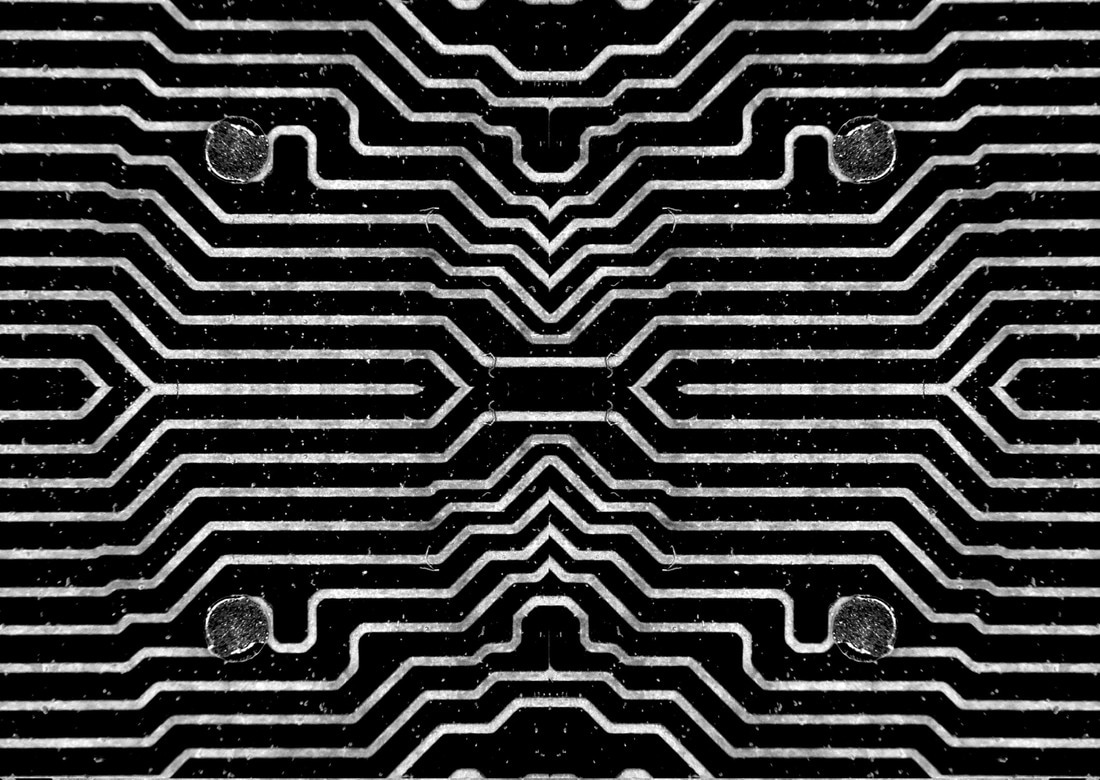
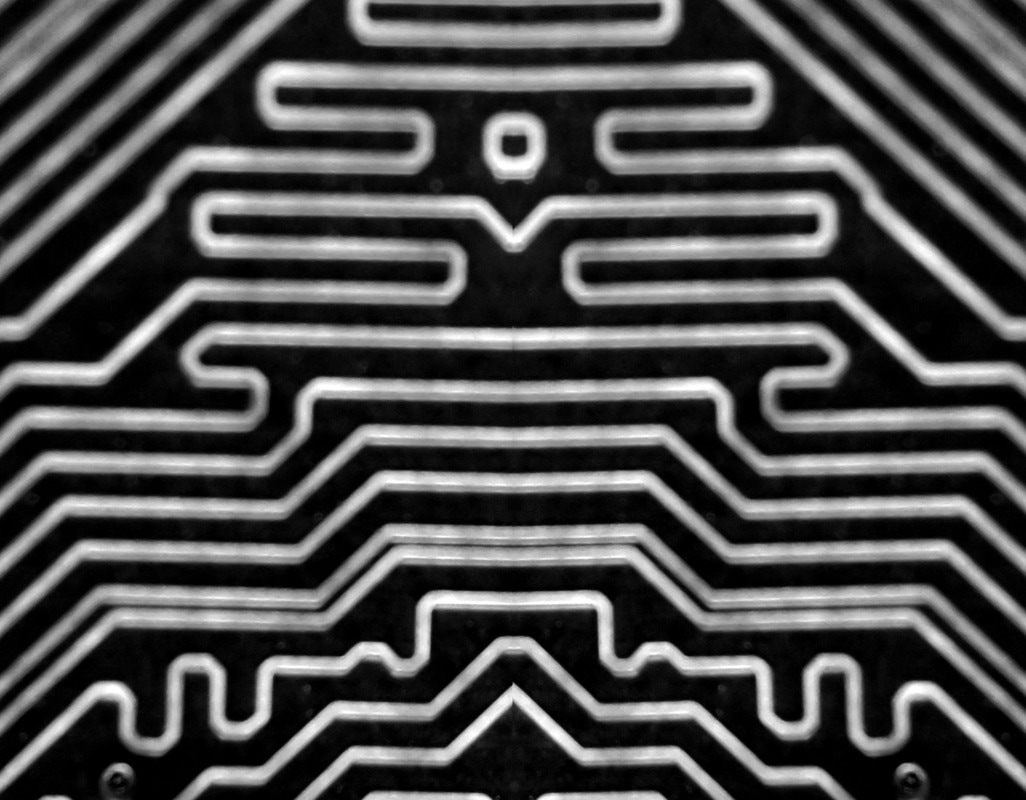
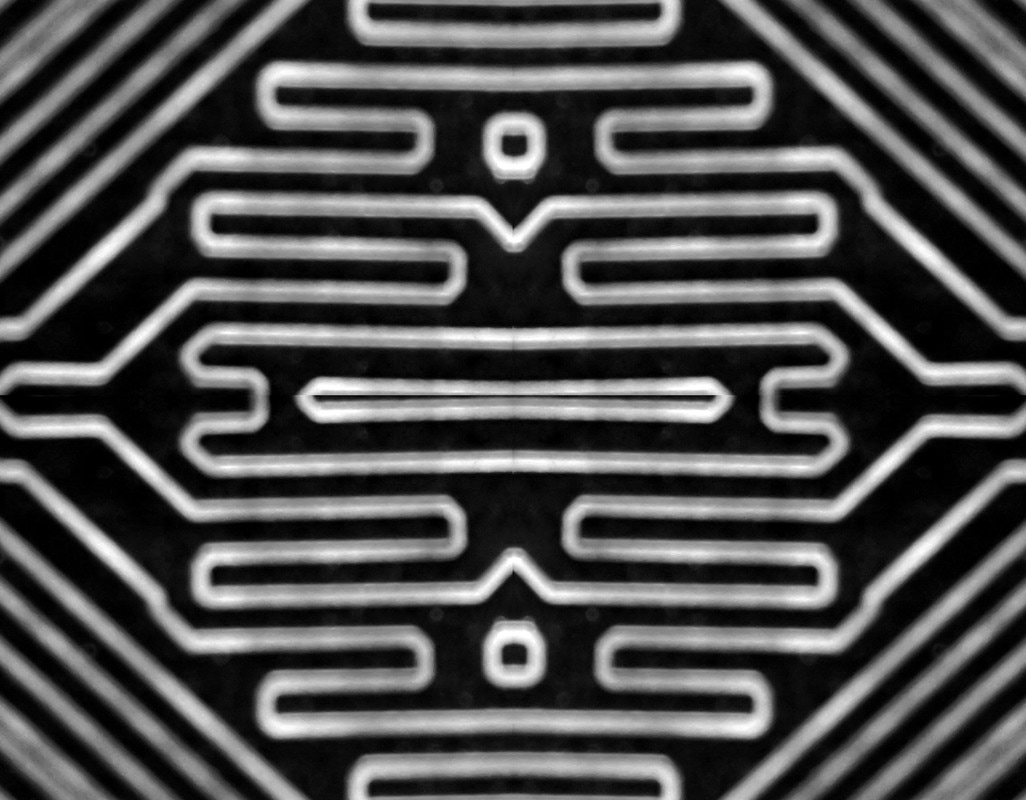
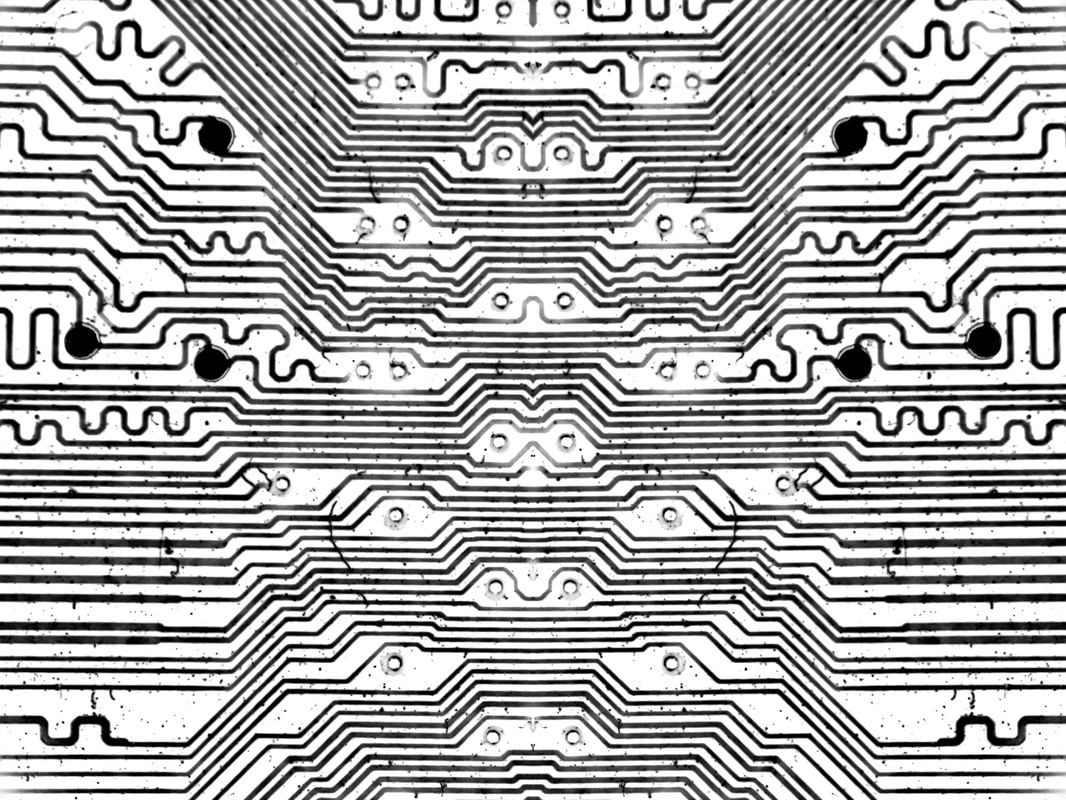
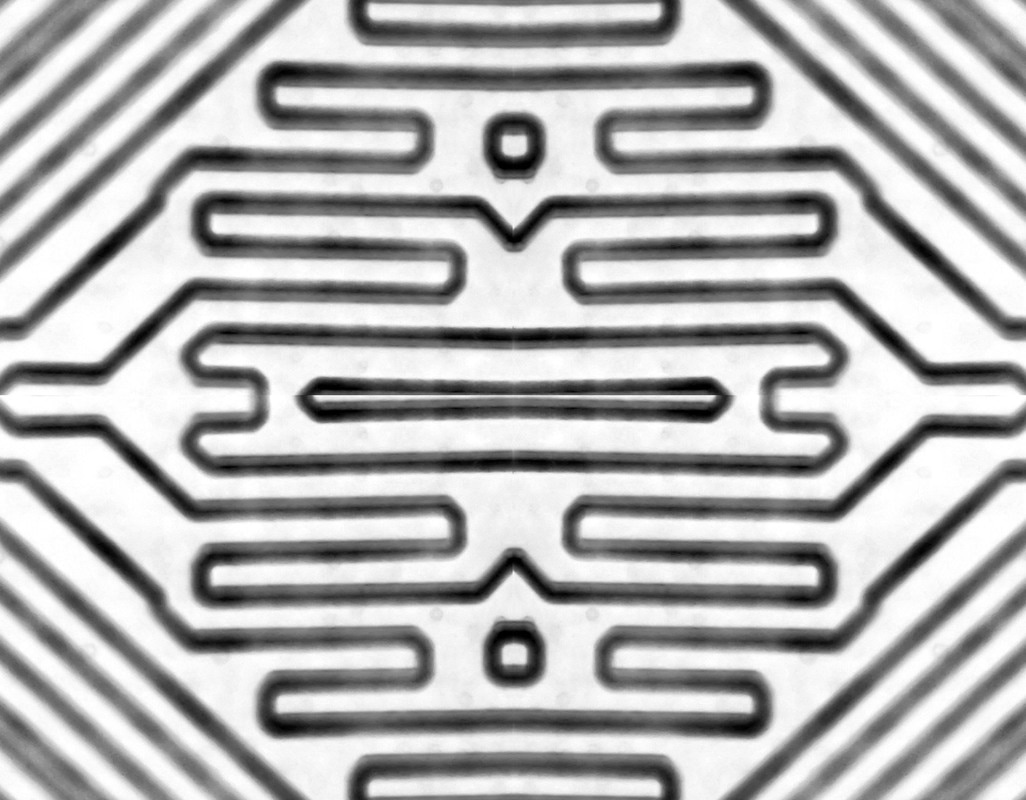
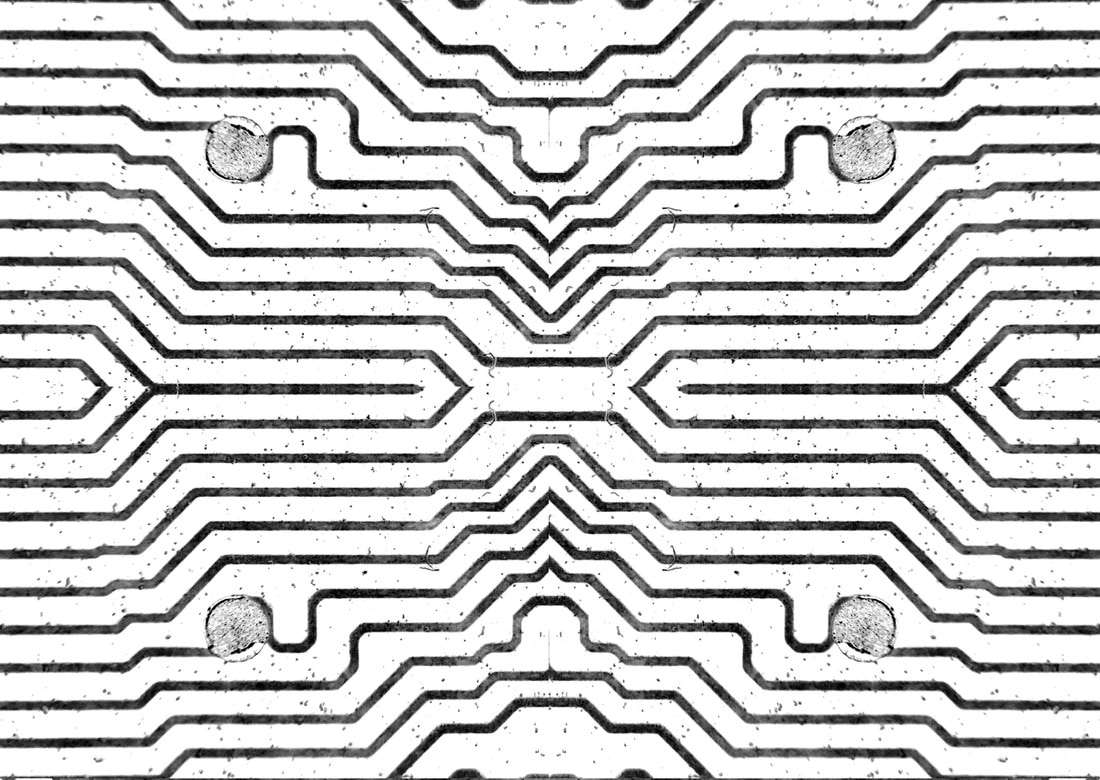
Development 6: Macro lens shots
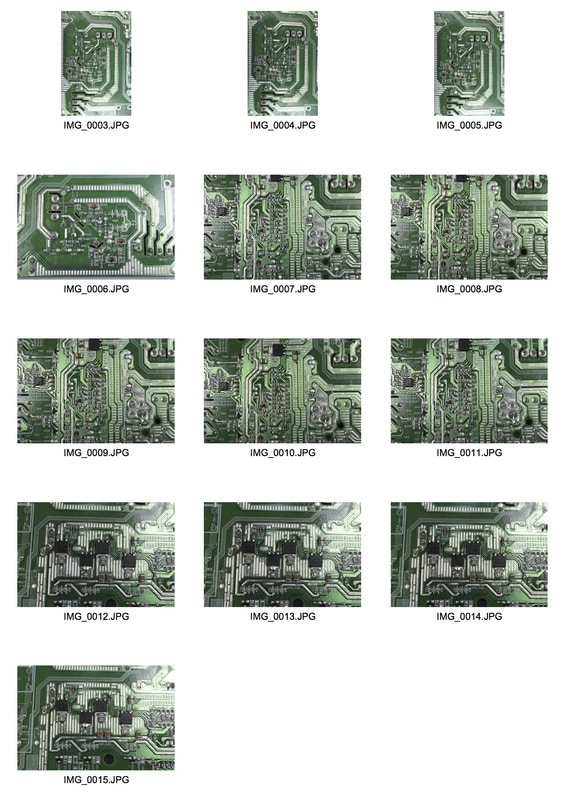
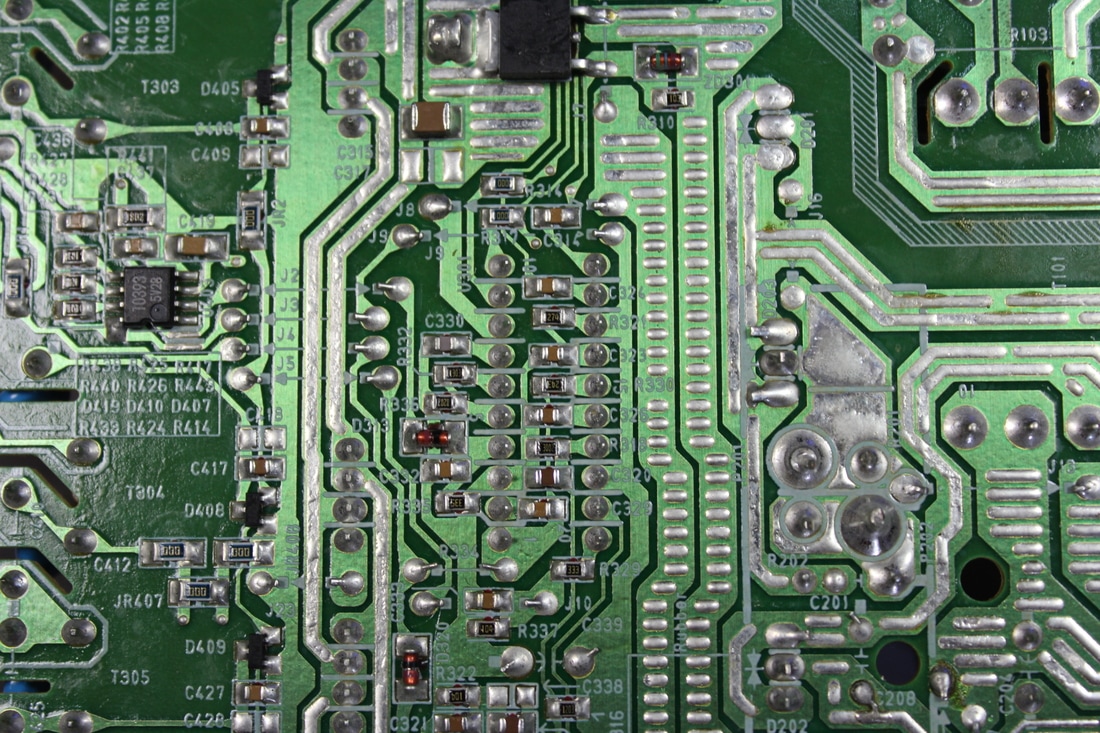
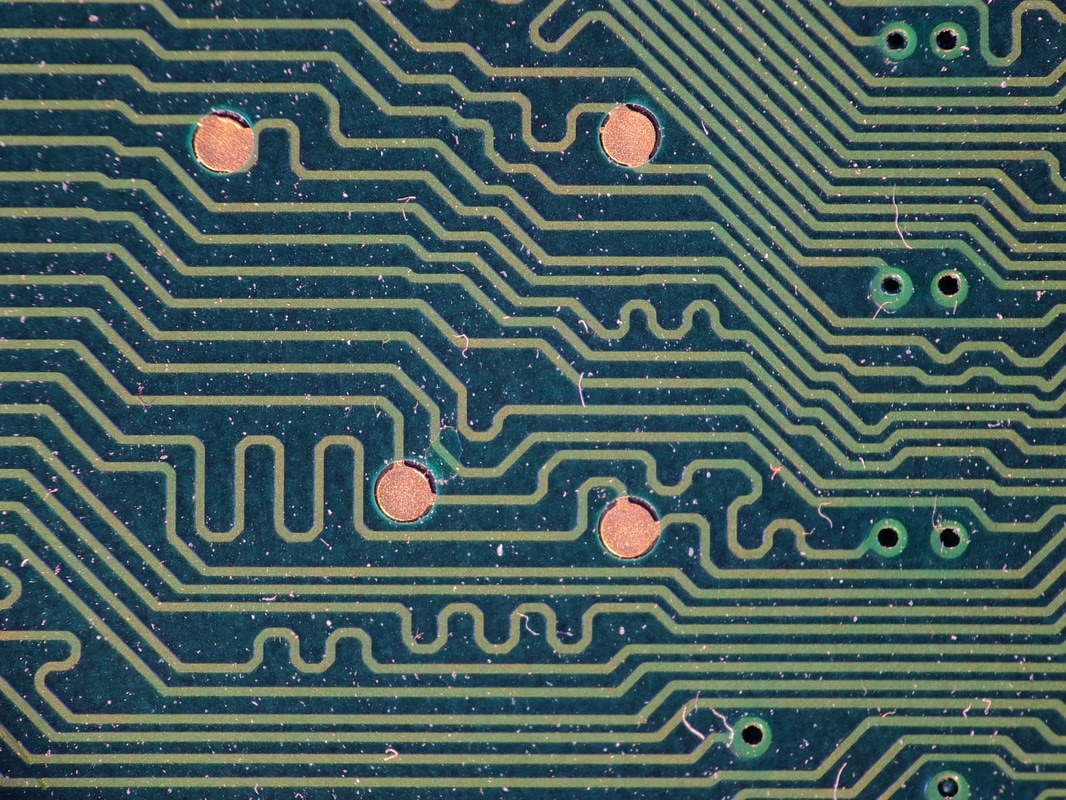
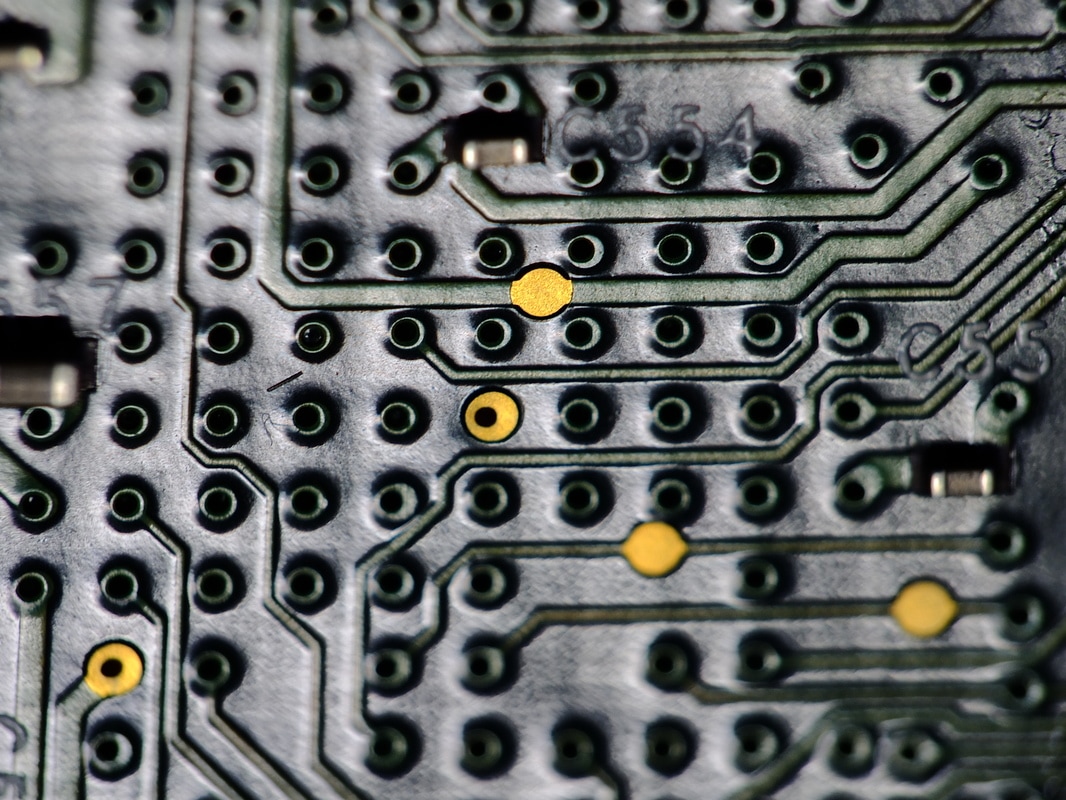
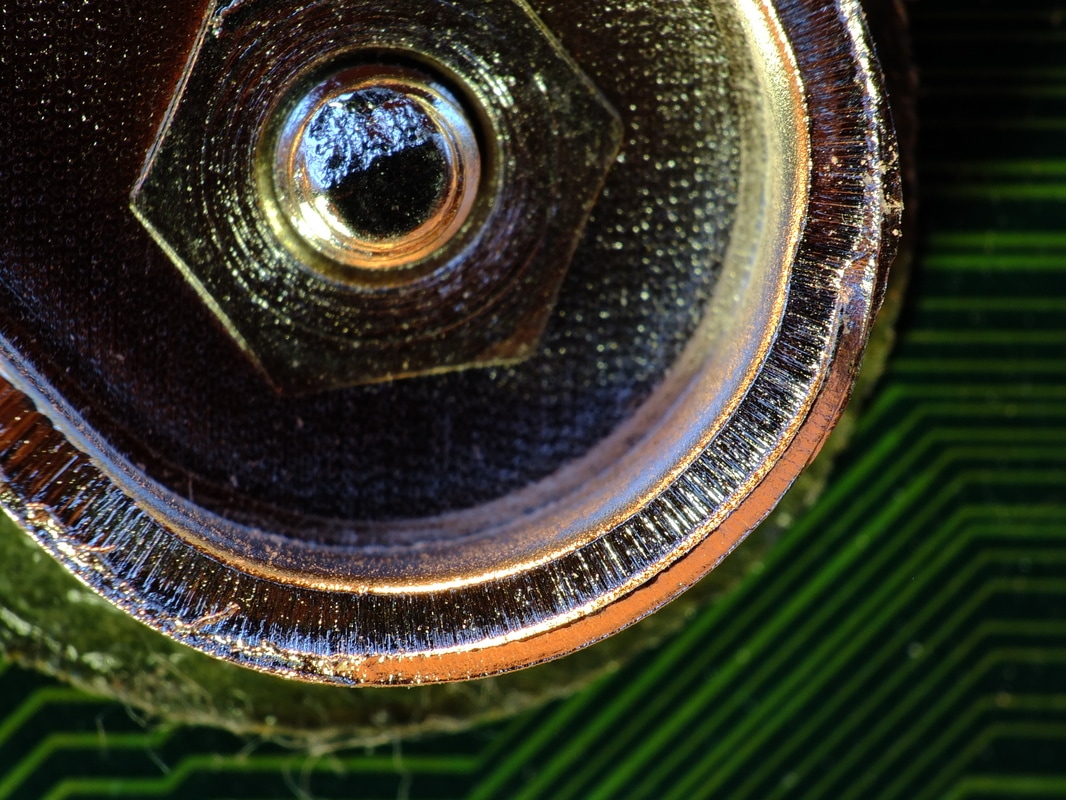
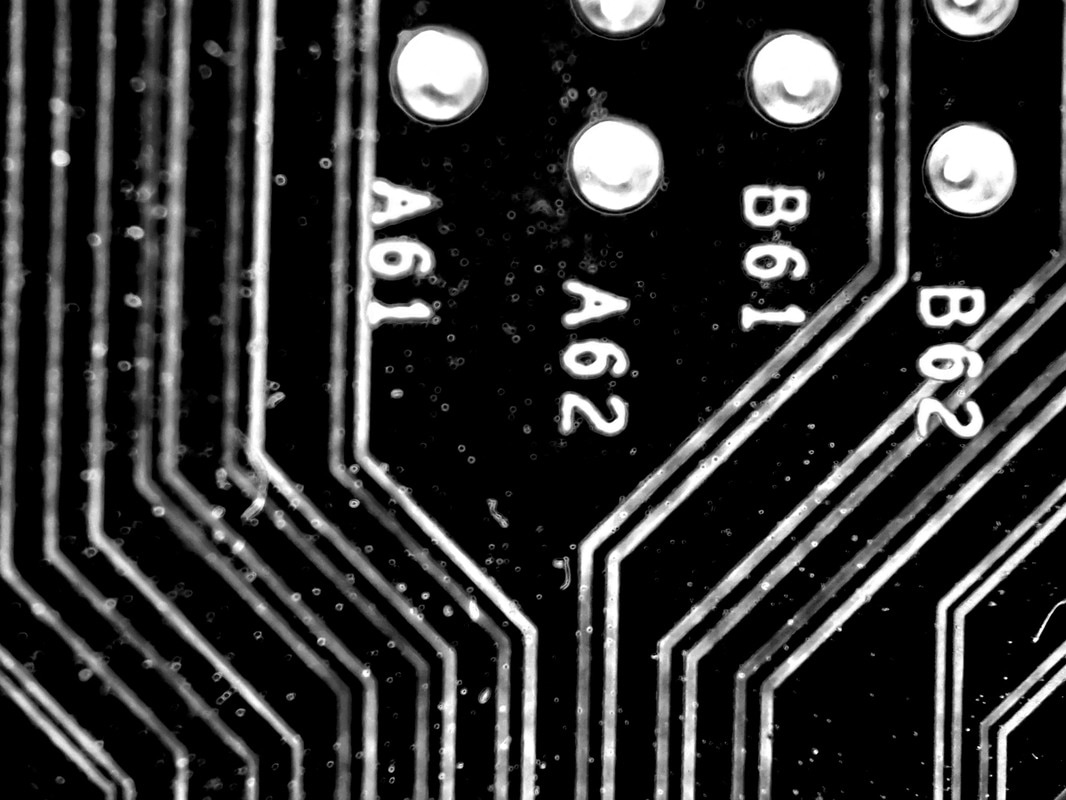
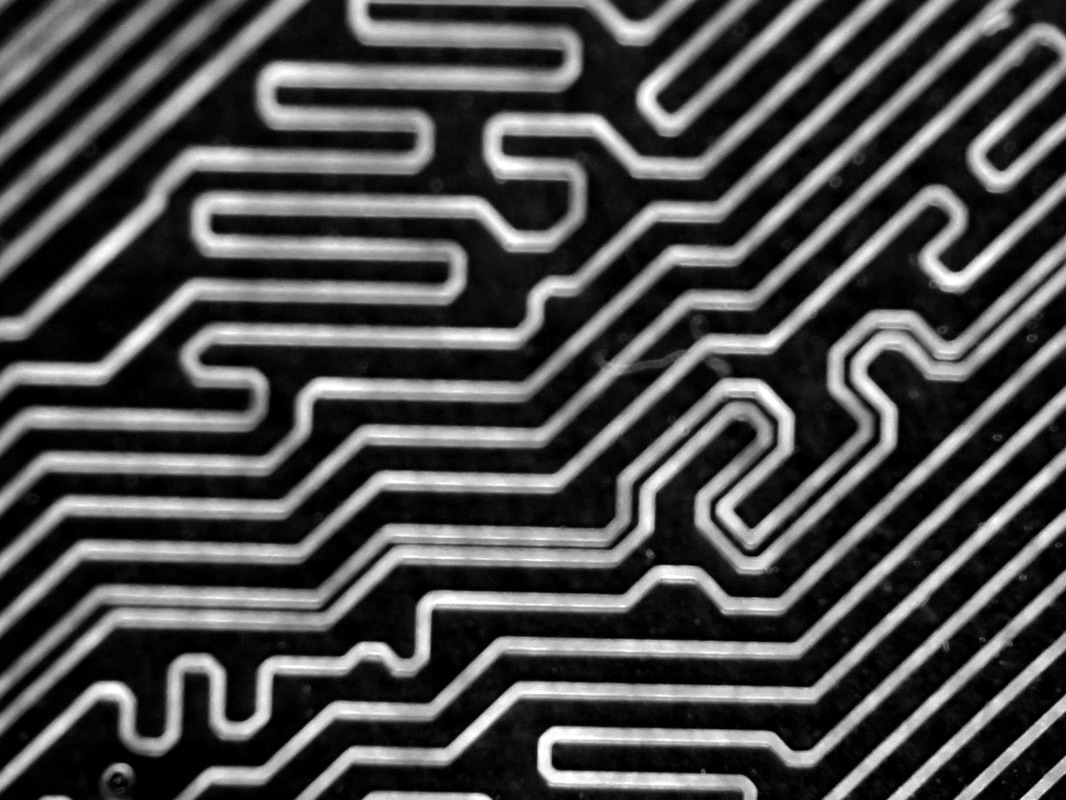
for this development, I used the Raynox M250 macro lens to get very high quality images of the the back of my motherboard. The goal was to create interesting structure images of the BUS lines on the back of the motherboard. I had a wide aperture (f5.0) to have a wide depth of field. 2 second timer and a tripod to stop camera shake.
|
|

|
|
|
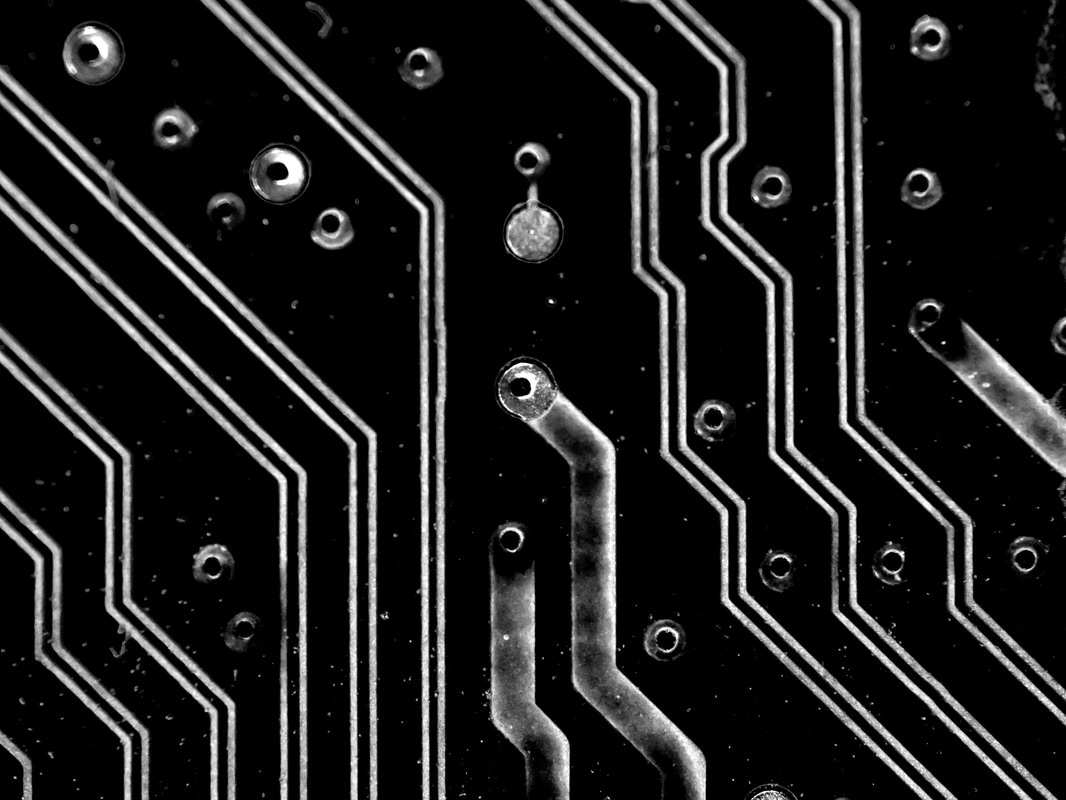
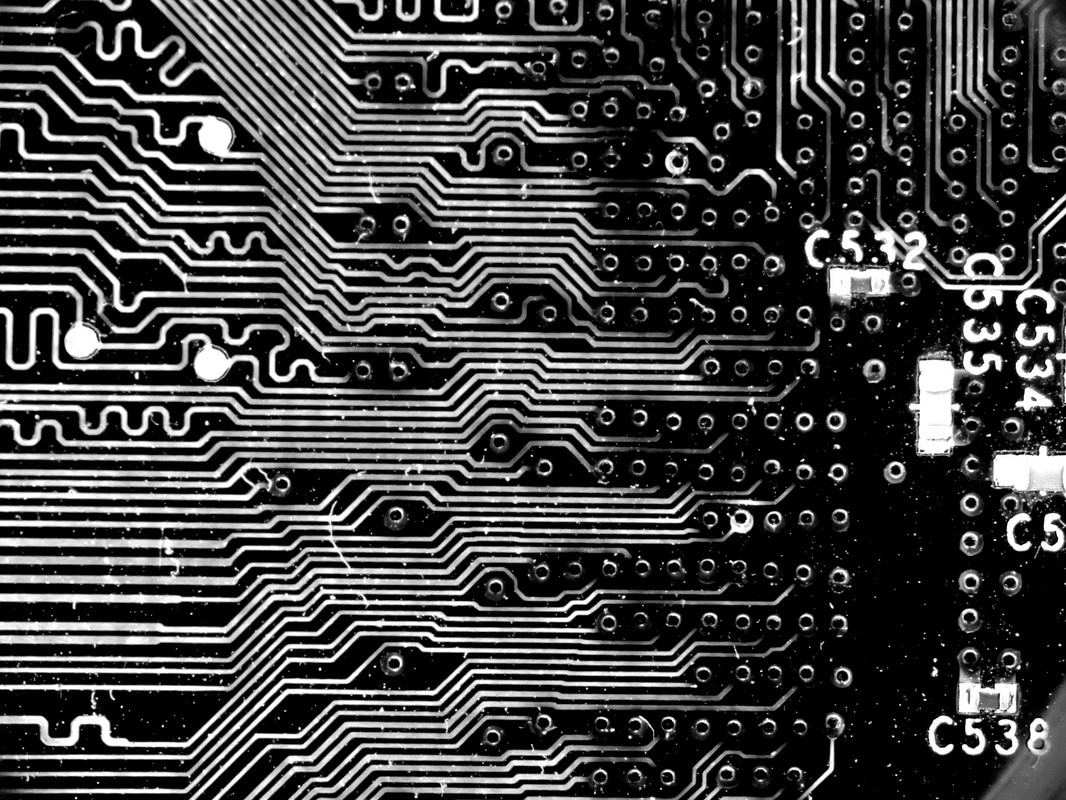
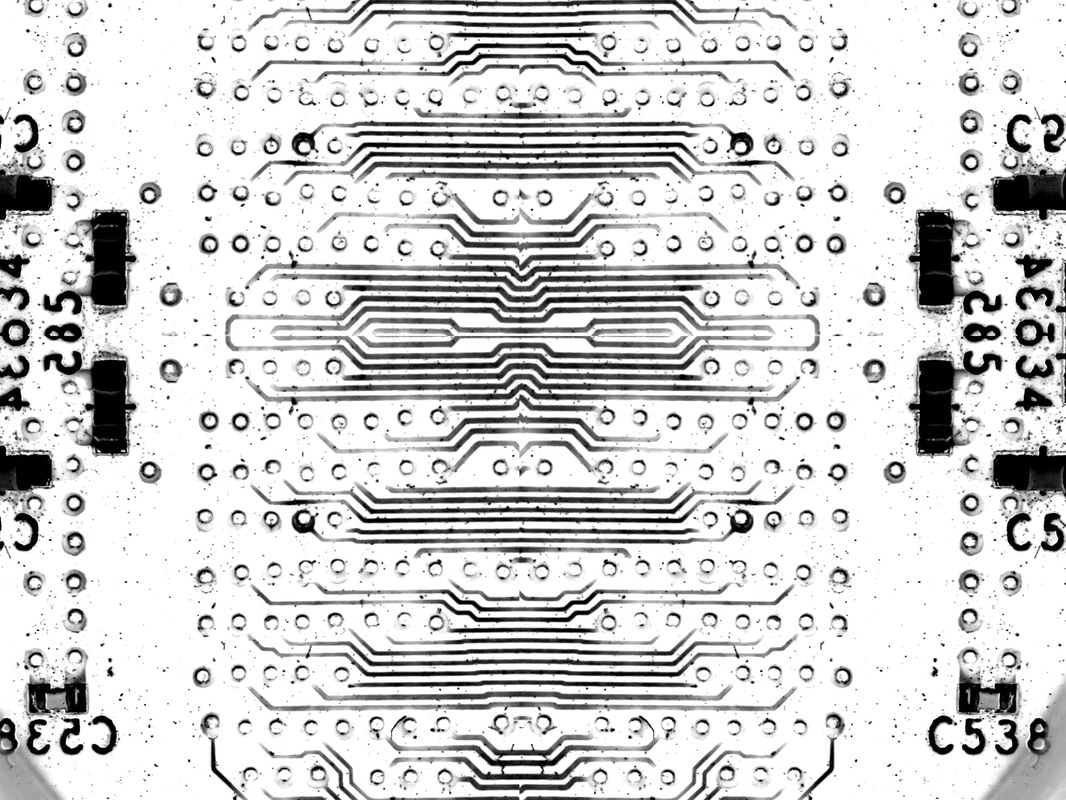
Development 7: editted Black and white shots
In this development, I used a more in depth set of photoshop skills with the goal to match Vladimir Zivkovic's style better. I crushed the greens in image and increased the yellows to make the background darker and the BUS lines brighter. This contrast is a better match to Zivkovic's style than my original development.
|
|
1: Load the image into photoshop.
2: Select the black and white option in the image drop down. 3: Crush the greens and bring the the yellows up to full. 4: save the image. |
|


|
|
|
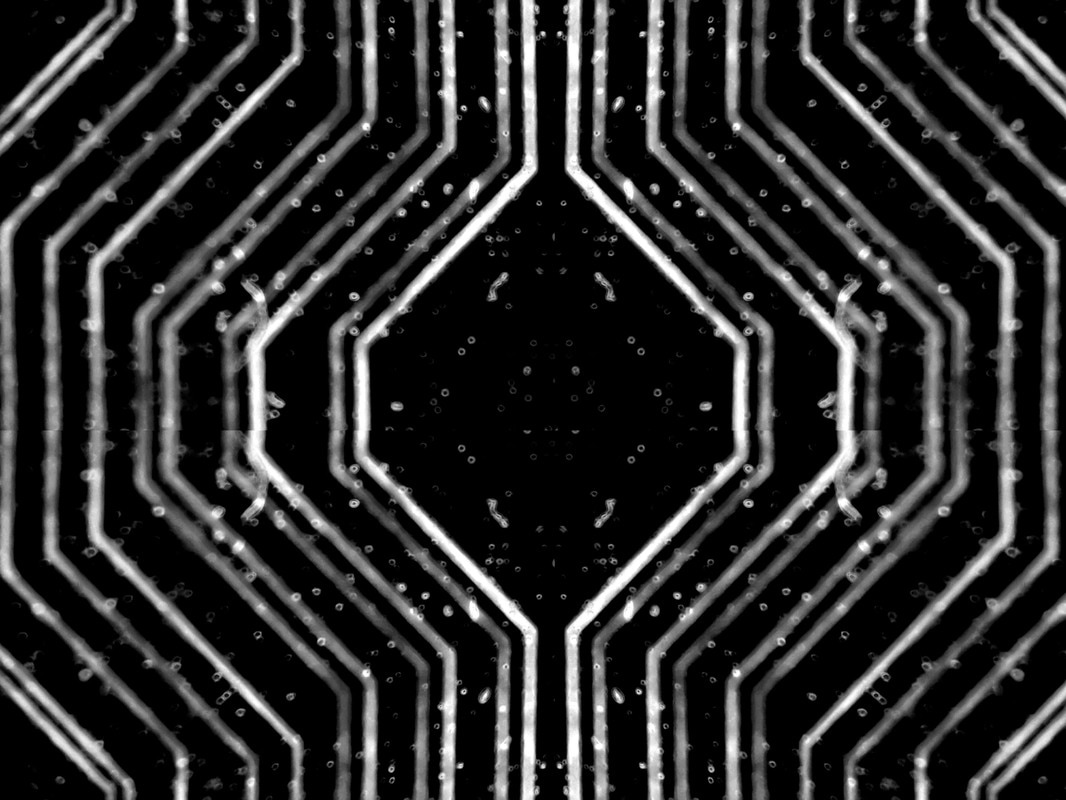
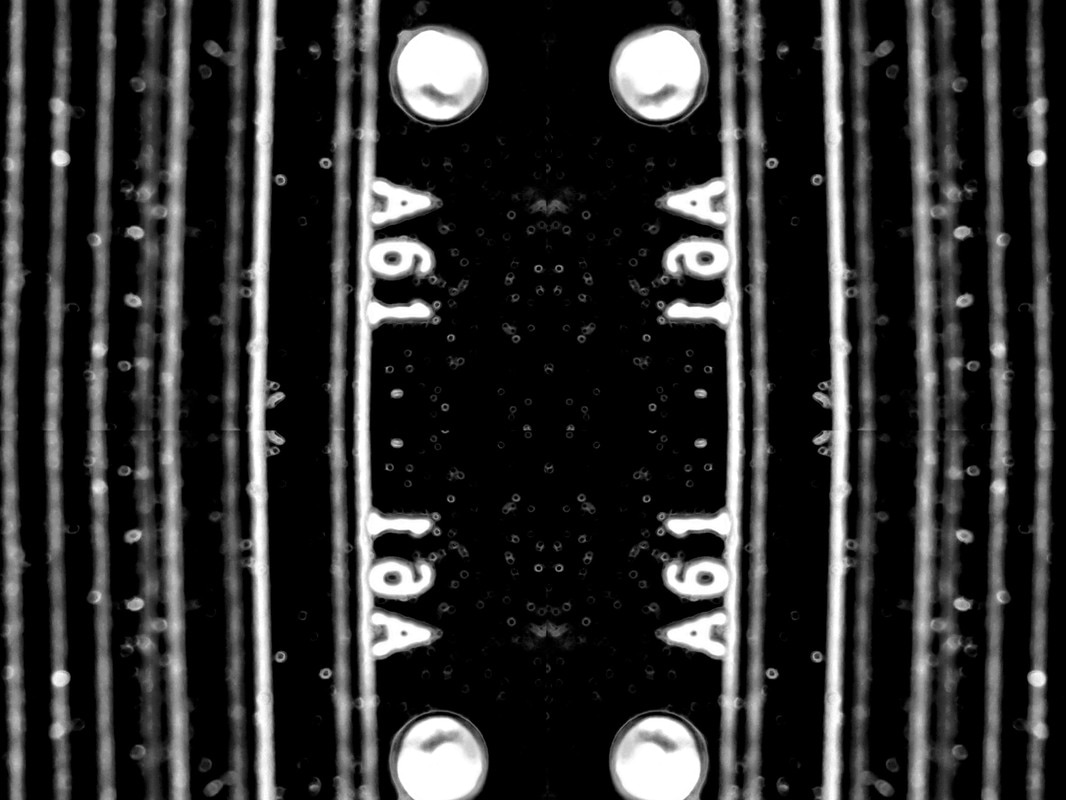
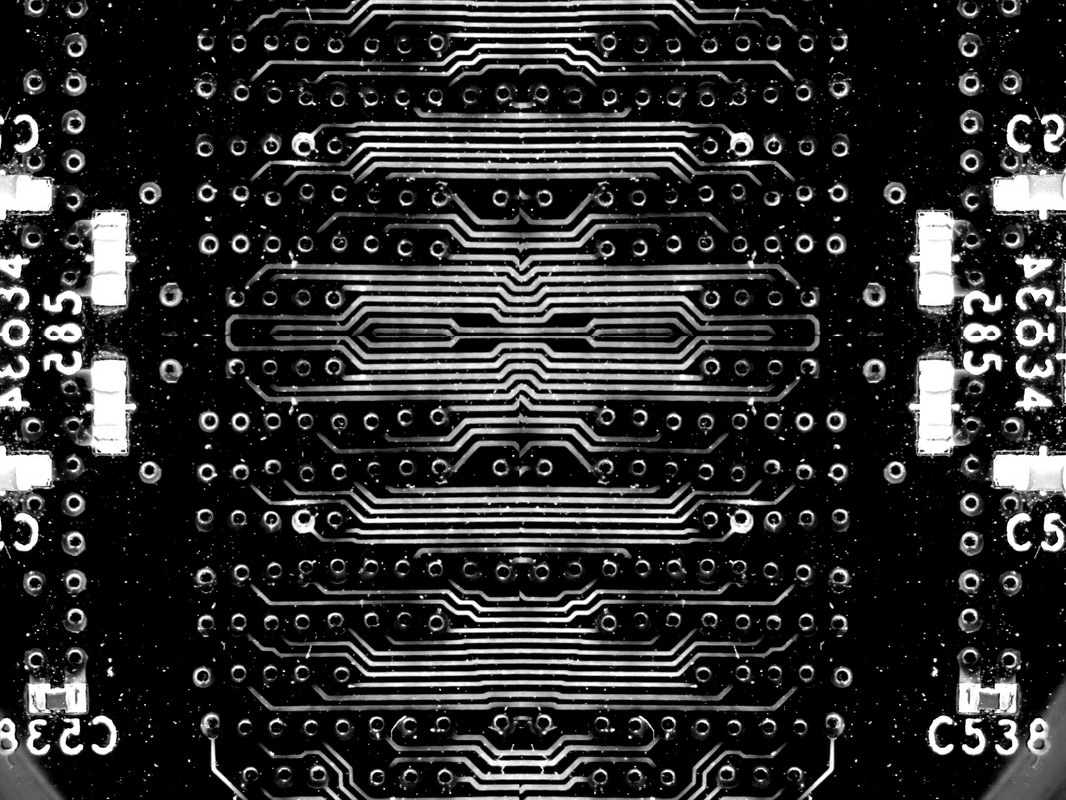
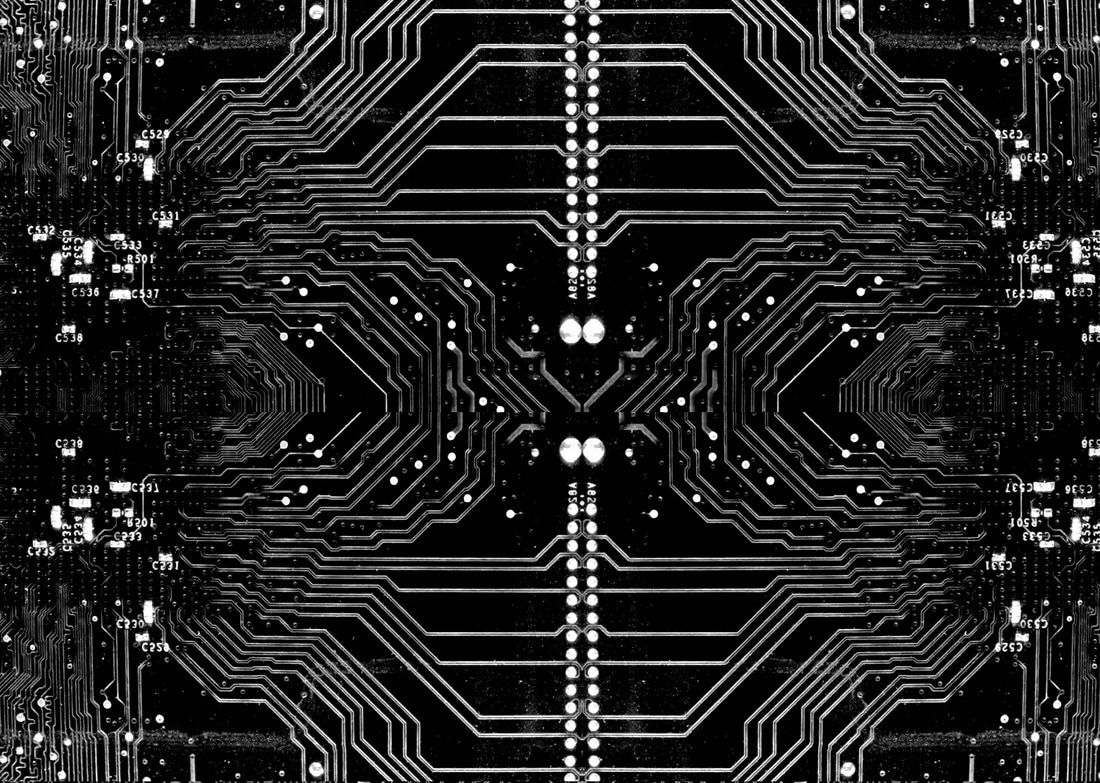
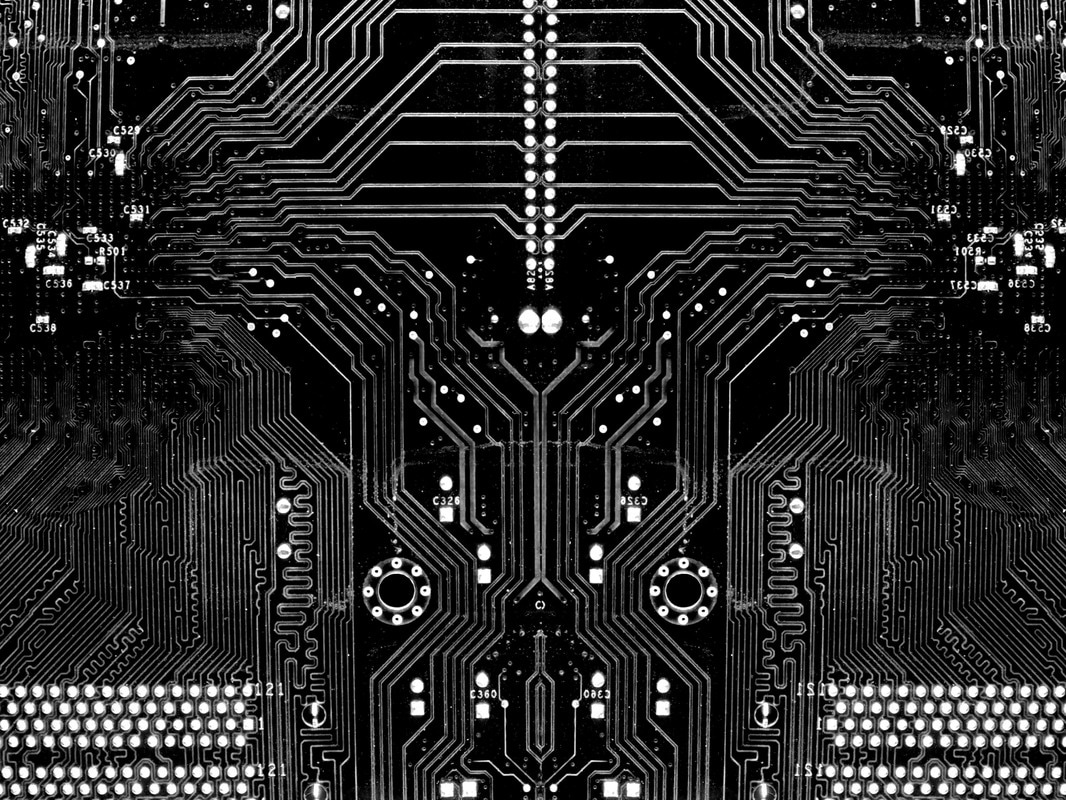
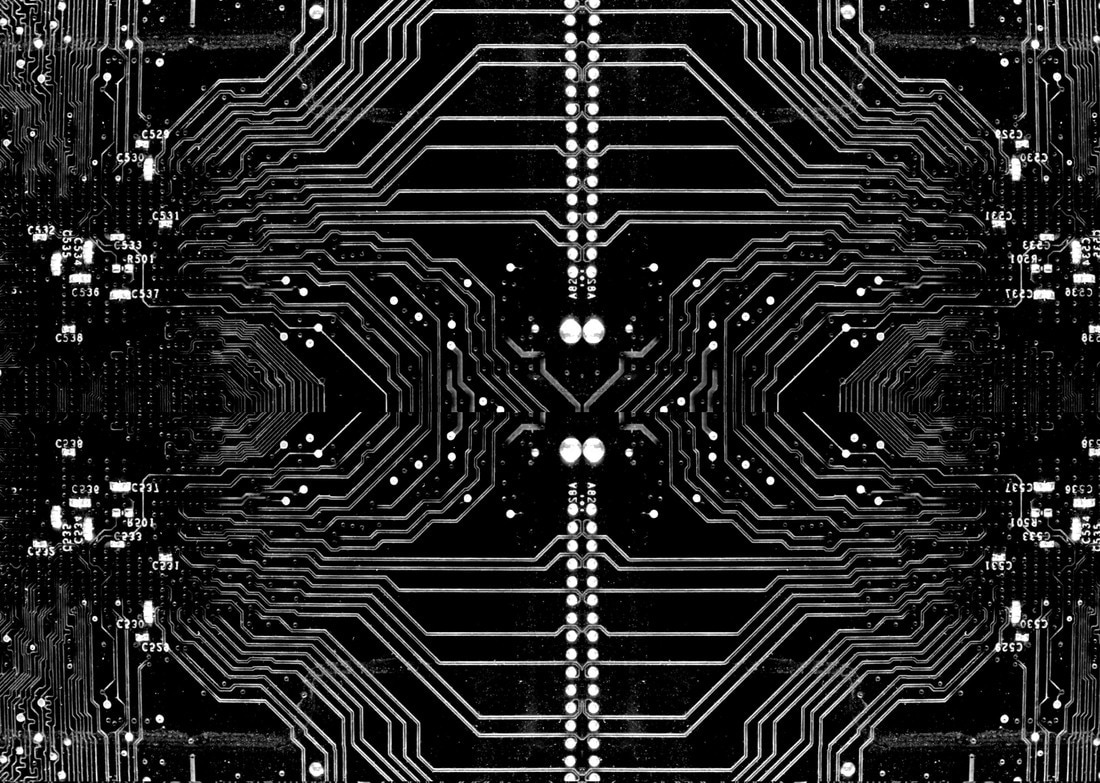
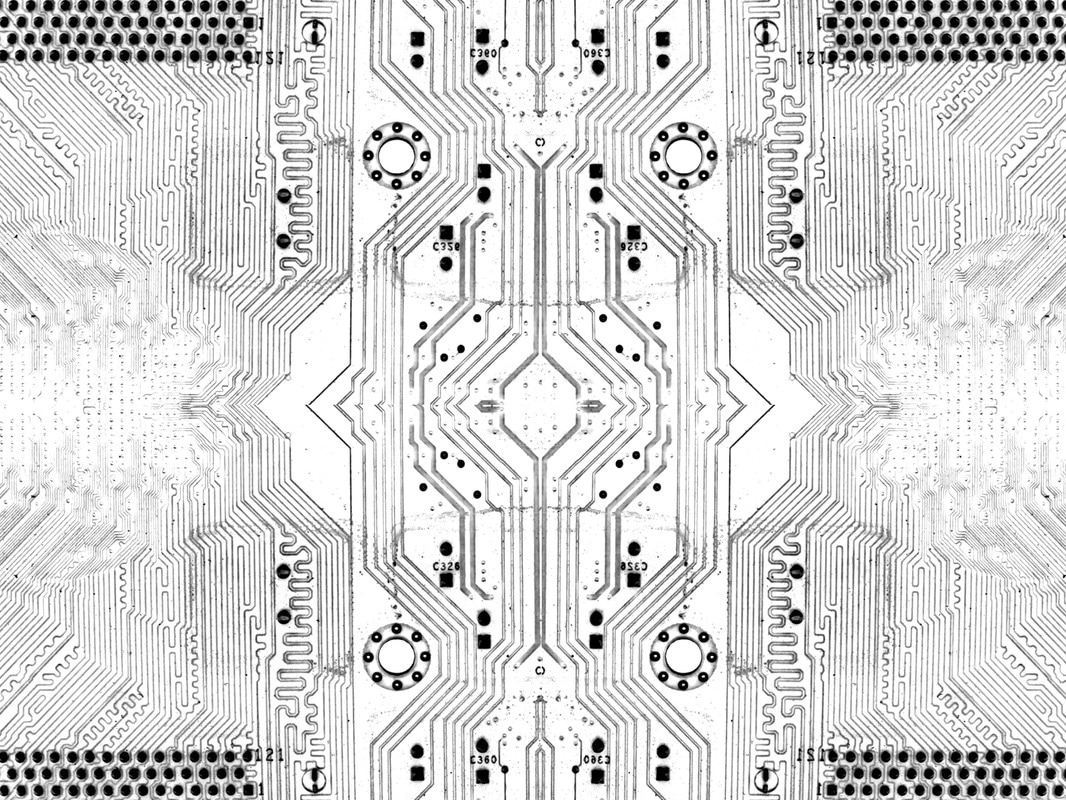
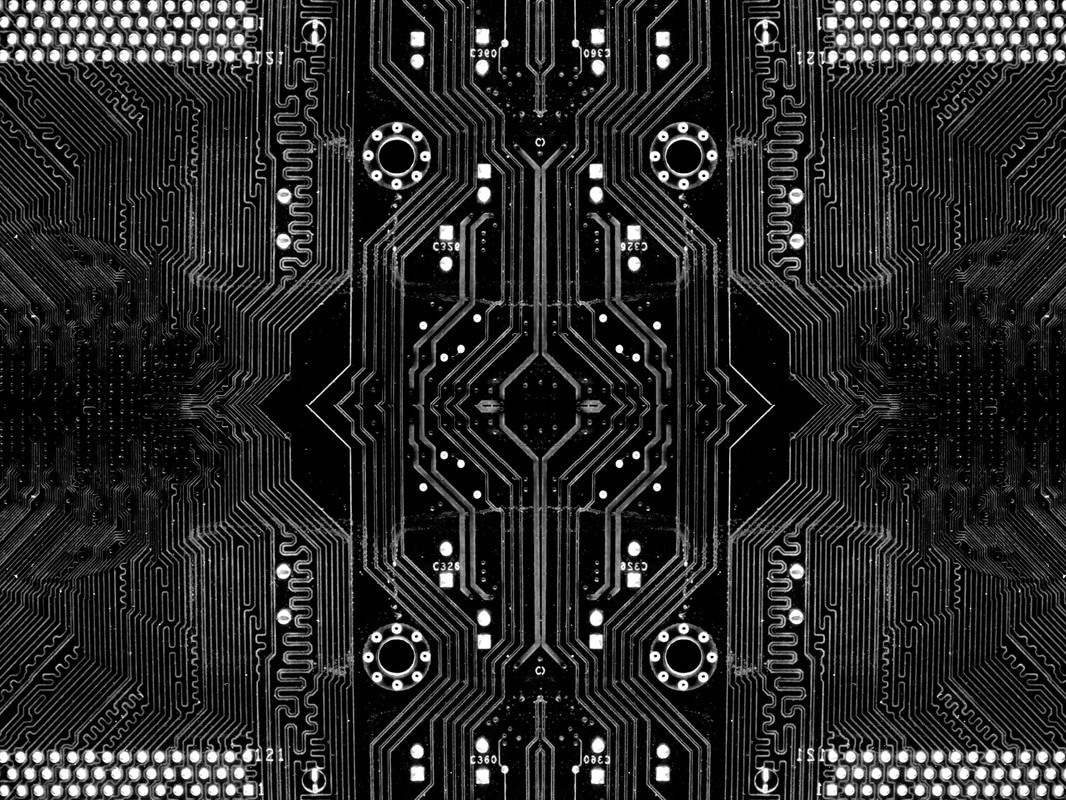
Development 8: symetrical editted Black and white shots
In this development, i attempted to make my pervious images more symmetrical using photoshop. I did this using the same technique that i used for my symmetrical brutalist strand.
|
|
1: Load the photo into photoshop
2: use the select tool to select half of the image. 3: use CMD + C and CMD + V (or CTRL + C and CTRL + V for pc) to create a new layer of the selected region 4: move it across to the other side of the image. 5: use the flip horizontal to to flip it over and begin to line it up so that it is symmetrical with the other side. 6: Crop away the excess stuff and merge the layers. Tips: If the original image doesn't look as symmetrical as it could, experiment with flipping the other half or flip the bottom half vertical. |
Before

|
After

|

|
|
|
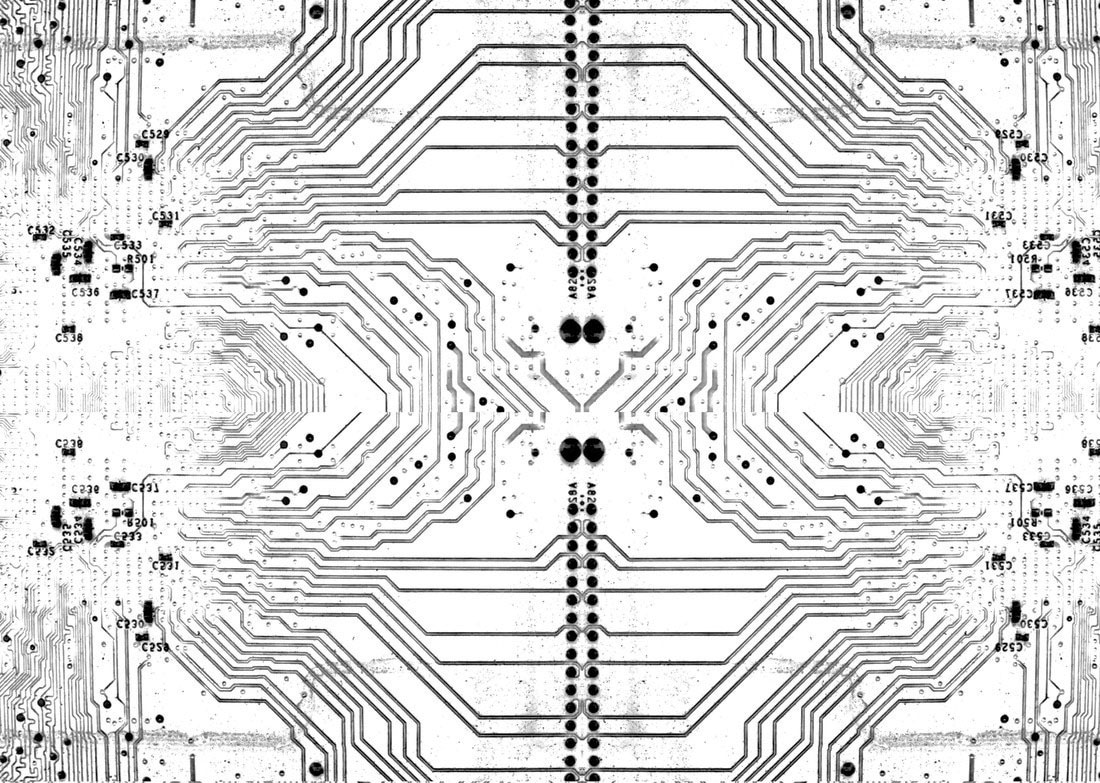
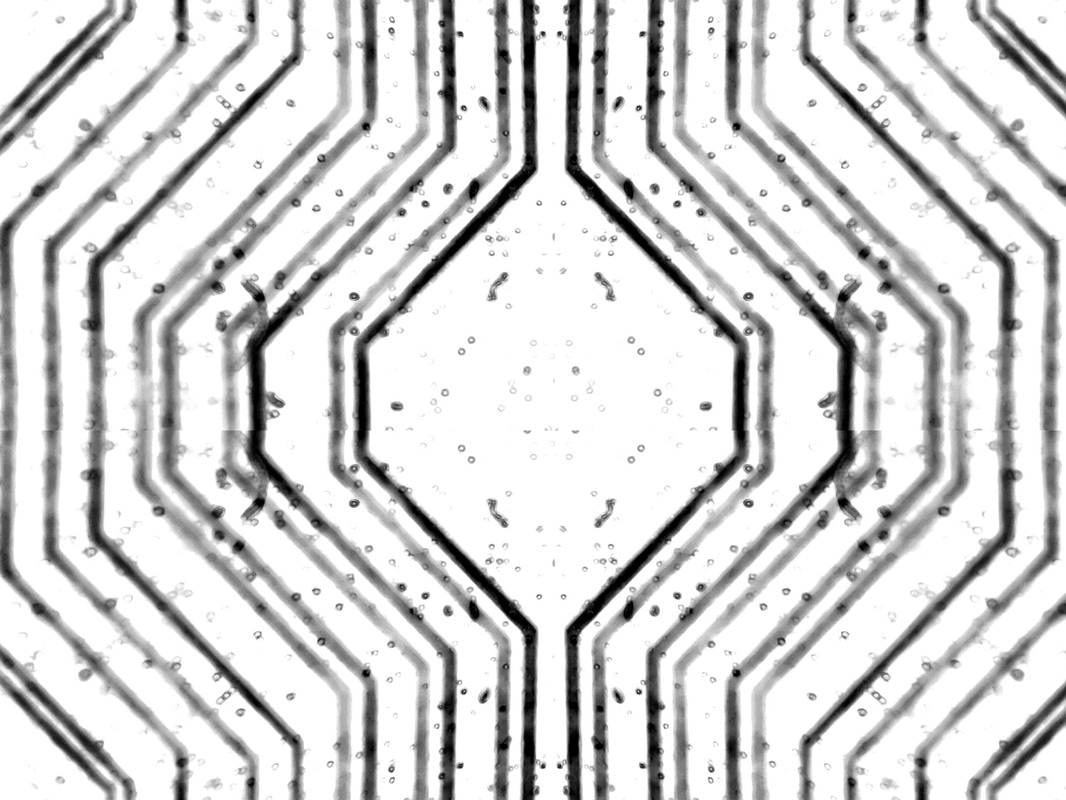
Development 9: Inverted MotherBoards
For this development, I experimented with inverting the black and white, symmetrical images that i had taken for my previous development. I found this create a odd mix of abstract and structure. The white lines of the circuit being inverted create dark and high contrast lines in the white background of the image. I ended up not licking the style as much as my initial black and white images.
|
|
1) load image into photoshop
2) use the brightness and contrast option to lower the contrast. 3)use the invert tool to invert it |
Before
|
After |
|
|
|
|
|
Development 10: Animated
I started this development with the goal of making interesting gifs of my circuit images. My intial idea was to use a gentle green colour and a slow change to each frame. Although I discovered that my initial technique did not create the desired effect.
|
|
1: Load the image into photoshop
2: Make 2 identical layers 3: Use the select tool to select everything on the top layer. 4: Use the paintbrush tool at 25% opacity 5: make 8 copies of each layer. 6: use the make frames from layers option in the animation window. 7: use the save for web and devices to turn it from a .psd to a .gif. |
|
Before
|
After
|

|
|
Development 11: Scanning
This development seriously tested my skill with photoshop. My idea was to attempt to replicate a scanning animation of my circuit image. Over the course of several hours of experimentation, I finally worked out how to do it using the hue and saturation tool. I plan to use a more advanced verision of this technique for the next development.
|
|
1: Start by loading the image into photoshop.
2: Use the gradient tool on this layer, at 25% opacity. 3: Make 25 identical layers. 4: Begin to start changing the layers from -100 saturation in the hue and saturation menu. 5: Keep doing this until you get to the layer that is a 50 in saturation. 6: Start going up in 5 points of saturation each time. 7: Save it for web and devices. Tips -I suggest naming them the level of saturation on each layer (From -100 to 100). -When you save it, the file will be massive, you'll have to cut it down to at least a 1/5th of its original size. |
|
Before

|
After
|
Final Piece
For my final piece, i decided to take my photoshop technique to its furtherest. The goal was to create a gif similar to my previous development but with the colour changing more promient. This technique took several hours to master and produced enormous file sized gifs. I had to severely reduce the file size using a combination of changing the image size and Lossless compression. The general point of my chosen strand was to create interesting and impressive images of circuits, but as I developed it I moved away from the gloomy black and with monochrome and decided to add in colour and vibrance to emphasises that Structure does not have to be totally grim and miserable. I start this strand focused on creating documentary style images but as my style progress I moved towards a more artistic style.
|
|
1: Start by loading the image into photoshop.
2: Use the gradient tool on this layer, at 25% opacity. 3: Make 25 identical layers. 4: Begin to start changing the layers from -100 saturation in the hue and saturation menu and -180 hue. 5: Keep doing this until you get to the layer that is a 50 in saturation and going down in 15 points of hue each time. 6: Start going up in 5 points of saturation each time. 7: Save it for web and devices. Tips -I suggest naming them the level of saturation and hue on each layer (From -100 to 100 and -180 to 180). -When you save it, the file will be massive, you'll have to cut it down to at least a 1/5th of its original size. |
|
Before
|
After
|

|
|
|
|
