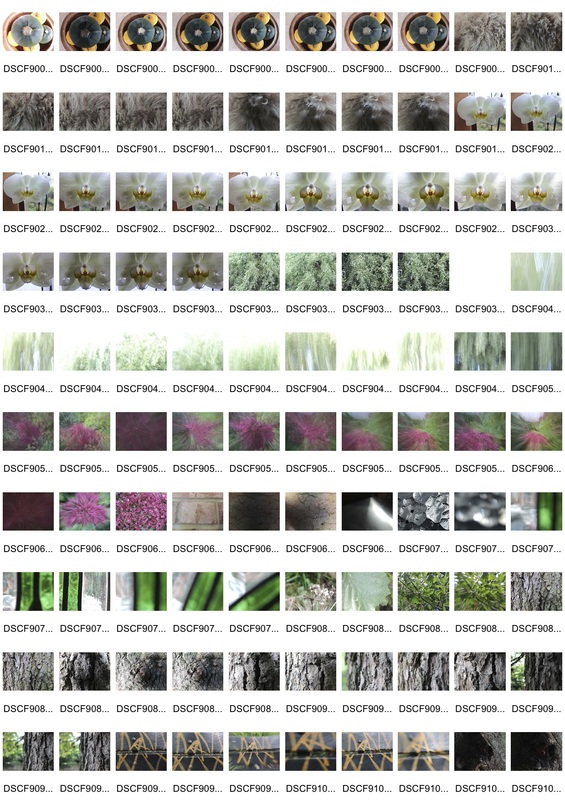
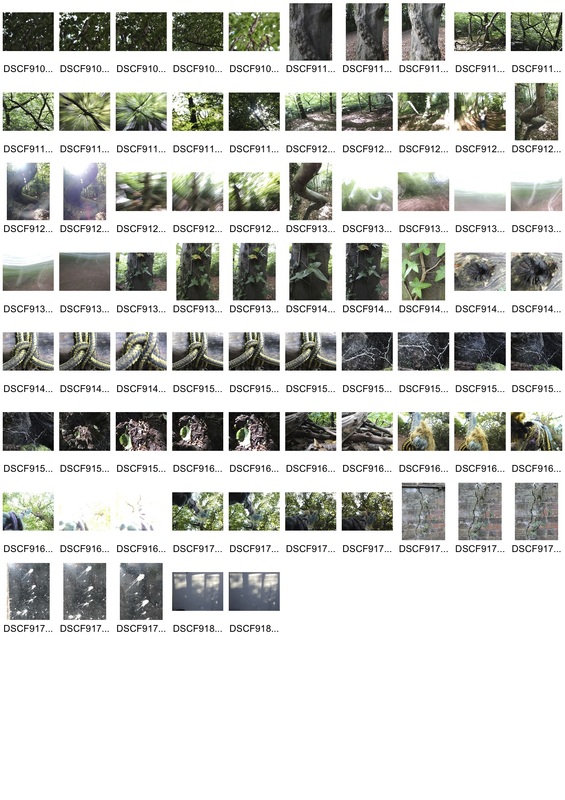
Introduction to Abstraction
Task 1: White paper test
|
|
|
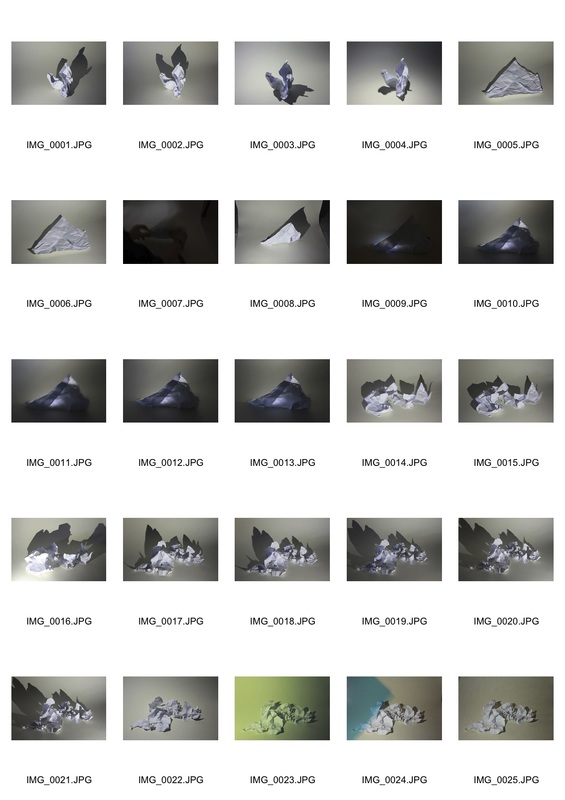
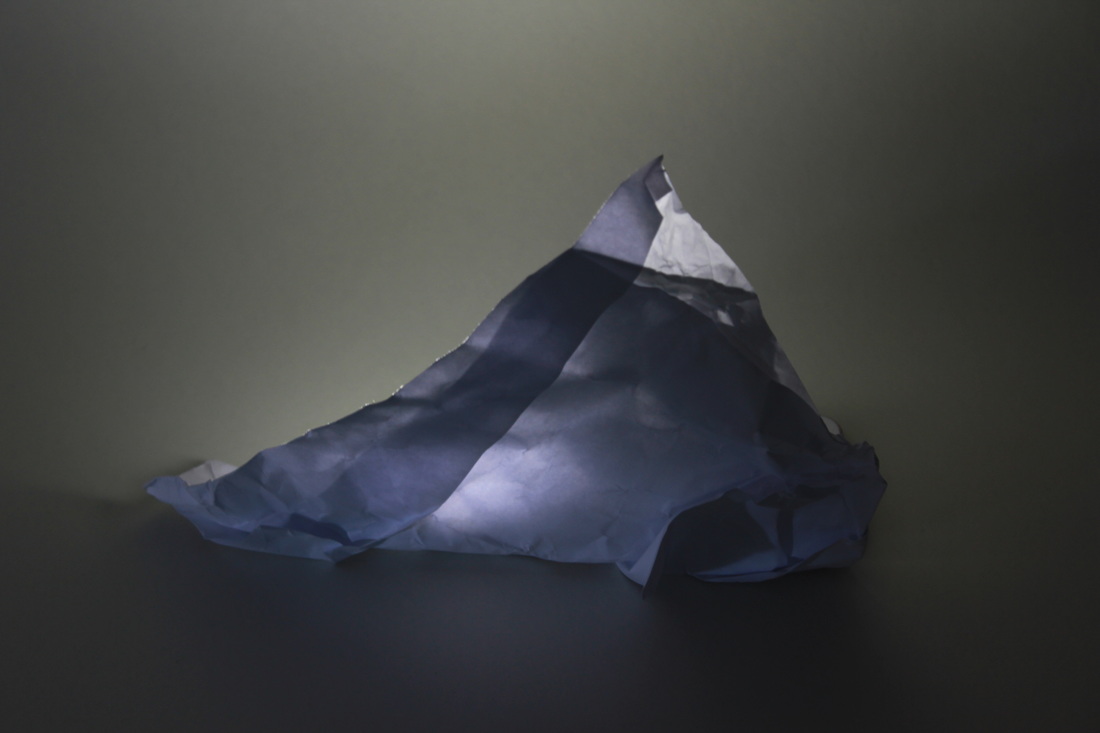
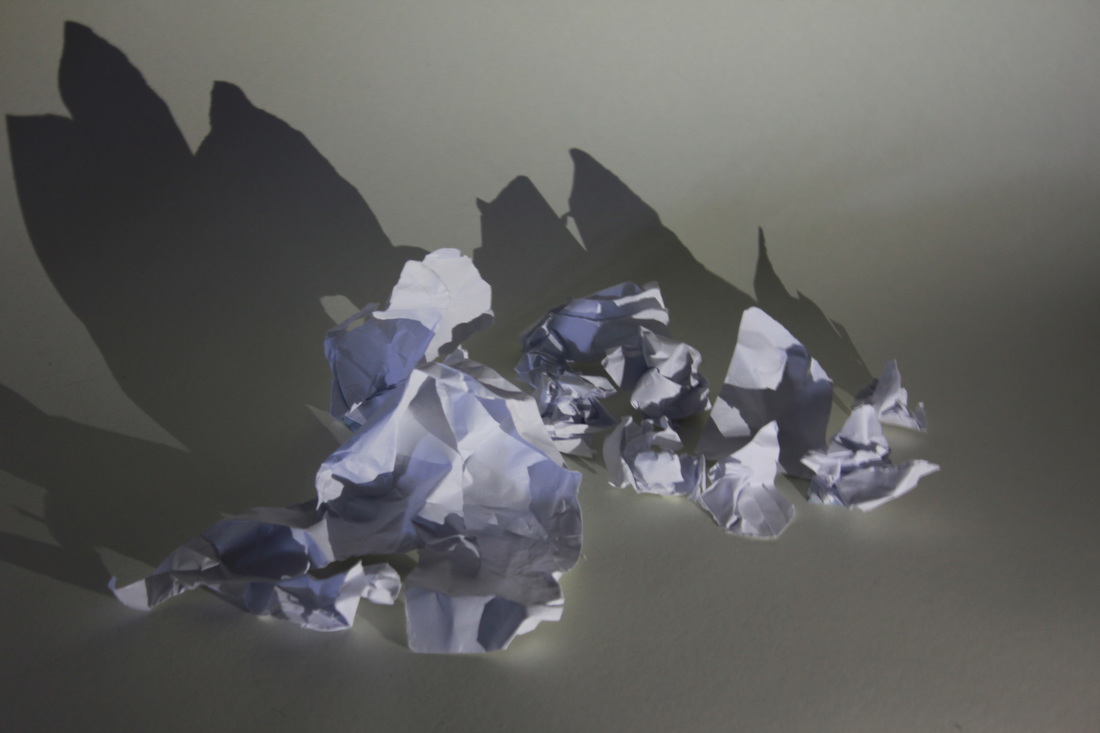
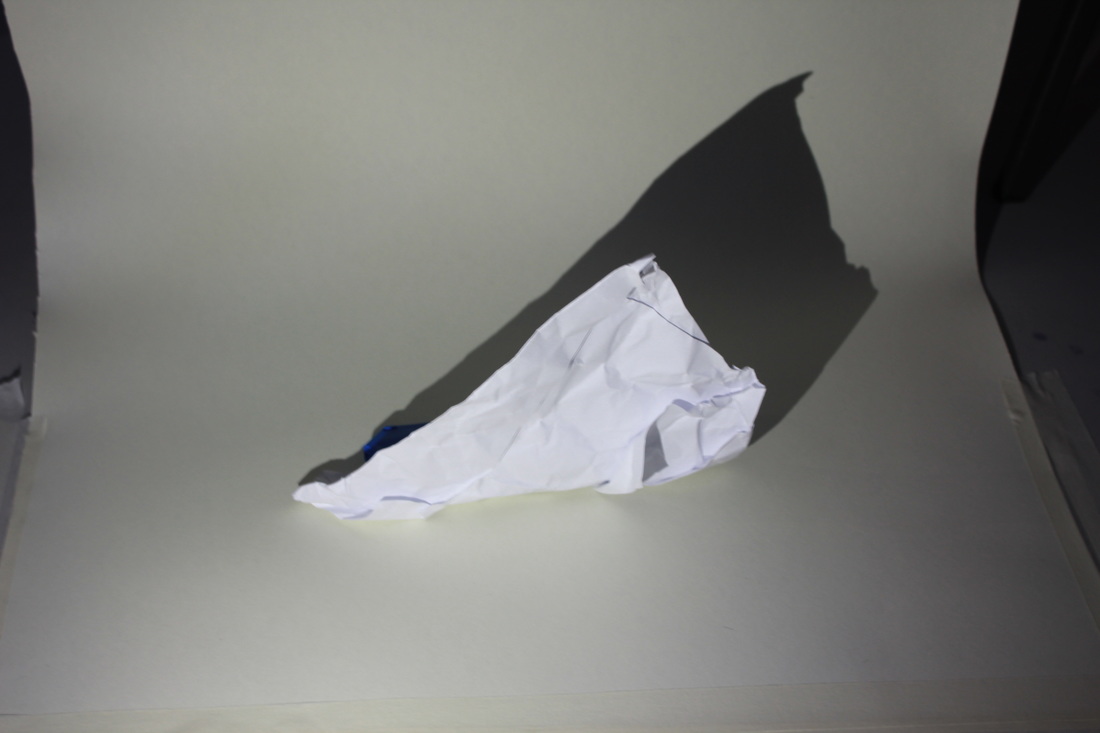
Brendan Austin
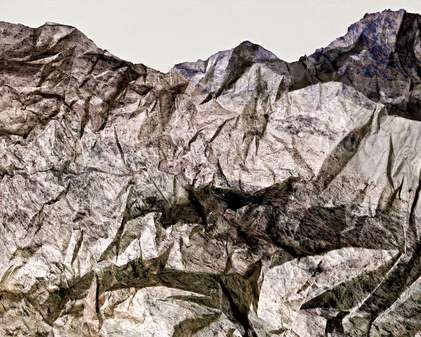
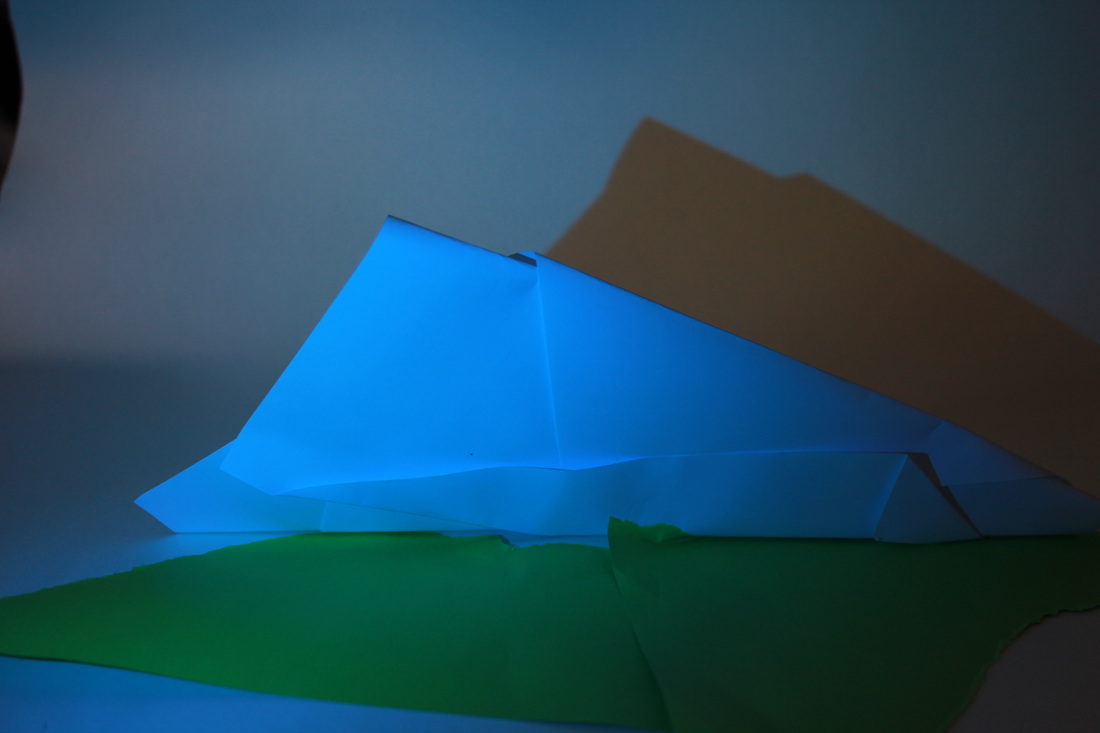
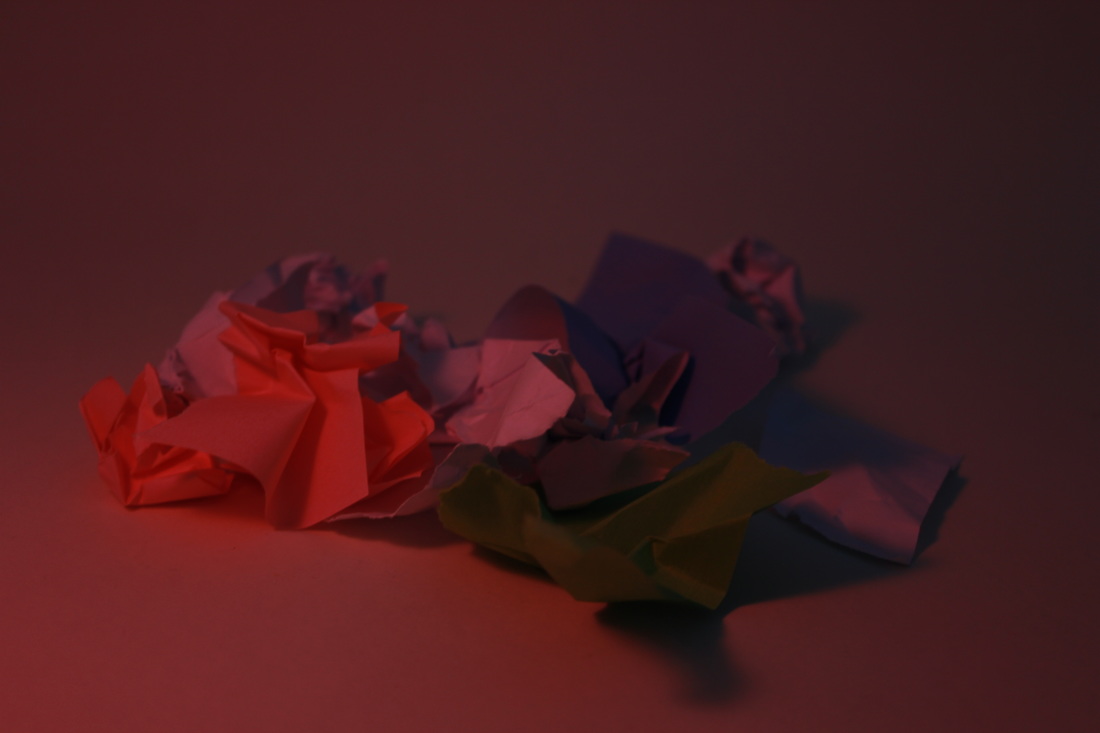
Brendan Austin is an abstract photographer, he uses lights and paper to create abstract images. In one of his projects, called Paper Mountains, he used crumpled paper to create a mountain range in his images.
Task 2: Abstraction Extension

|
|
|
Abstraction reply
|
|
using the physical editing techniques
Photoshop
|
|
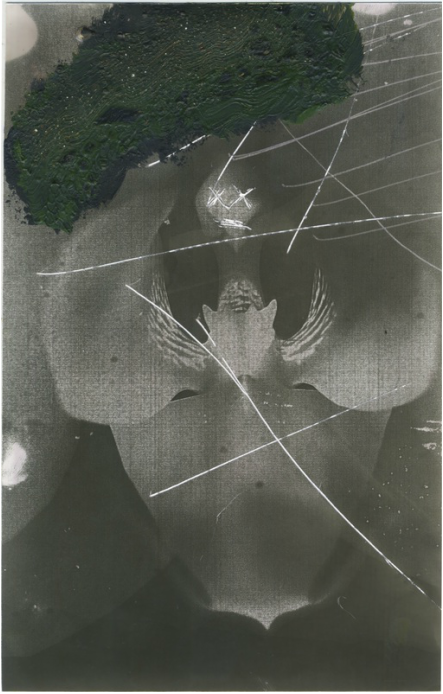
Chemi Grams
Joris Jansen
In Kosmos, Jansen approaches an analogue photo from an encyclopaedic perspective. Jansen describes and photographs the picture in microscopic detail: from the literal image in the photo, to the physical elements with which it is made.
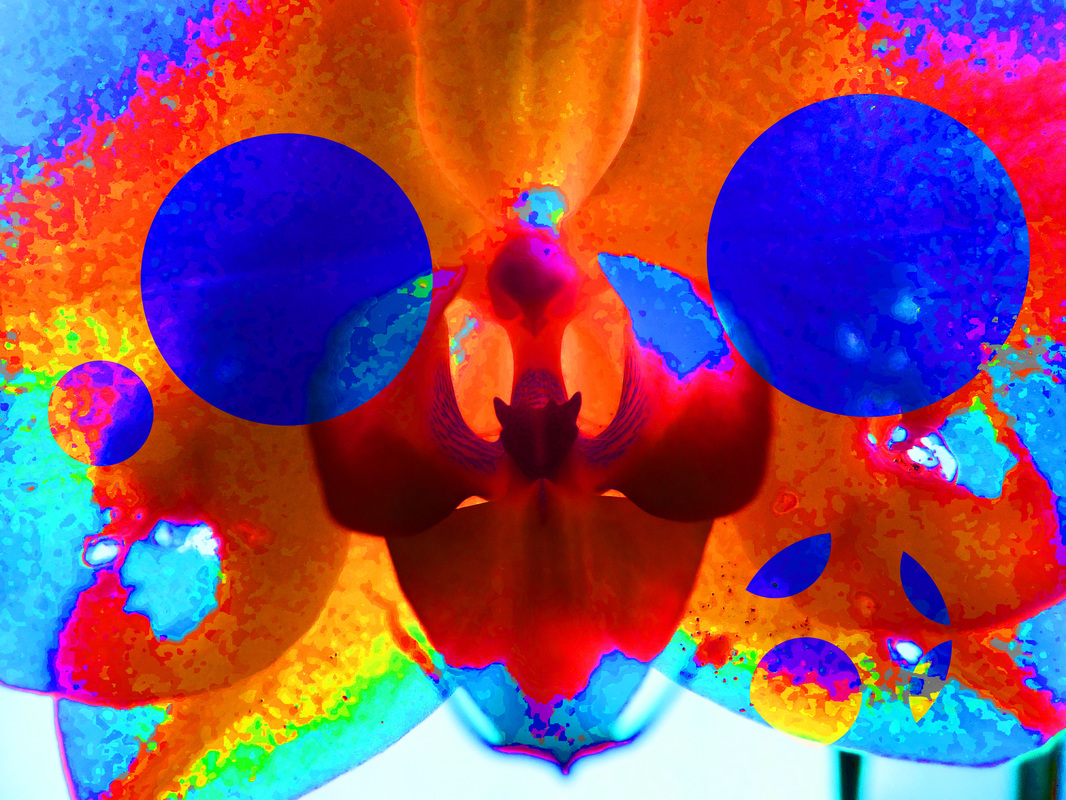
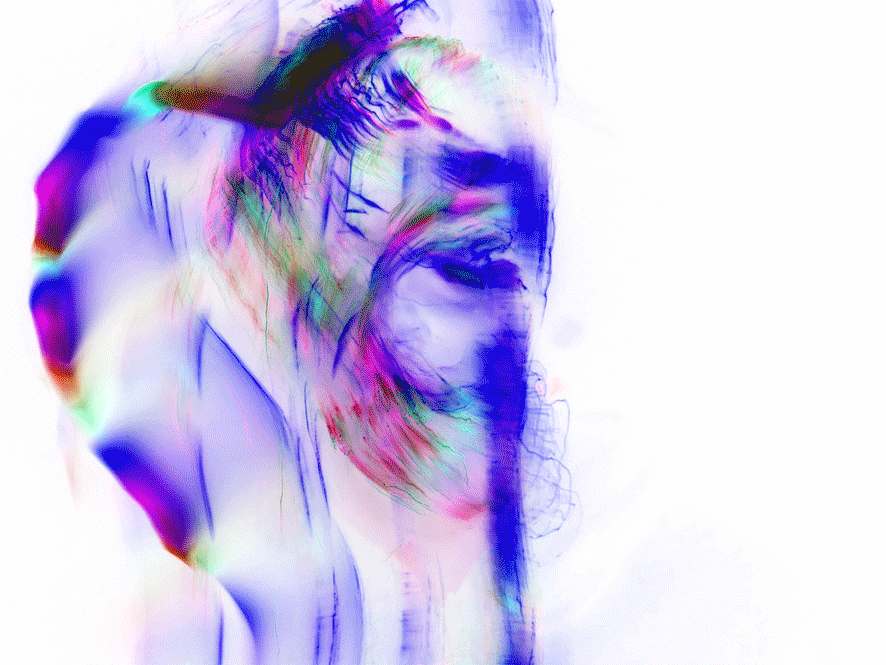
Abstract Portraiture
Erwin Blumenfeld
|
Erwin Blumenfeld (1897–1969) was a photographer and artist born in Germany. He was best known for his fashion photography published in Vogue and Harper's Bazaar in the 1940s and 1950s. In addition to fashion photography, he produced an extensive body of celebrity portraiture, fine-art photography (including black and white nudes), drawings, and Dada collages. He made photographs while a resident of Germany, the Netherlands, France, and the United States, and has been called "one of the most innovative and influential photographers of the 20th century."
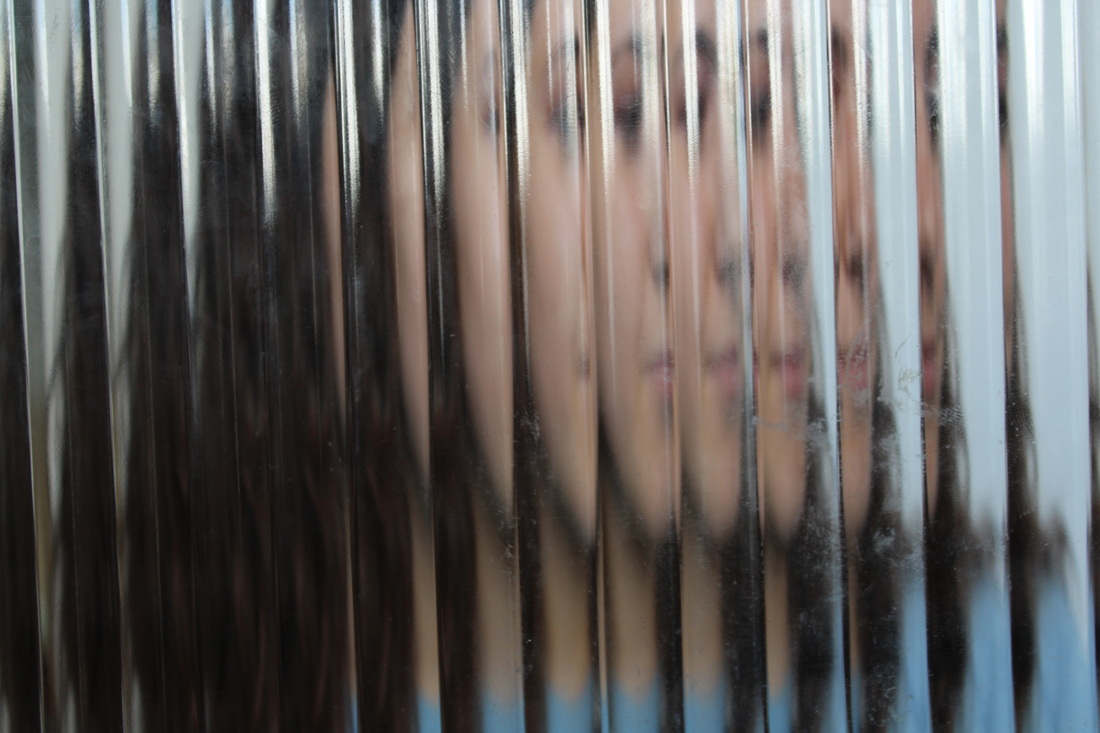
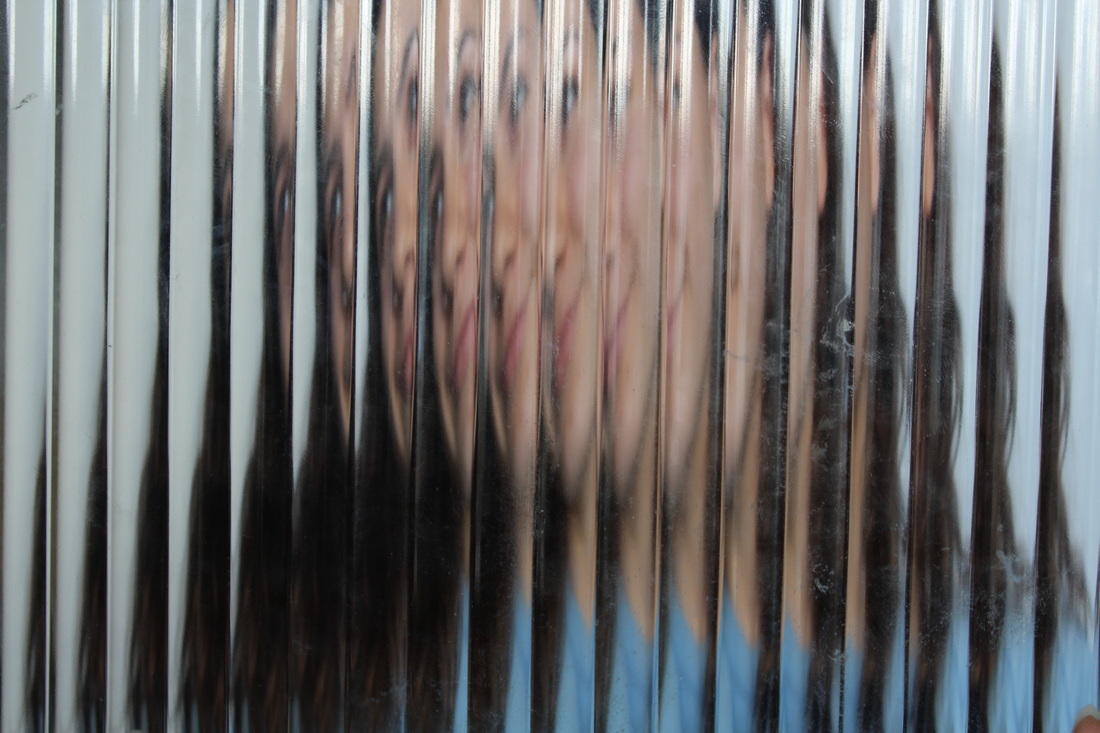
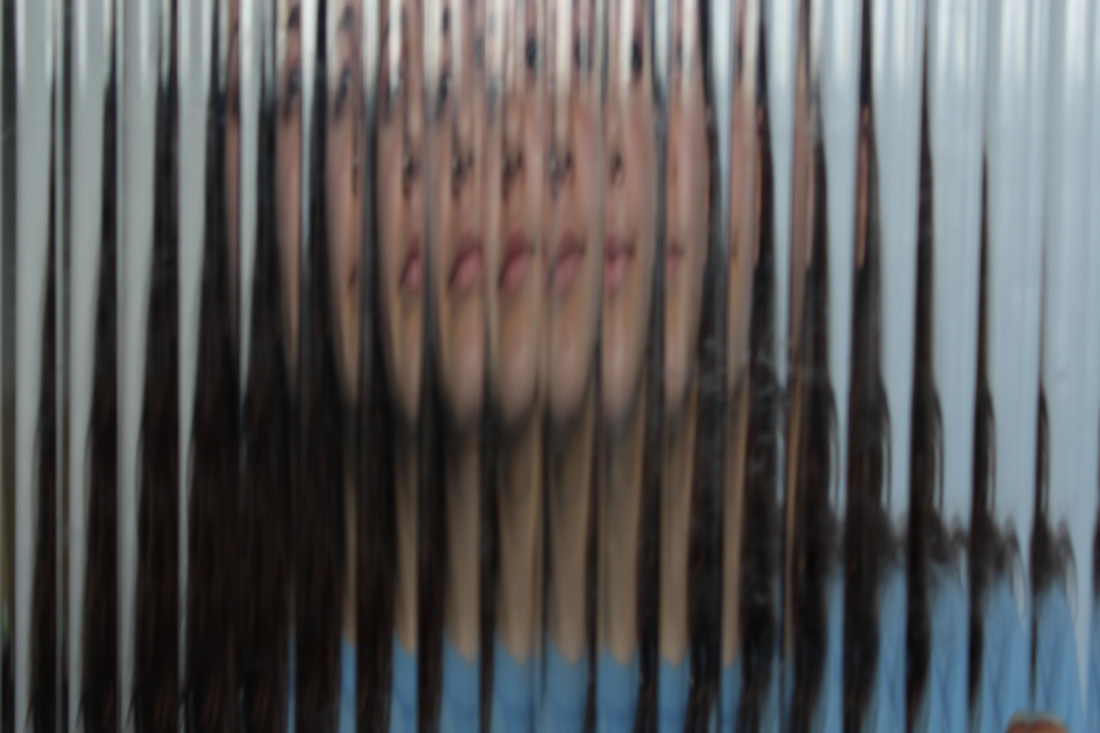
He often takes pictures through glass and other medians, to create, distorted images of the models he uses. In his photos he often uses large amounts of negative space to draw the viewers eyes to the subject of the image. |
|
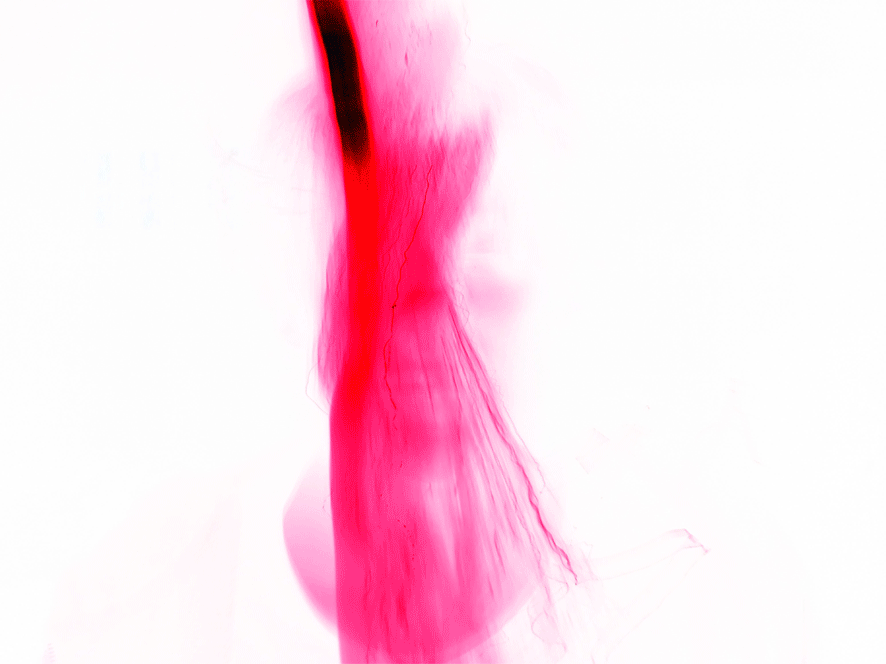
My response

|
|
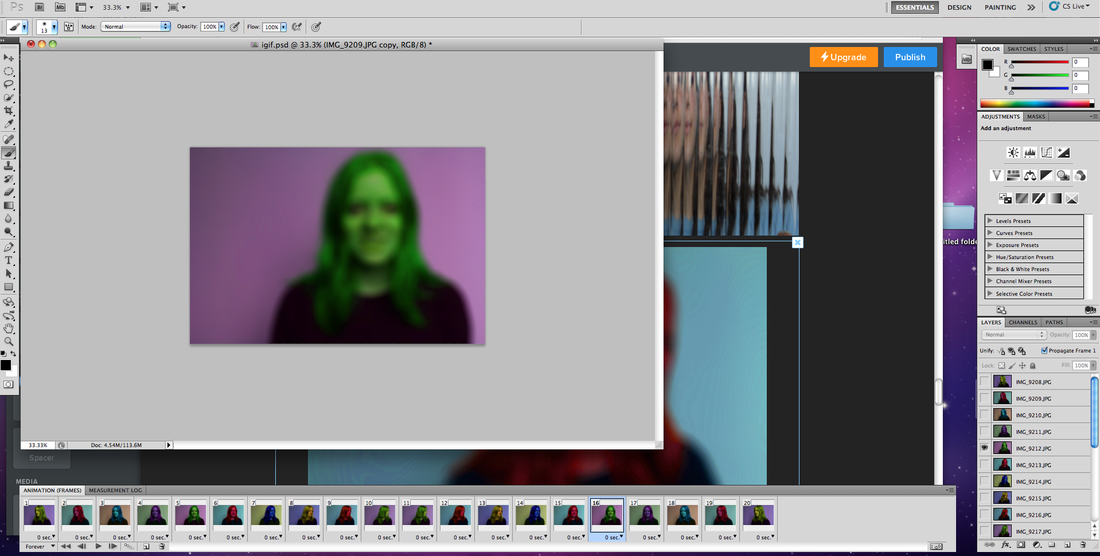
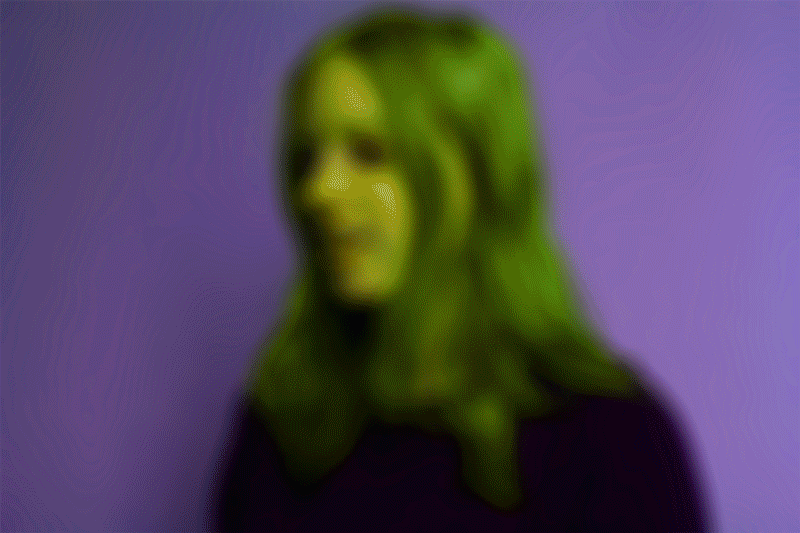
Erwin Blumenfied was also know to do GIFs and videos of his models in interesting shapes and formats, this was my attempt to create some thing similar.
|

|
|
|
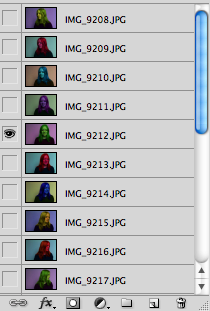
1: Gather the images you want in a separate folder. To upload them into Photoshop, click File >Scripts > Load Files Into Stack.
2: Select Browse and choose which files you'd like to use in your GIF, then click OK. Photoshop will then create a separate layer for each image you've selected.
3: Create each frame of the animated GIF as a different Photoshop layer. To add a new layer, chose Layer > New > Layer. Be sure to name your layers so you can keep track of them easily when you make your GIF. To name a layer, go to the Layer panel on the bottom right of your screen, double-click on the default layer name, and type in the name you want to change it to. Press Enter when you're finished.
4: Once you have your layers in there and you've named them all, Icombine layers so they appear in a single frame in your GIF, turn visibility on for the layers you want to merge (by clicking on the "eye" to the left of each layer name so only the eyes for the layers you want to merge are open). Next, press Shift + Command + Option + E. Photoshop will create a new layer containing the merged content, which you should also rename. To open Timeline, go to the top navigation, choose Window > Timeline. The Timeline will let you turn different layers on and off for different periods of time, thereby turning your static image into a GIF.
Bill Jacobson
|
Bill Jacobson (b. 1955, Norwich, Connecticut) is widely known for his out of focus photographs of both the figure and the landscape. His work is in the collections of the Guggenheim Museum, the Metropolitan Museum, the Whitney Museum, the Victoria and Albert Museum, and many others. In 2012, he was the recipient of a fellowship from the John Simon Guggenheim Foundation.
He began his signature, indistinct images in 1989, and has since been exhibiting in galleries and museums throughout the US and Europe. These early works, titled Interim Portraits, feature shadowy, pale figures that evoke the loss experienced by many during the height of the AIDS epidemic. The blurred subjects underline the futility of capturing a true human likeness in both portraiture and memory. Jacobson’s subsequent Song of Sentient Beings continued this interest in the defocused figure. In contrast to the bleached luminosity of his earlier work, this series depicts deep-black backgrounds enveloping ghostly figures, which bend, sleep, stretch and howl. Towards the mid-1990s, he completed the Thought Series, an almost monochromatic evocation of the flow of life. These depict a broad spectrum of subjects, from tightly cropped faces and articles of clothing, to fields of grass and surfaces of water. bill jacobson 1989-1997, published by Twin Palms, is a survey of work from this nine year period. |
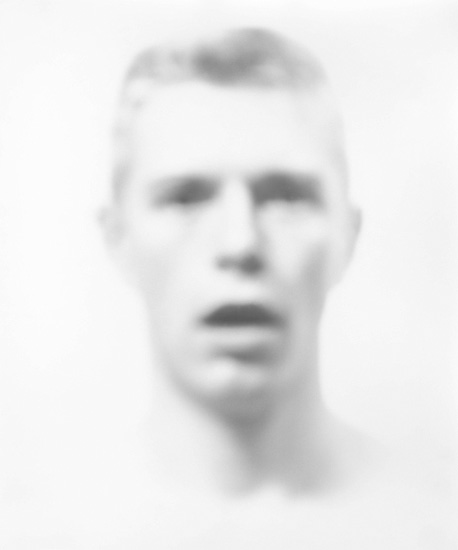
Influenced by a trip to India in 1999, Jacobson retained the out of focus but shifted to color, photographing both urban and rural landscapes in Untitled (1999-2001) and New Year’s Day (2002-2003). The work parallels an inner journey through a world we are constantly experiencing with the uncertainty of the mind’s eye rather than the sharp clarity of a camera lens. A monograph of this work, simply called "Photographs", was published by Hatje Cantz in 2005.
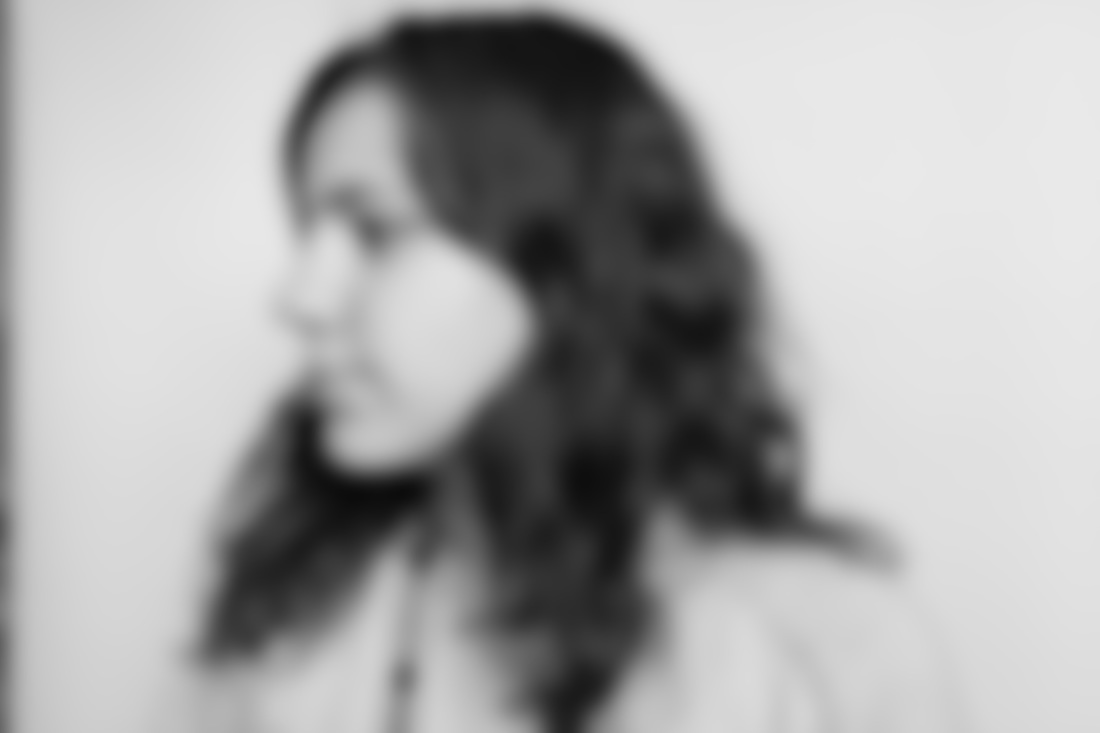
Bill Jacobson creates abstract images by blurring the portrait images of people. he wants us to consider the sense of futility in capturing a human likeness of the model, who's image is distorted. He creates the out of focus image by defocusing the model using manual focus and often takes his images in black and white |
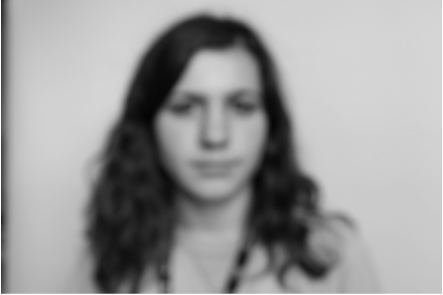
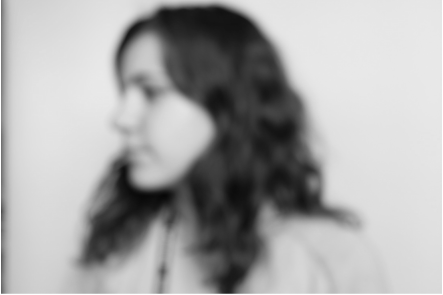
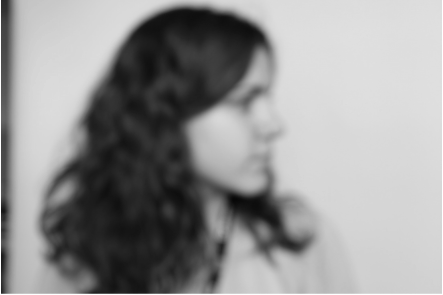
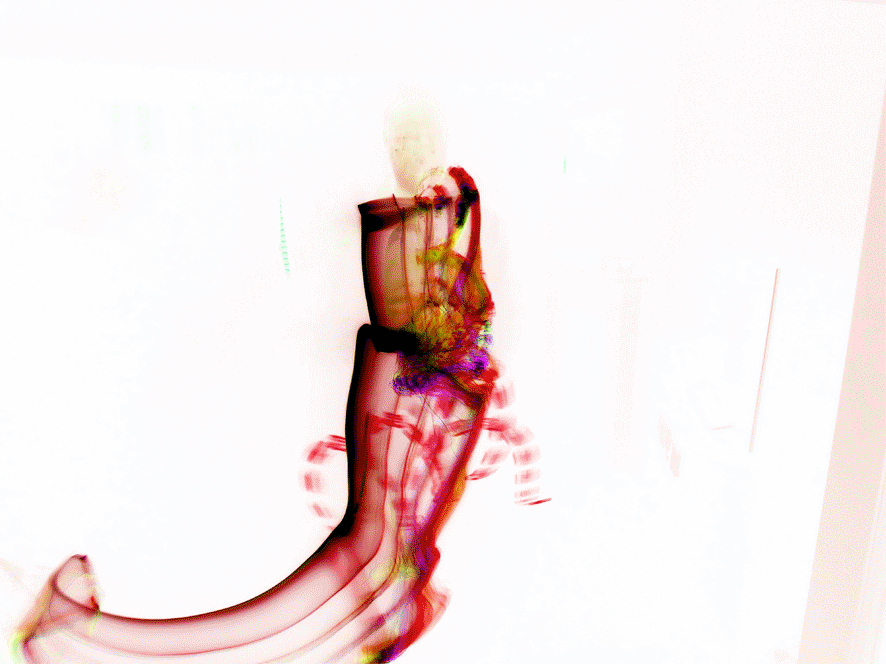
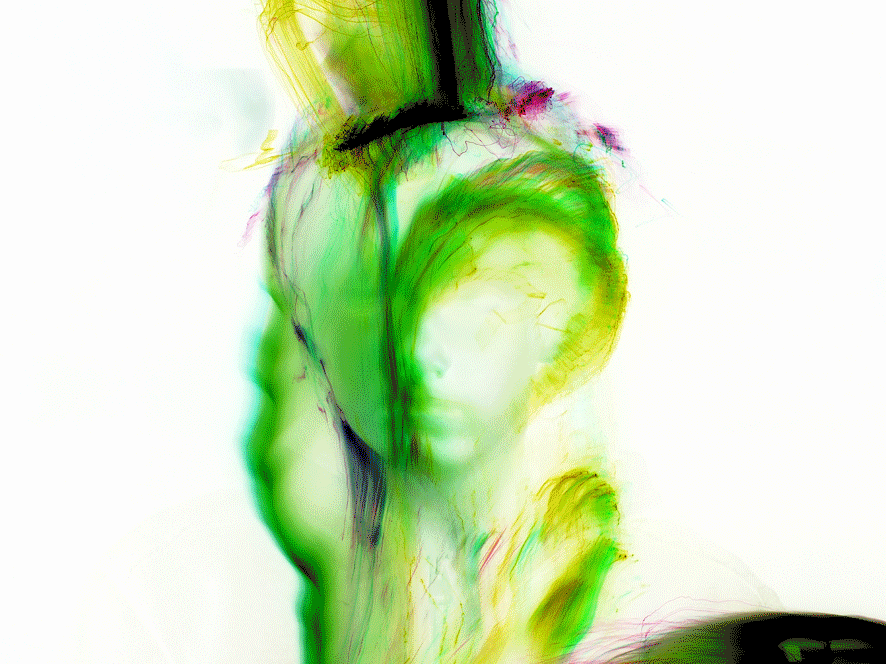
My response
|

|
Creating the image using photoshop
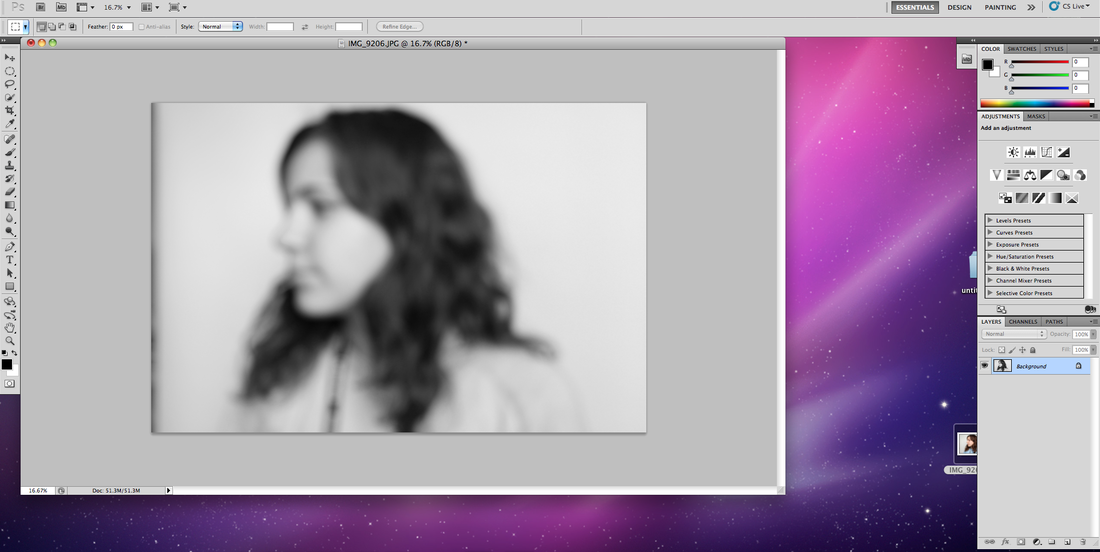
changing the photo to black and white
|
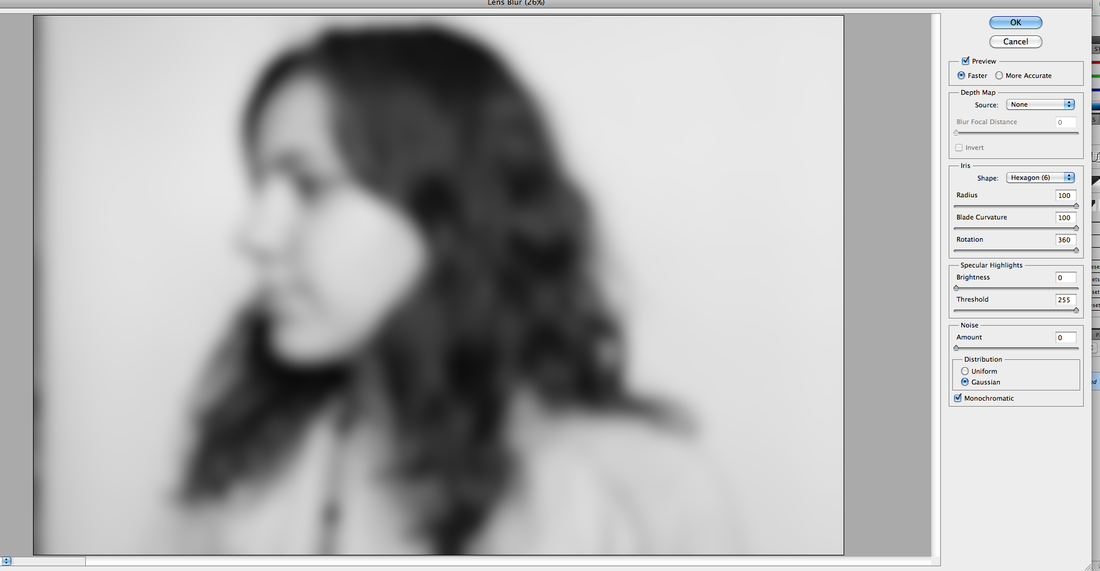
using the lens blur photo tool
|
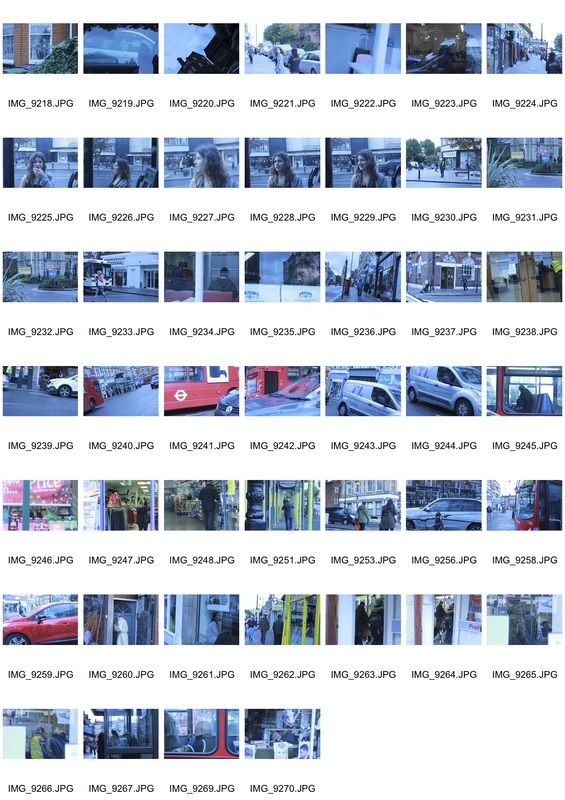
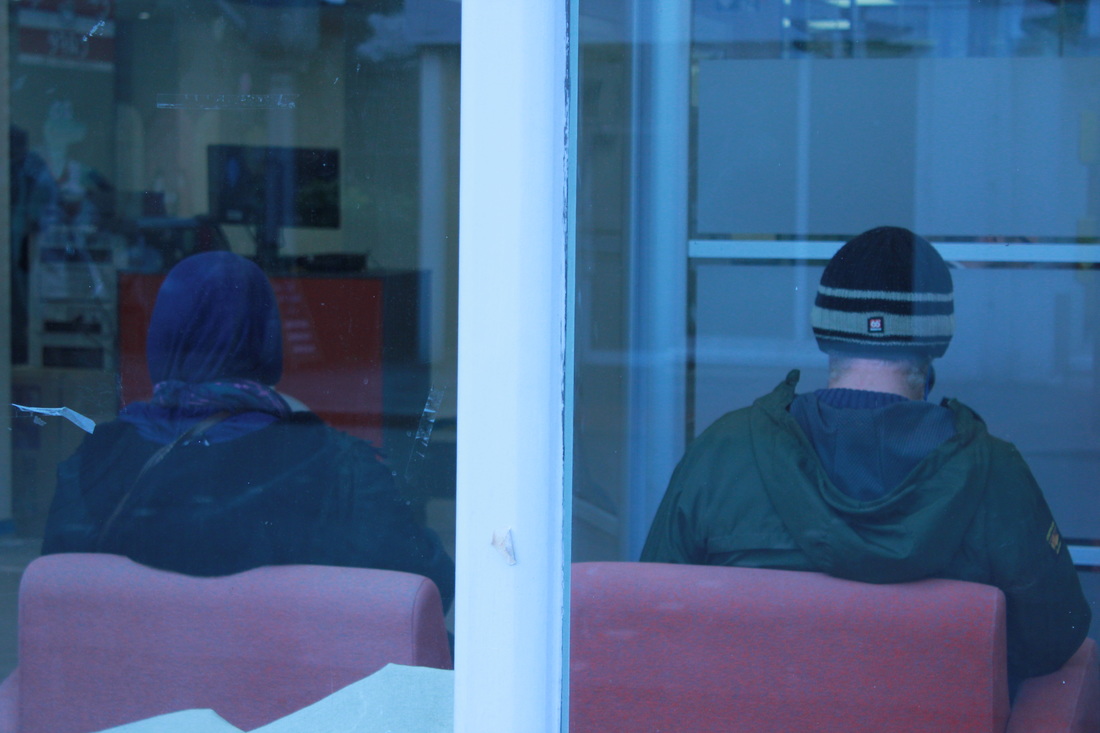
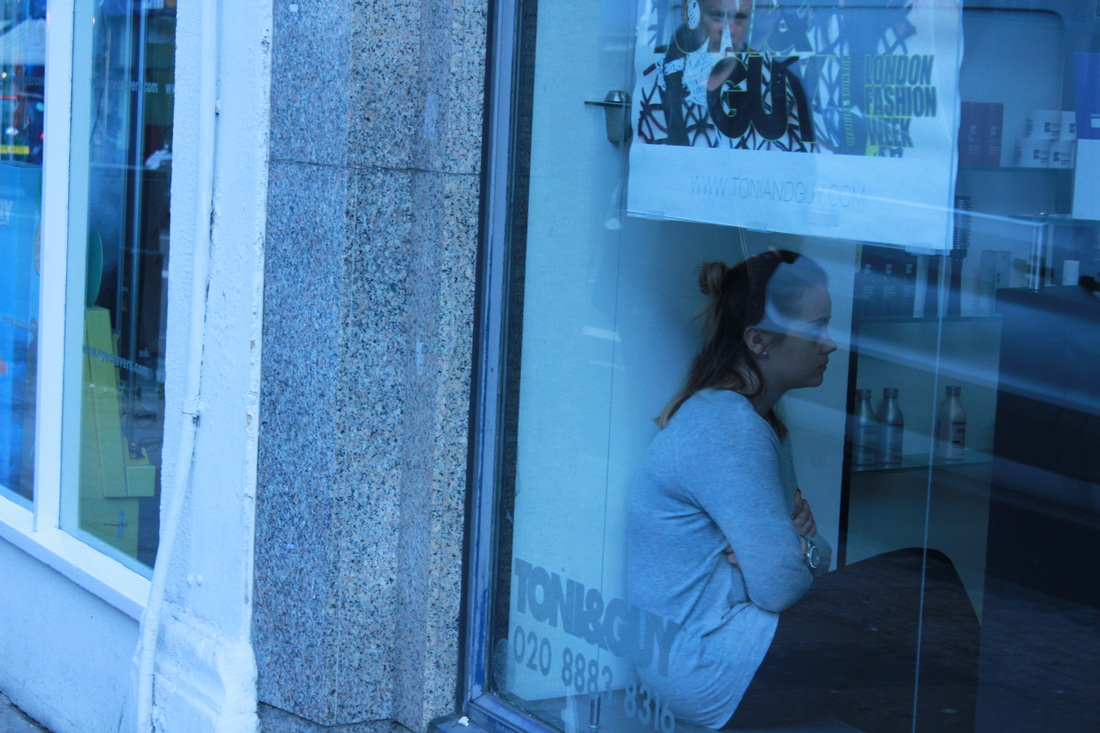
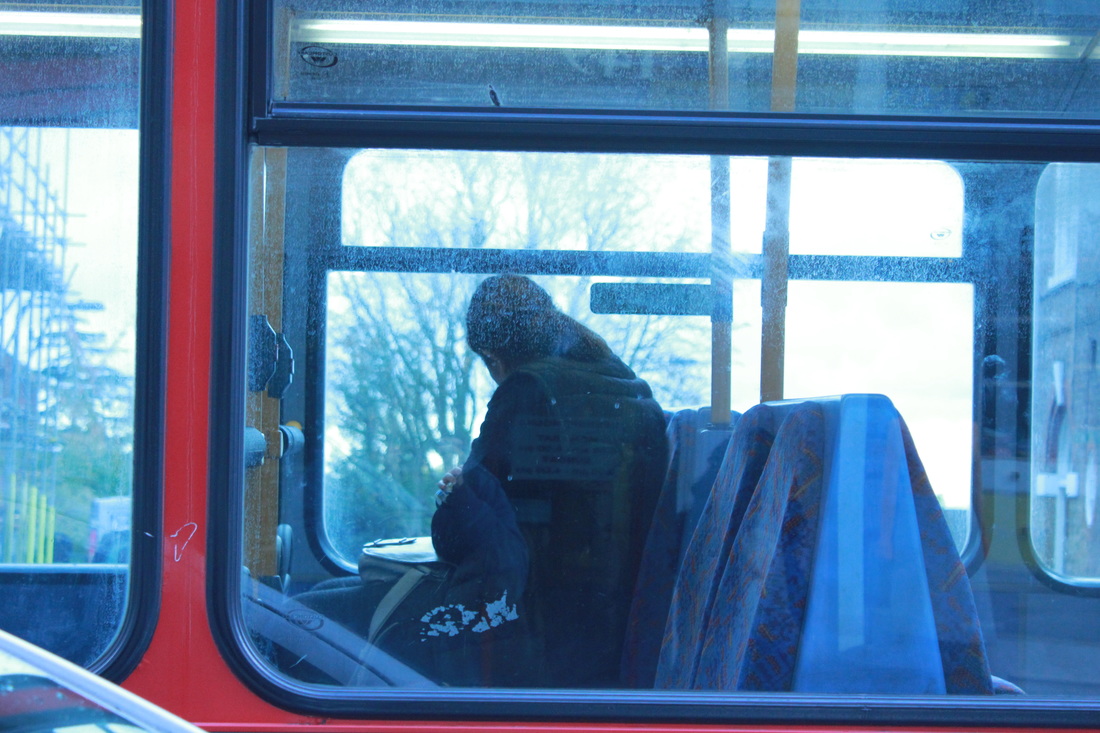
Saul Leiter
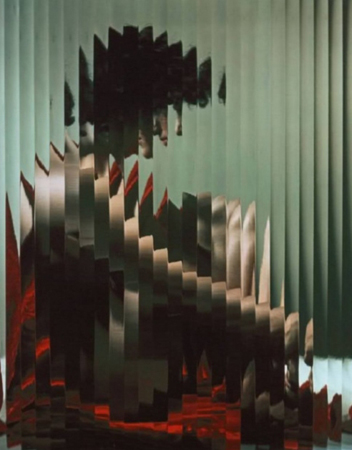
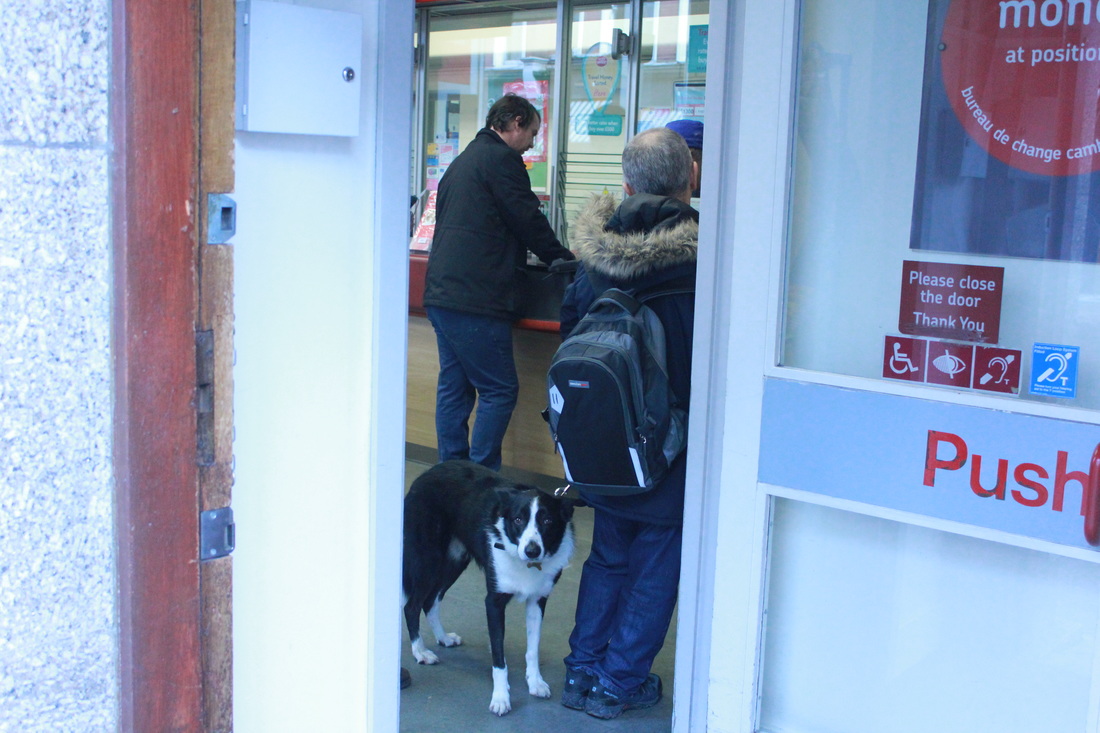
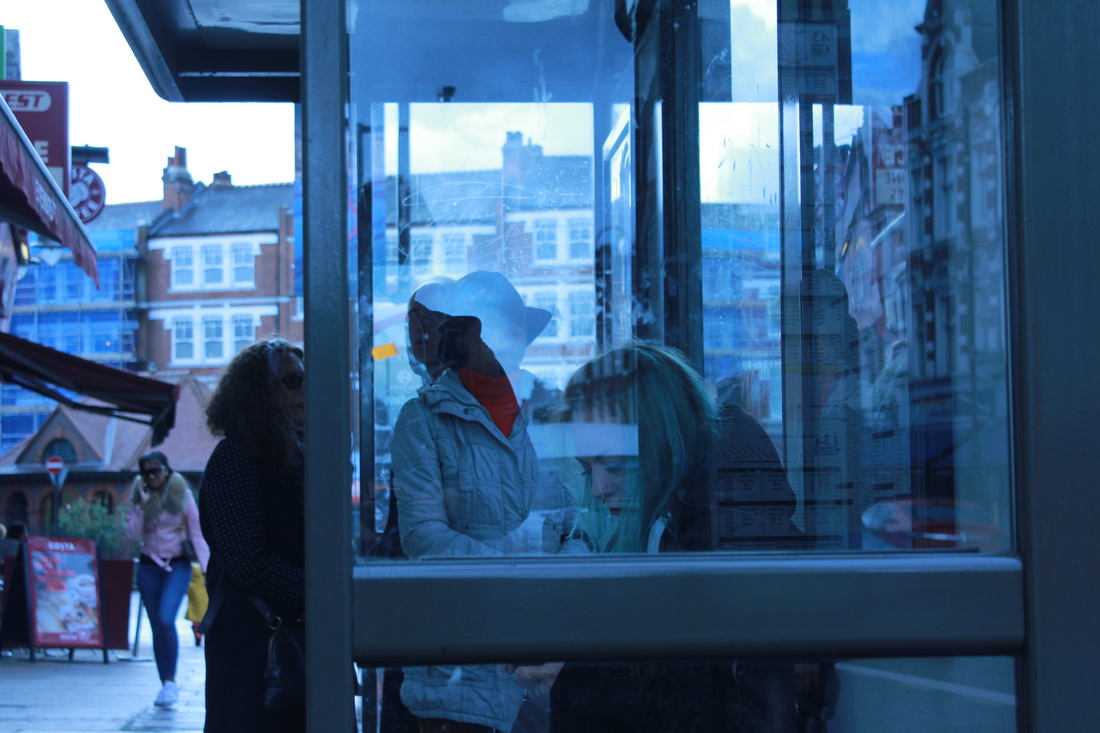
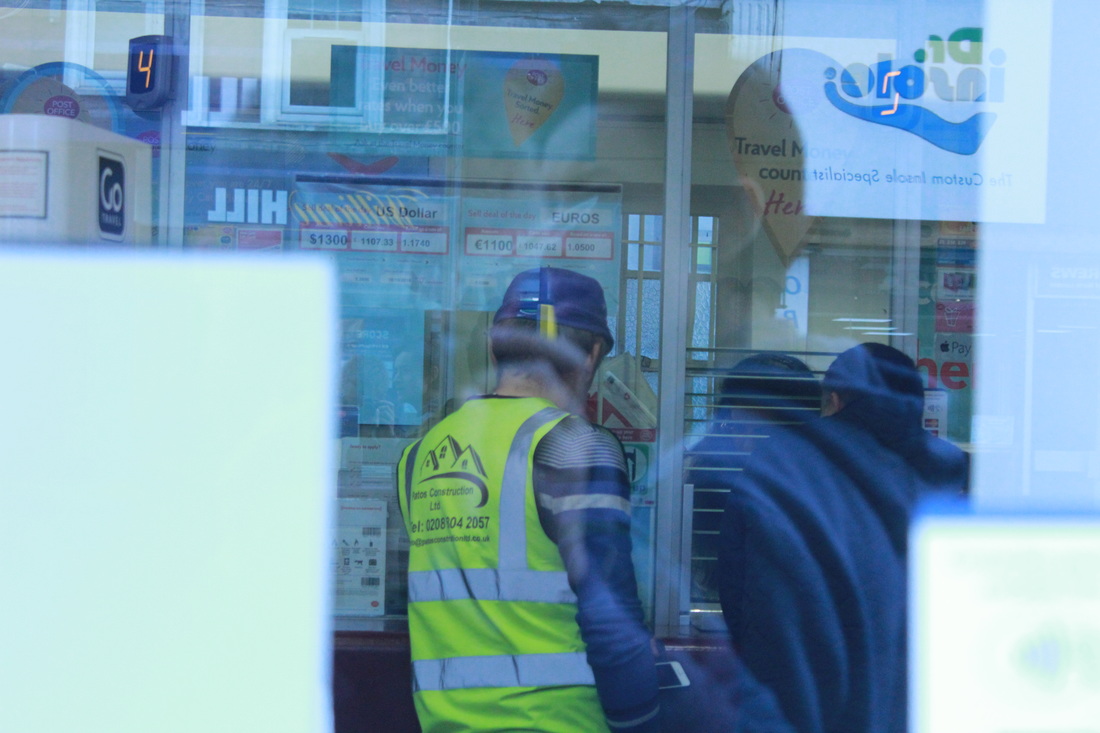
Saul Leiter (December 3, 1923 – November 26, 2013) was an American photographer and painter whose early work in the 1940s and 1950s was an important contribution to what came to be recognised as the New York school of photography. His work is in the collections of many prestigious public and private collections. His work is often, photographs of people through windows and other distorting objects. This creates an abstract effect and sense of discomfort with the reader.
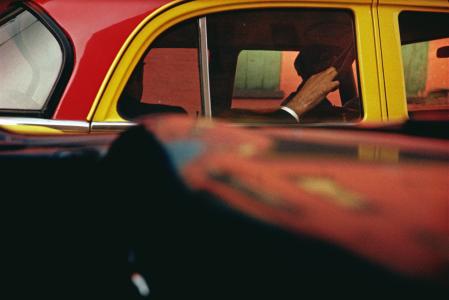
My response
|
|
|
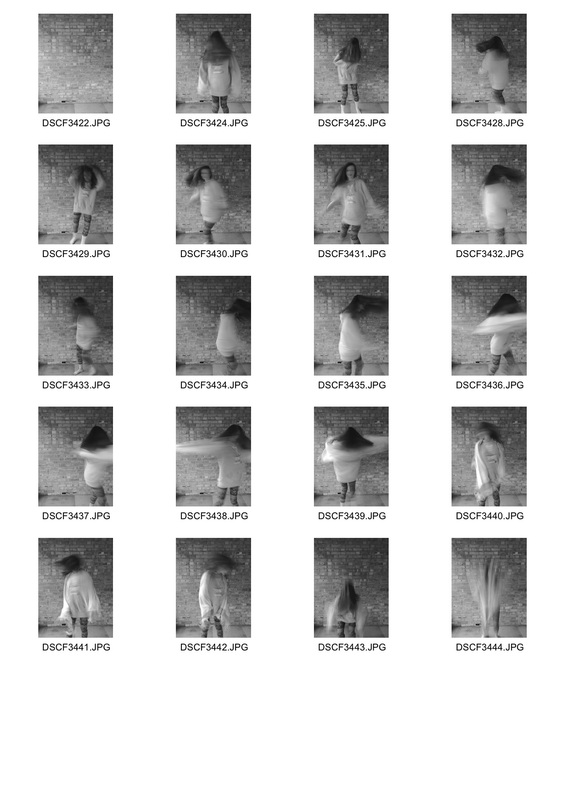
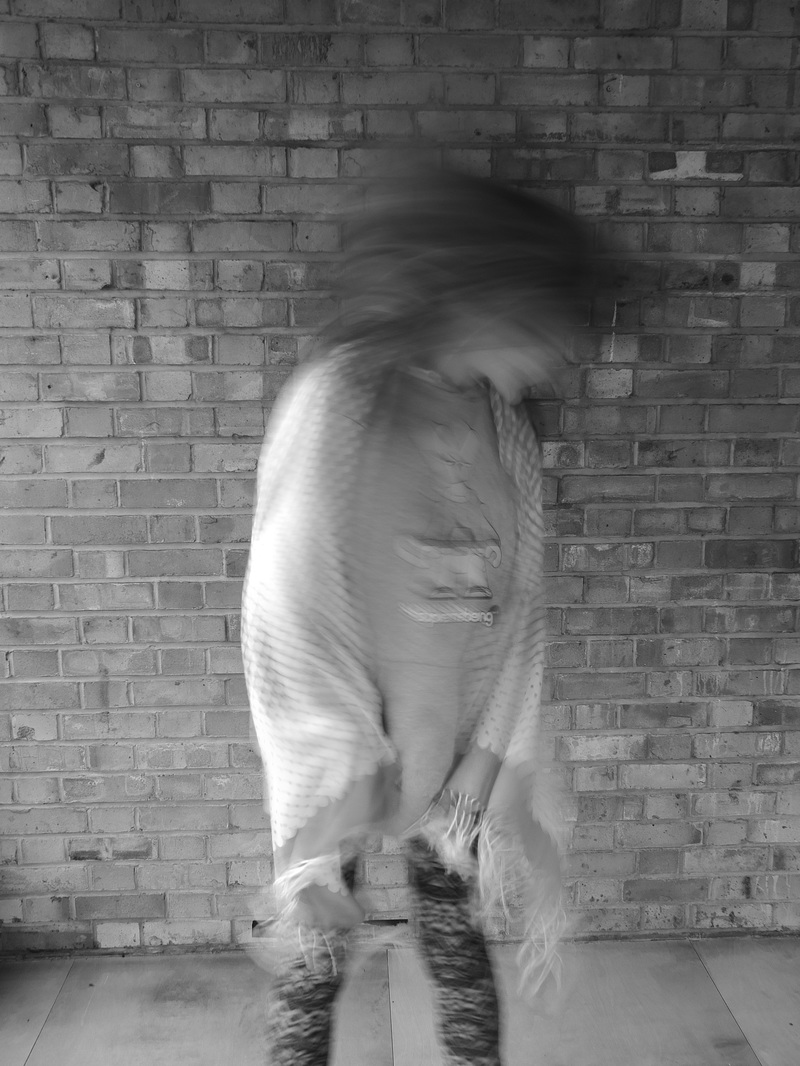
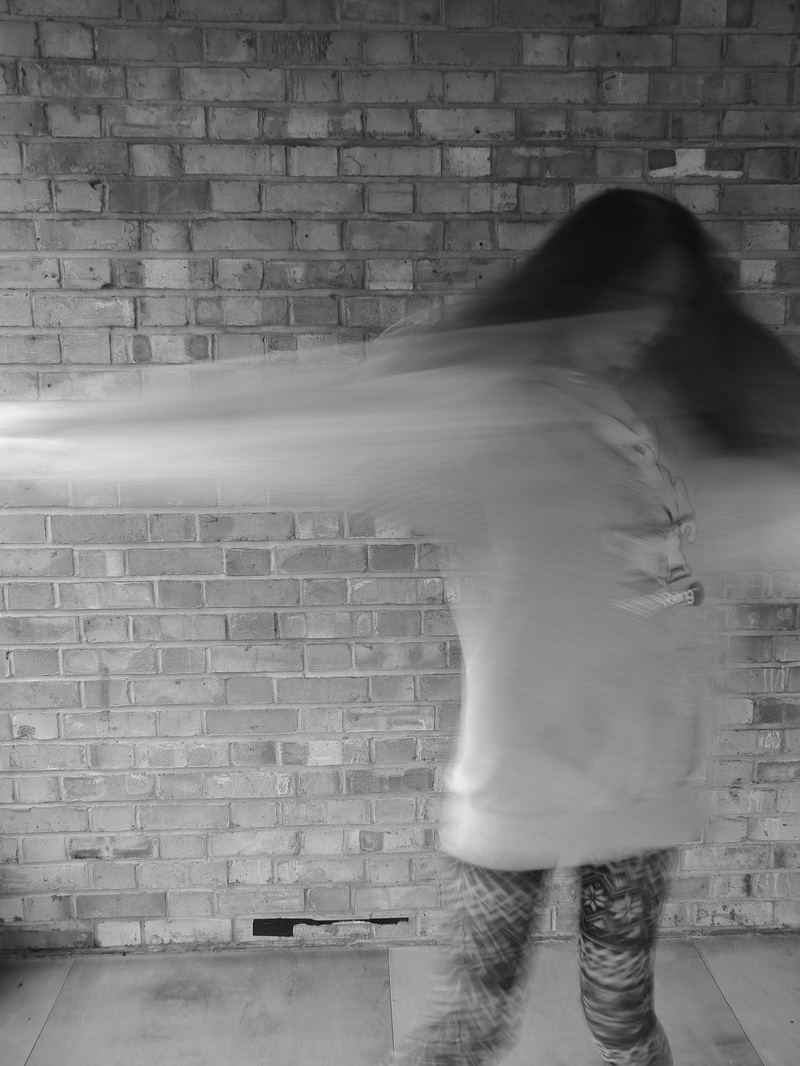
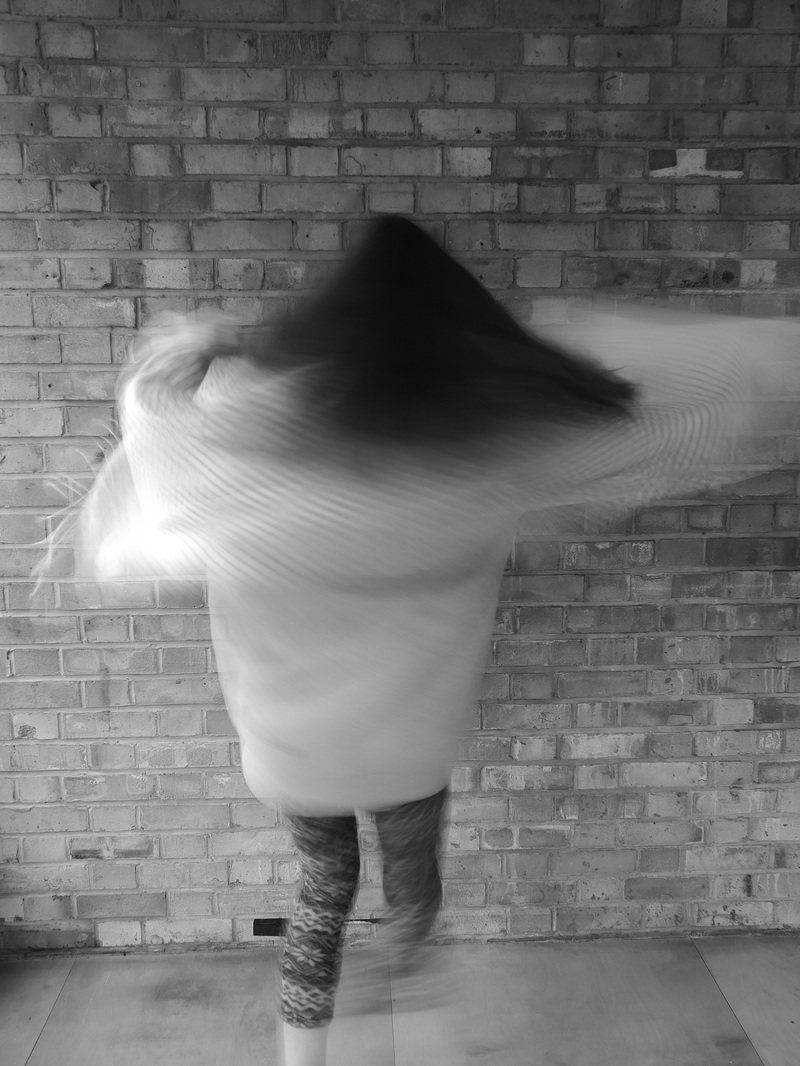
Strand 1: Abstract People
Linked Artist: Francesca Woodman
|
Francesca Woodman (April 3, 1958 – January 19, 1981) was an American photographer best known for her black and white pictures featuring herself and female models. Many of her photographs show young women who are nude, blurred (due to movement and long exposure times), merging with their surroundings, or whose faces are obscured. Her work continues to be the subject of much critical acclaim and attention, years after she killed herself at the age of 22. Although Woodman used different cameras and film formats during her career, most of photographs were taken with medium format cameras producing 2-1/4 by 2-1/4 inch square negatives. woodman created at least 10,000 negatives.
|
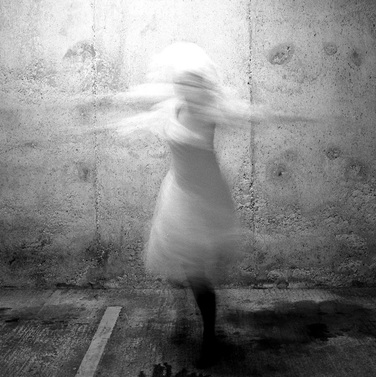
This is one of the more famous photos from Woodman, the exposer is long to create the ghostly blur effect. the women is lightly contrasting with the white background. The light comes from above maybe a streetlamp as this image appears to have been taken in a car park, based of the white line to the women's right
|
|

|
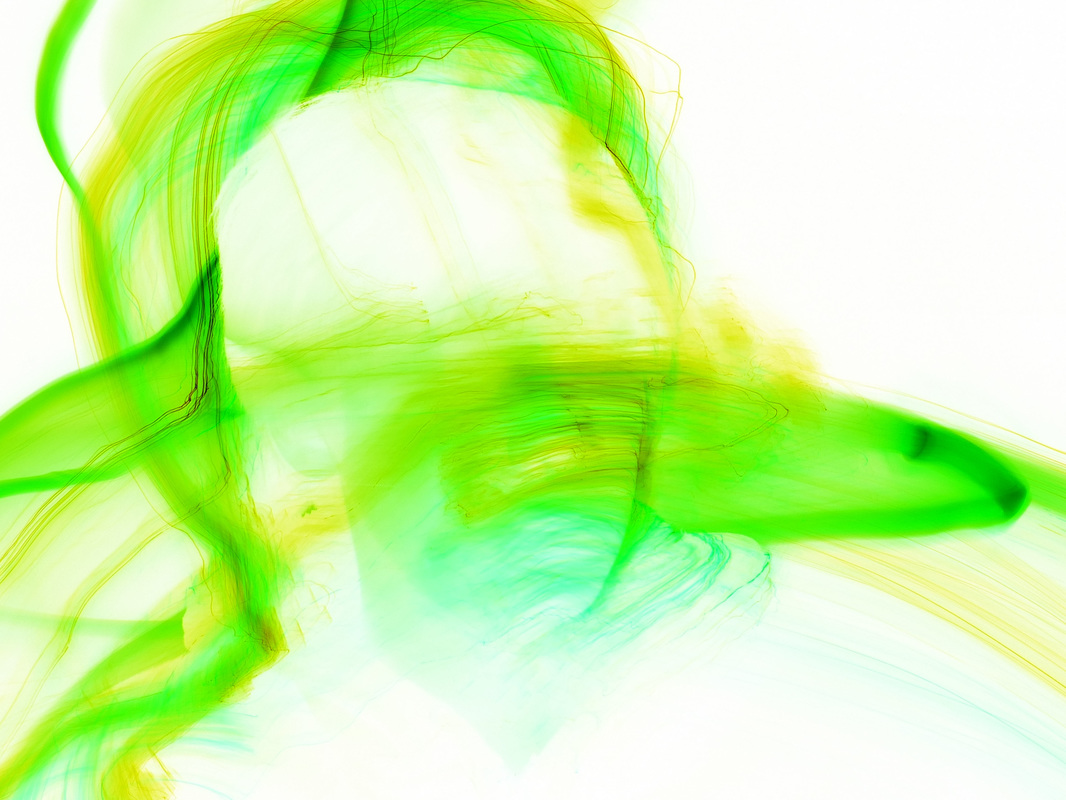
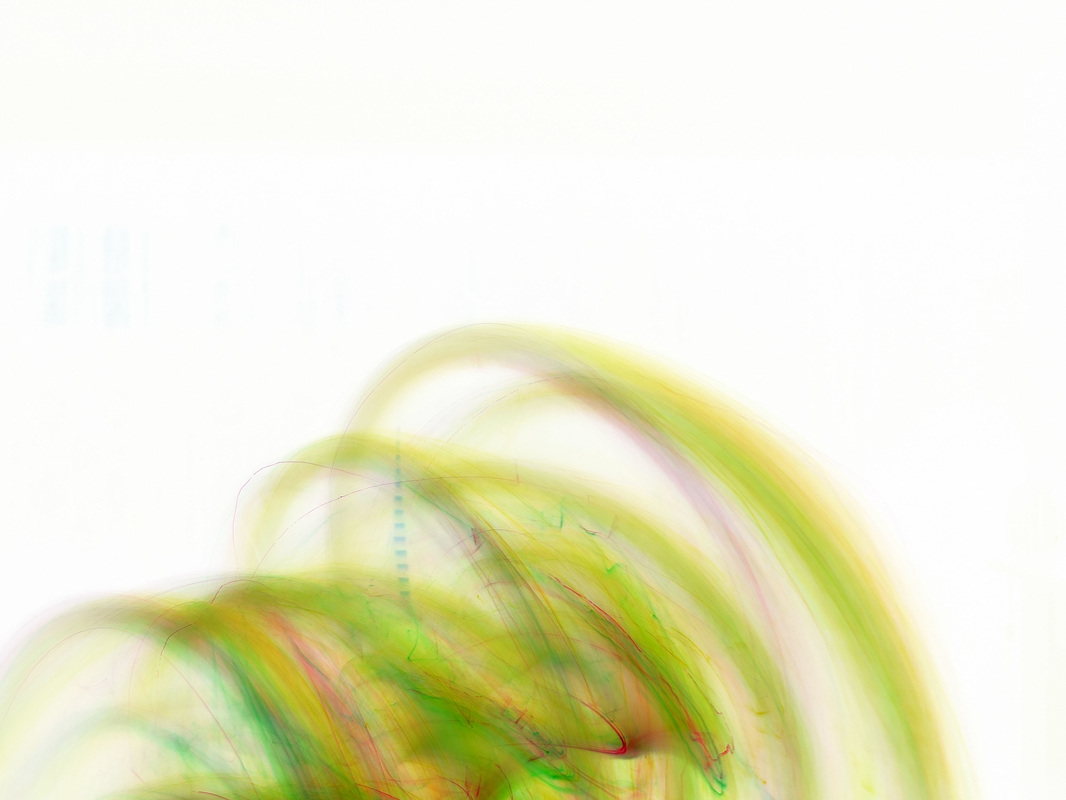
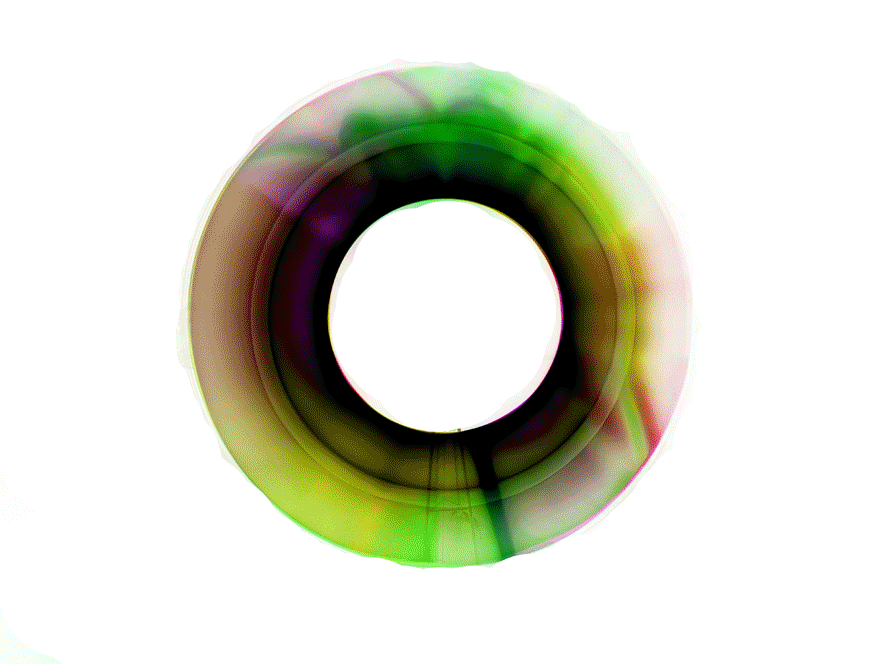
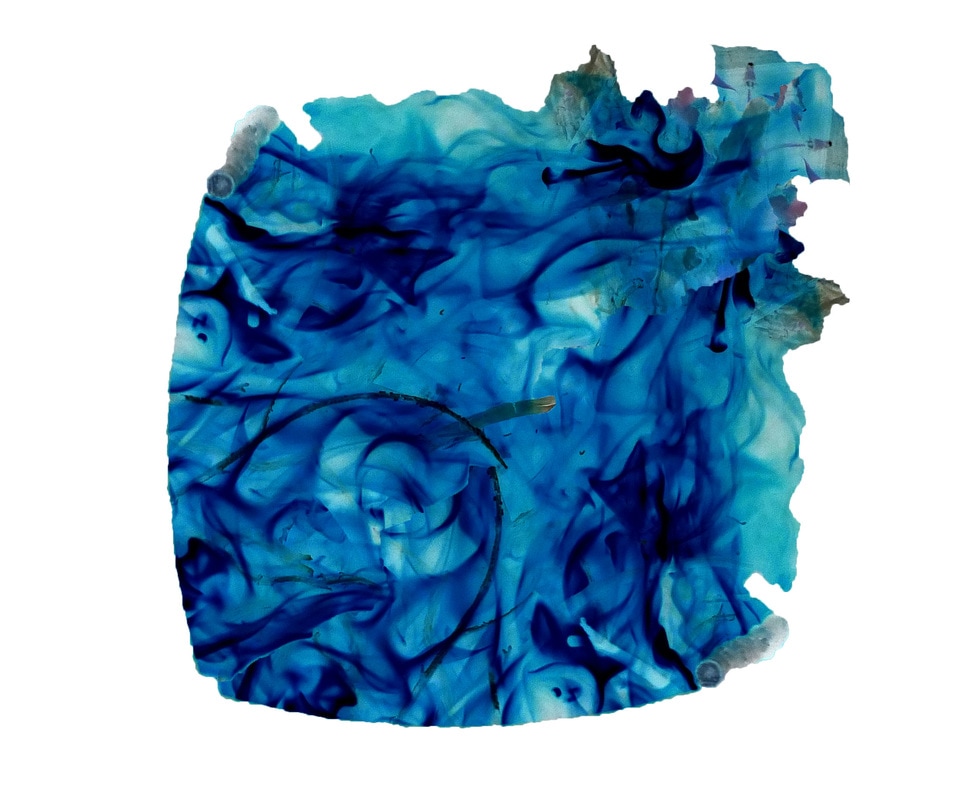
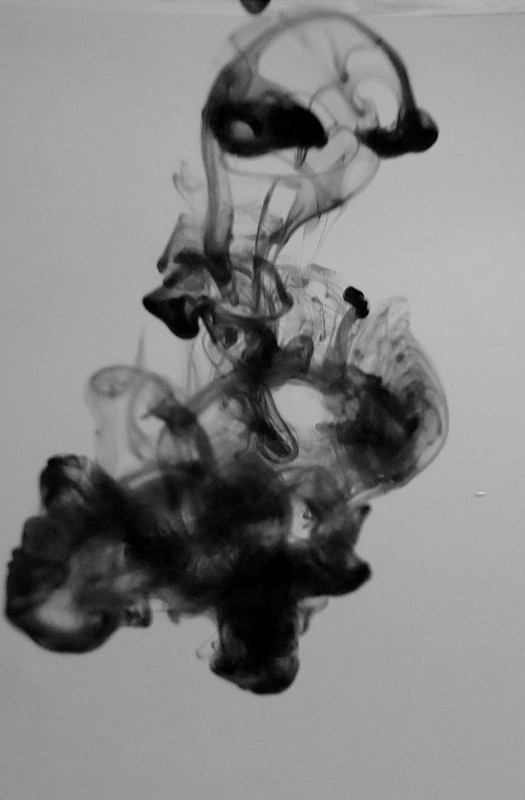
Strand 2: Ink abstract
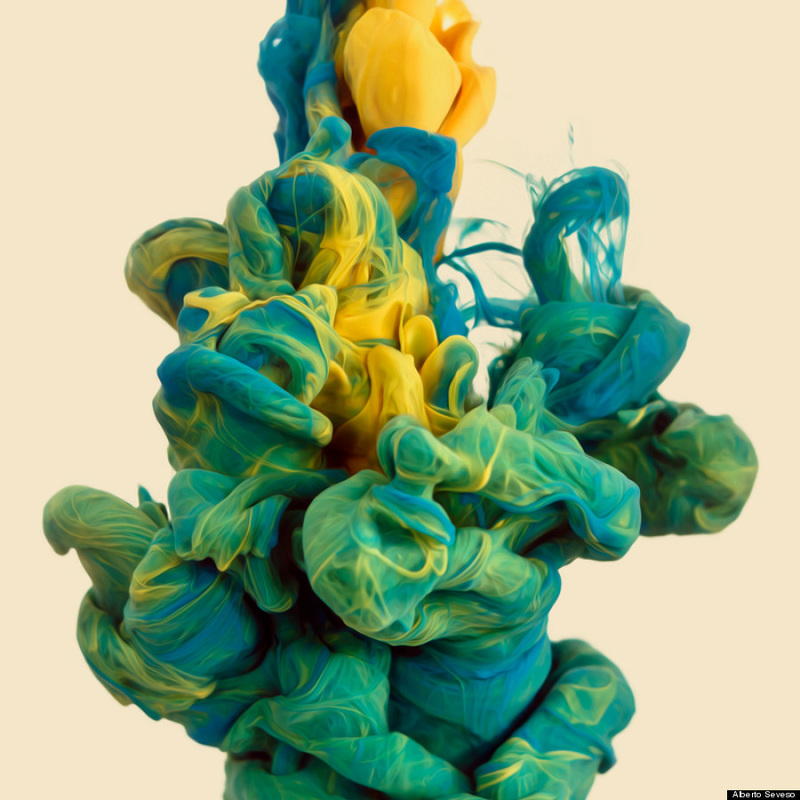
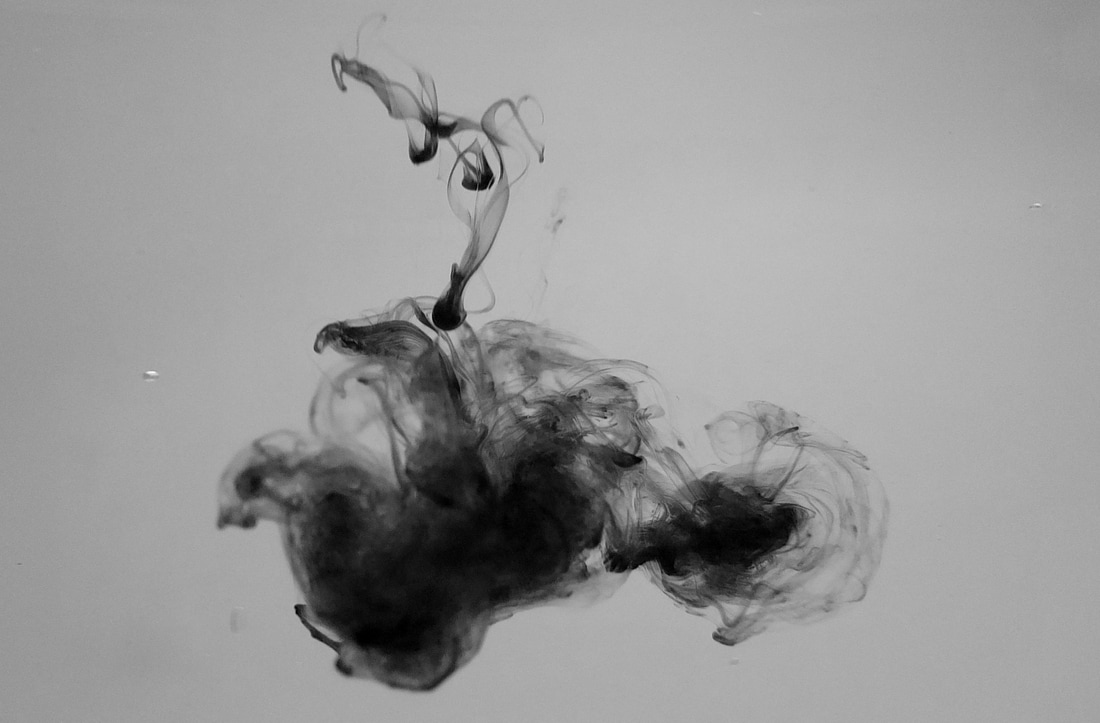
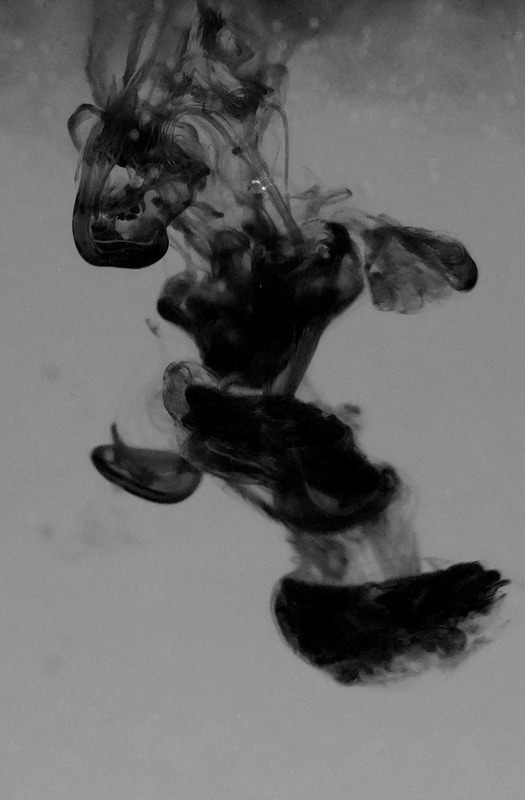
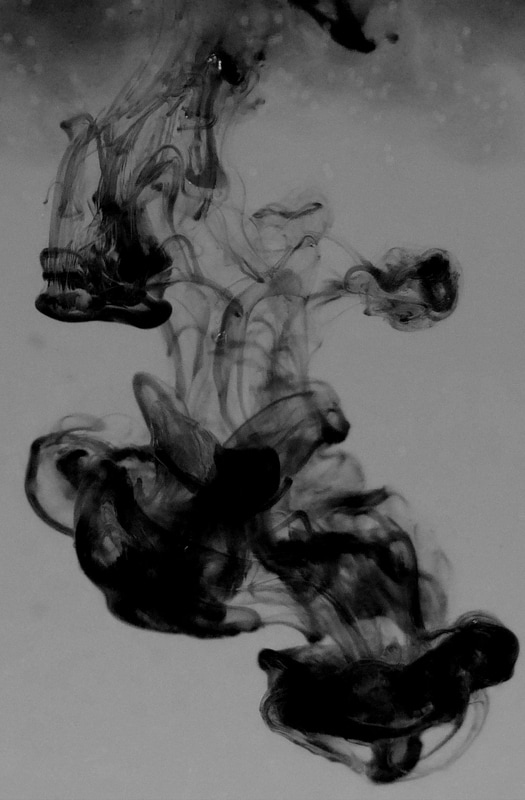
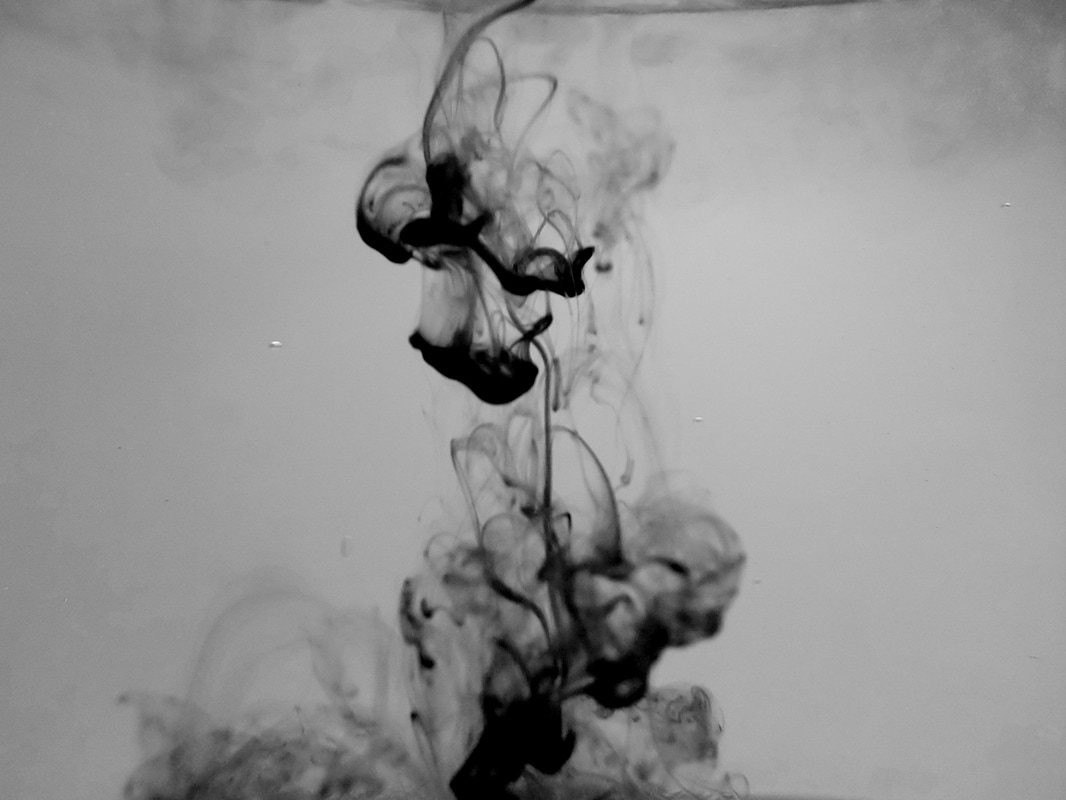
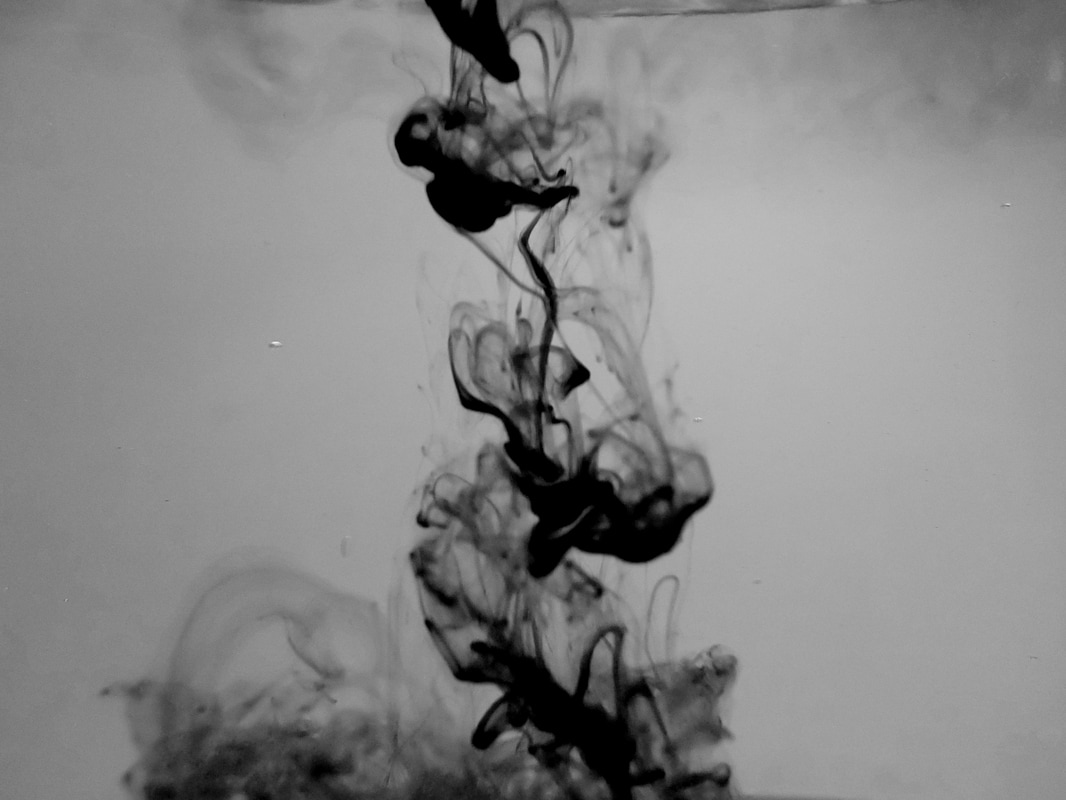
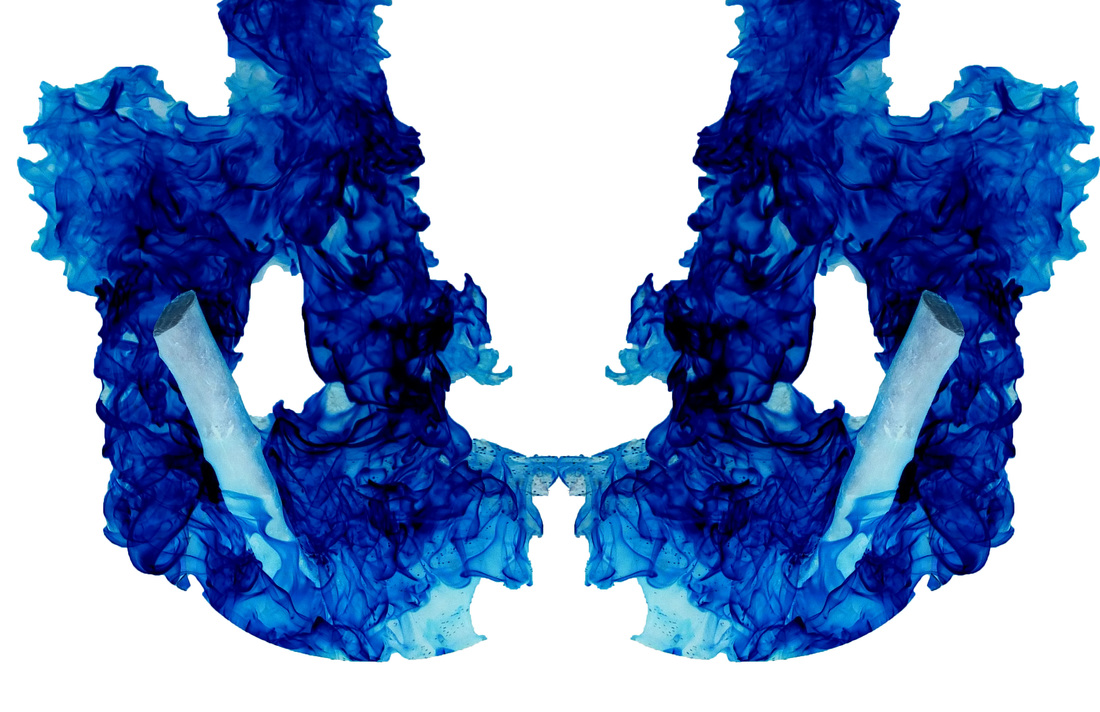
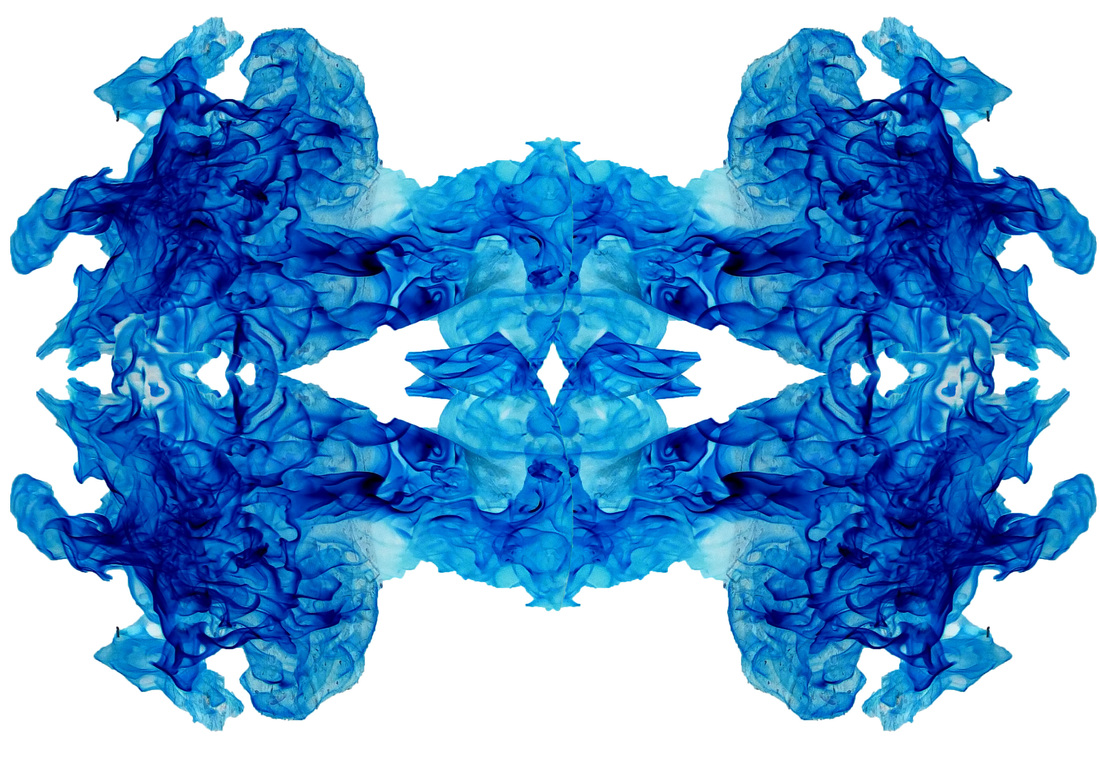
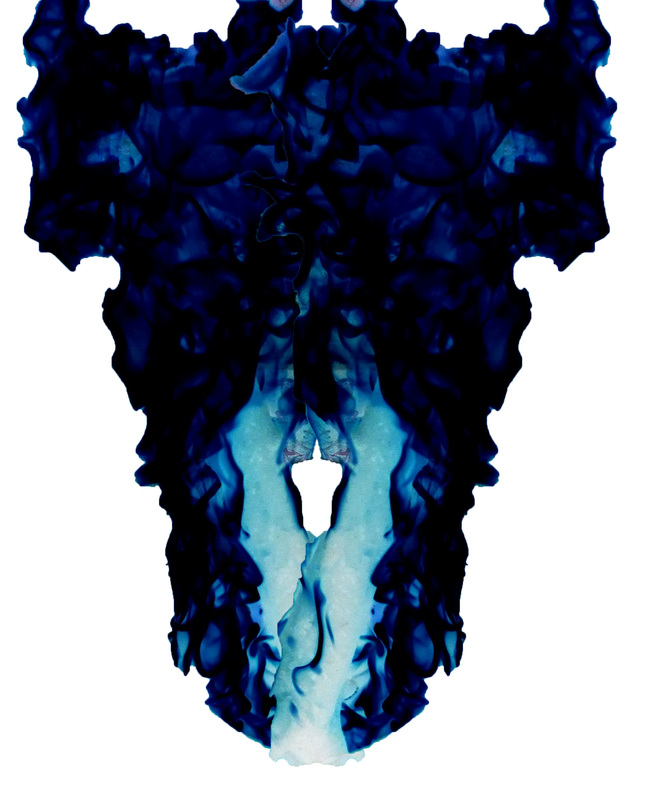
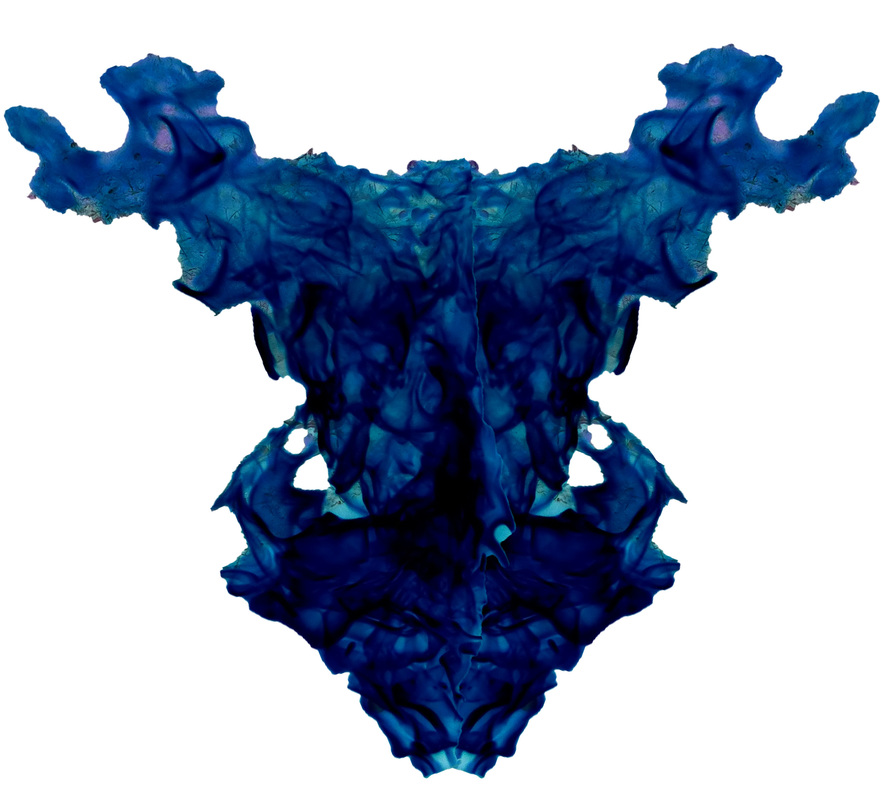
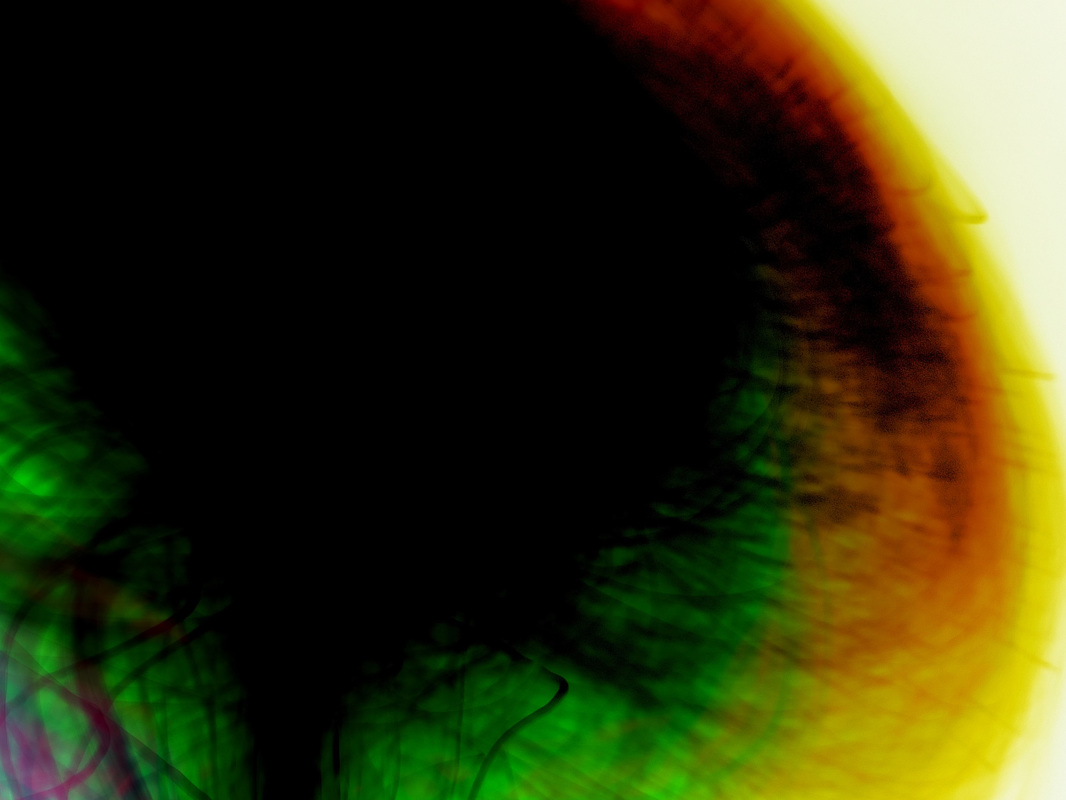
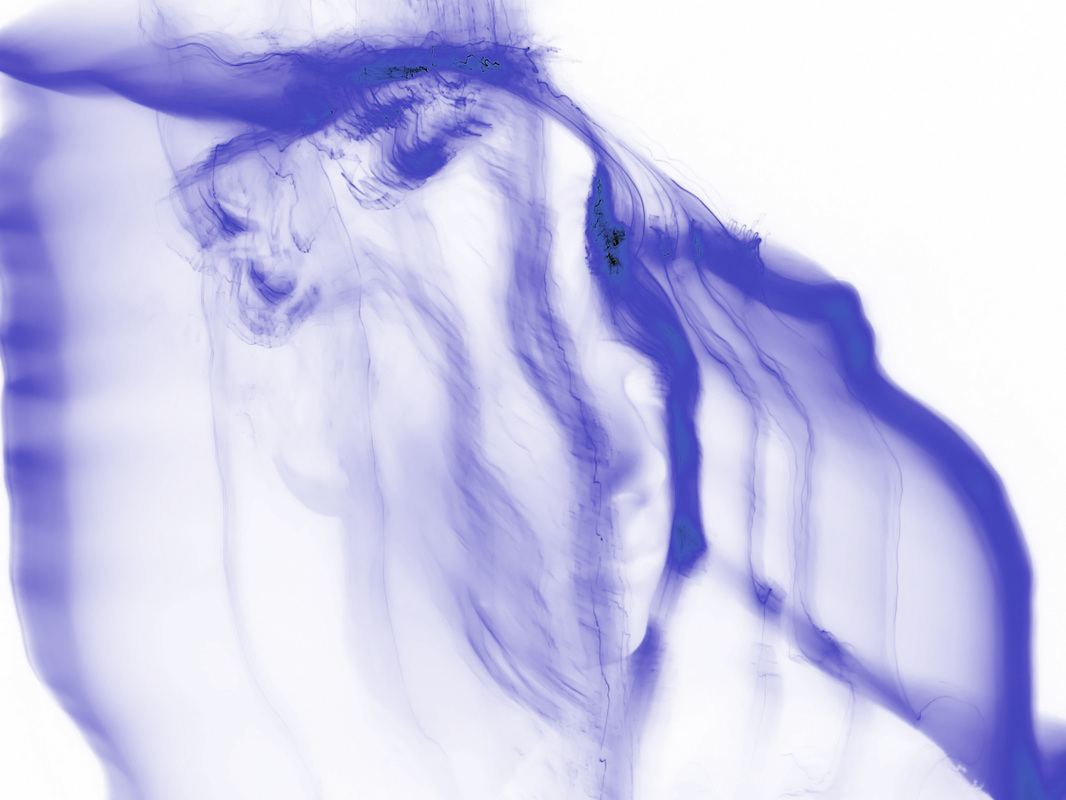
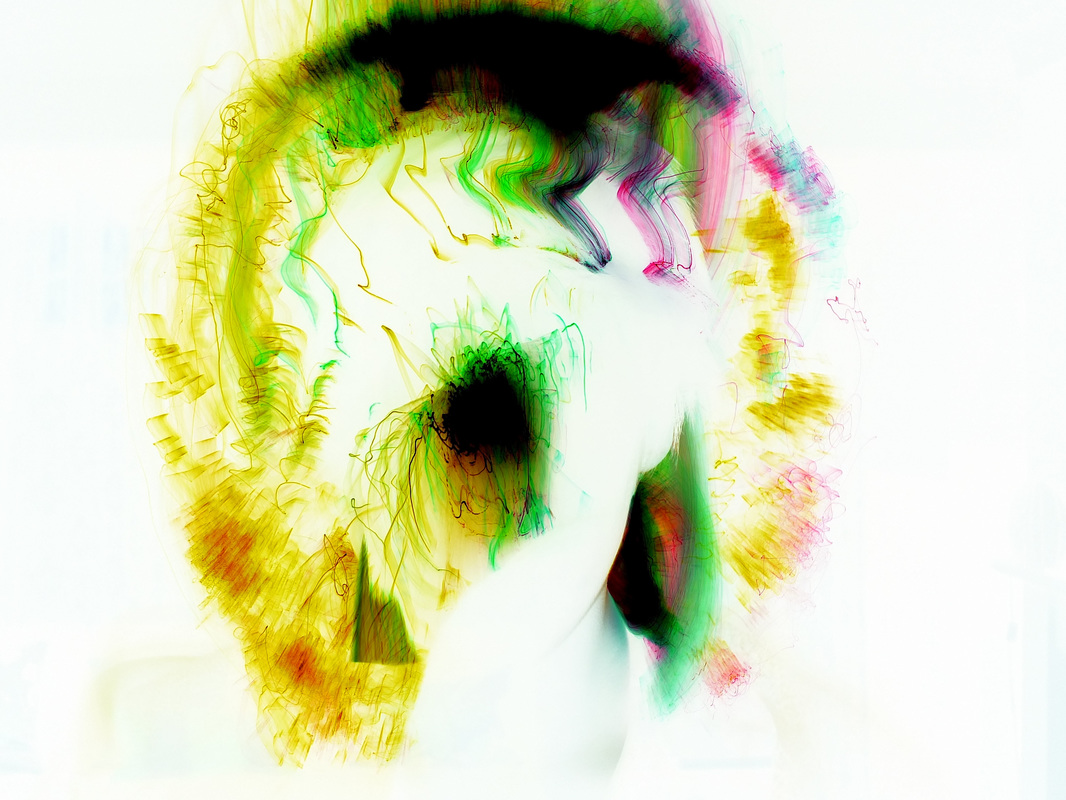
Artist Link: Alberto Seveso
|
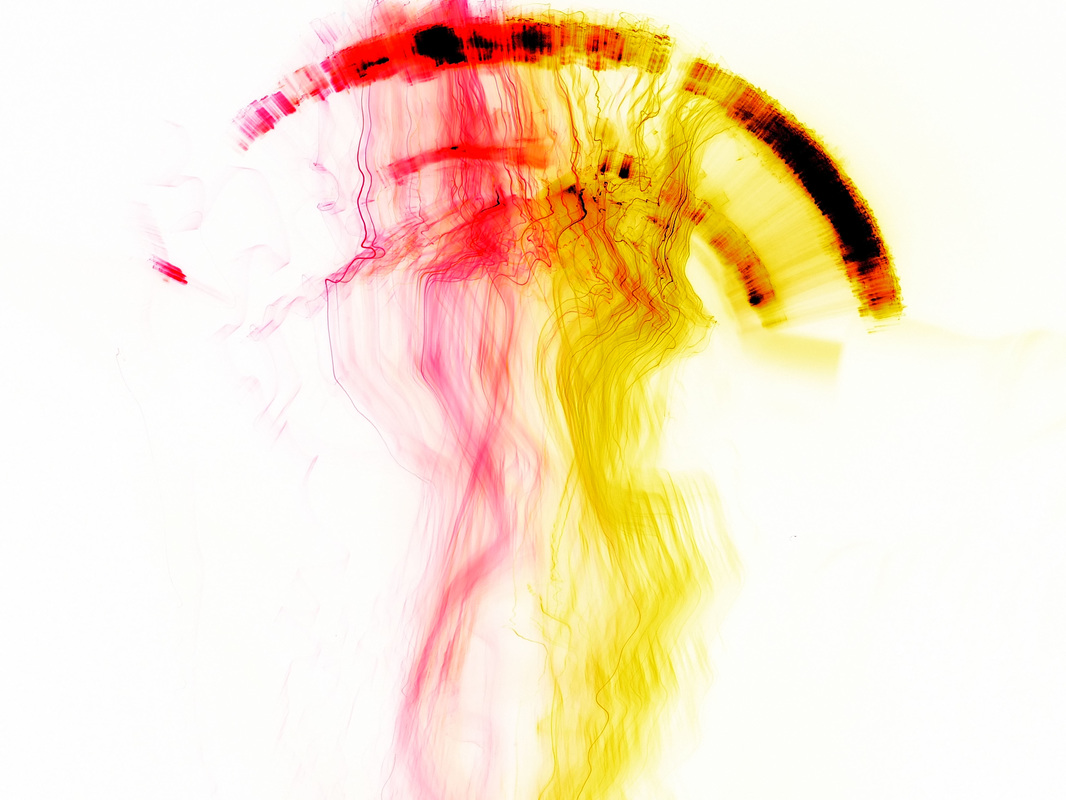
Alberto Seveso was born in Milan, he grow up in Sardinia but is now working and living in Bristol (UK) as a freelancer. His passion for graphic art started when he was in a young age and he was really fascinated by the graphic of skate decks and the cover of music CD of metal bands in the early ‘90s. From this passion he started to create his artworks.
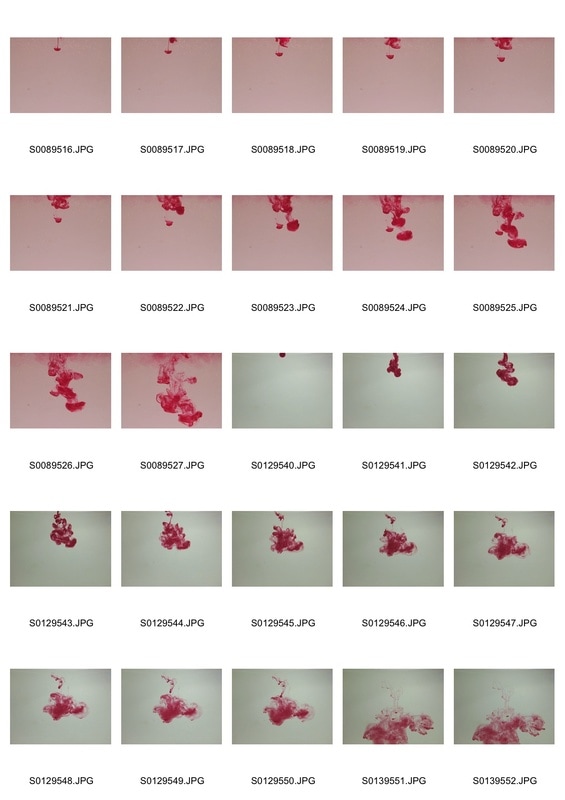
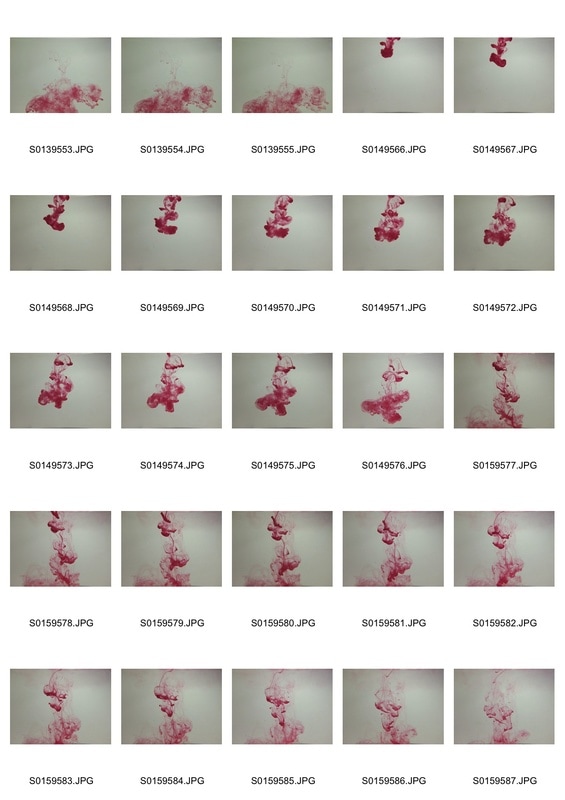
One of his most famous pieces, 'Ink in Water' uses ink and food dyes in water and other medians. This creates abstract shapes. In this image you can see the colours mixing and blending as they expand into the water. This allow the viewer to create his/hers own idea of what the image represents. |
|
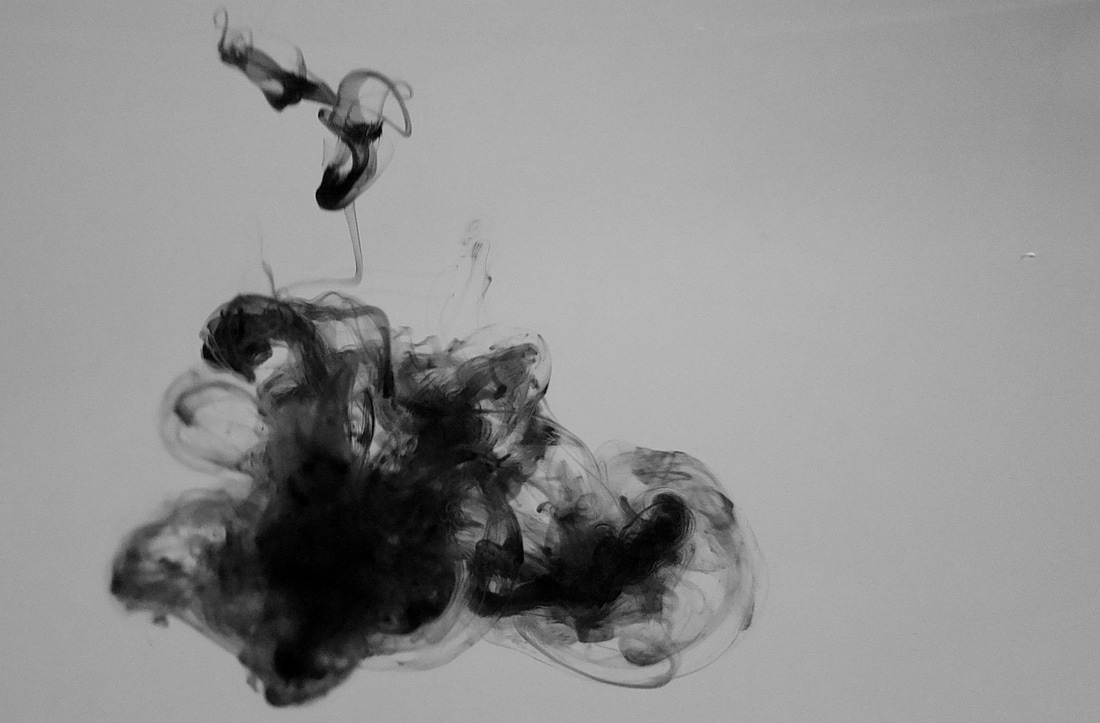
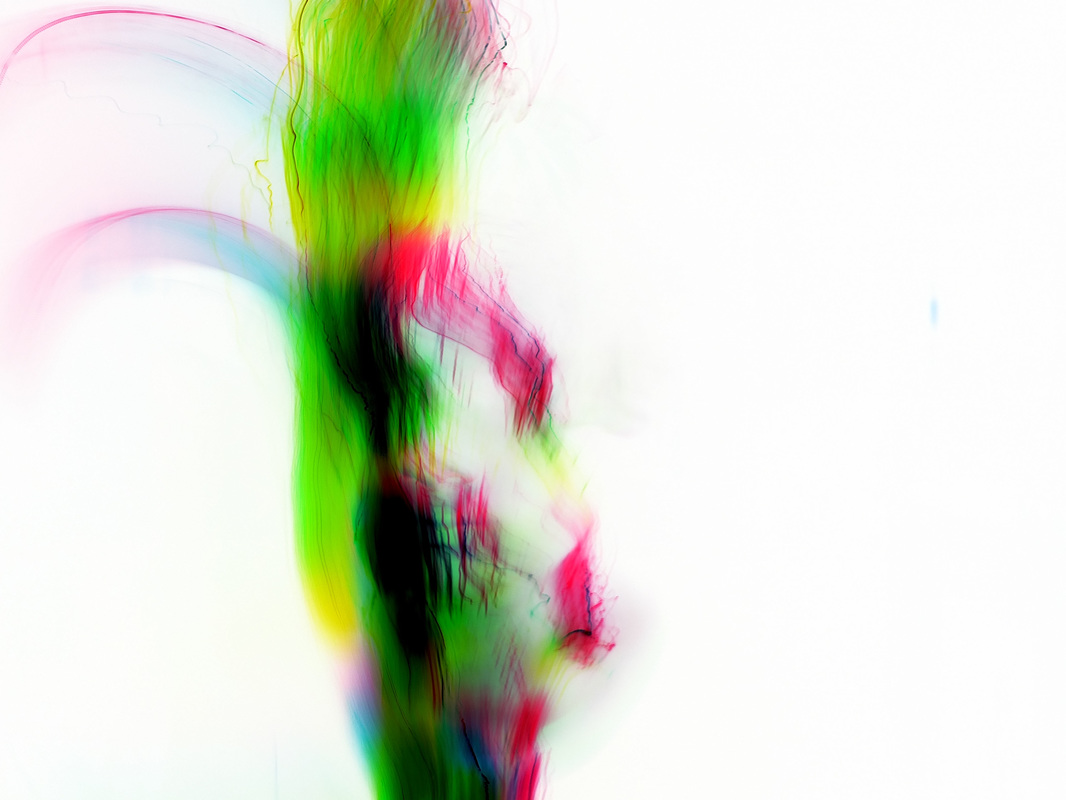
I used Seveso's style to create my own style, I used some photoshop editing techniques to create varied and dark photos of the ink expanding.
|
|
|
|
1: Load the photo into photoshop
2: Select the black and white option in the image drop menu 3: Change the reds to a low negative to create the dark effect |
|
|
|

|
|
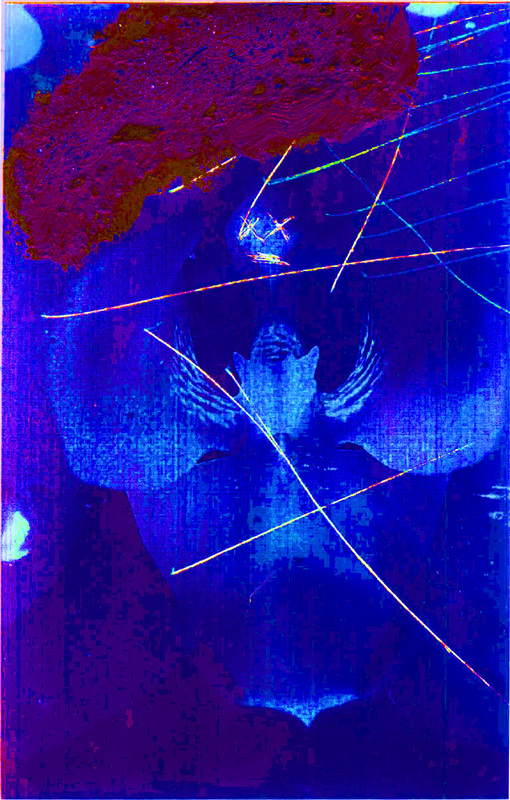
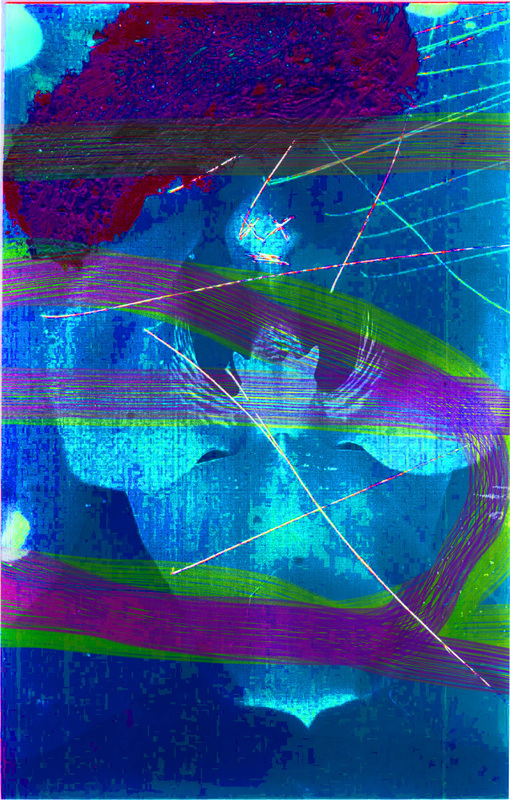
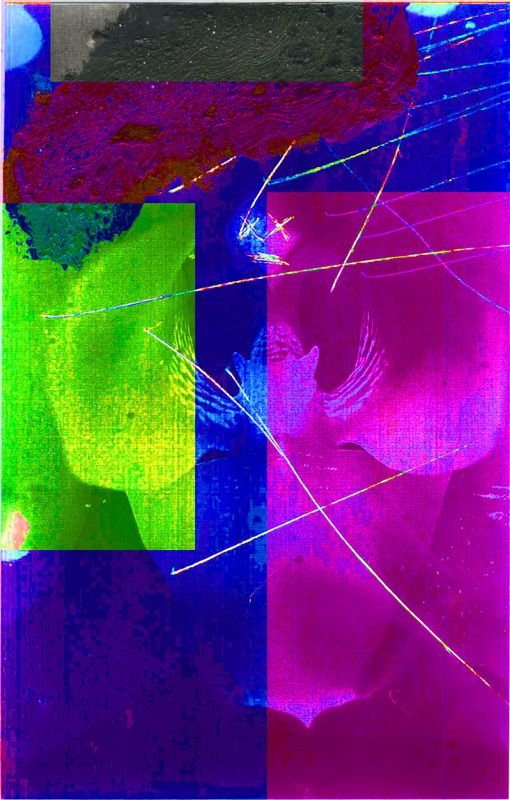
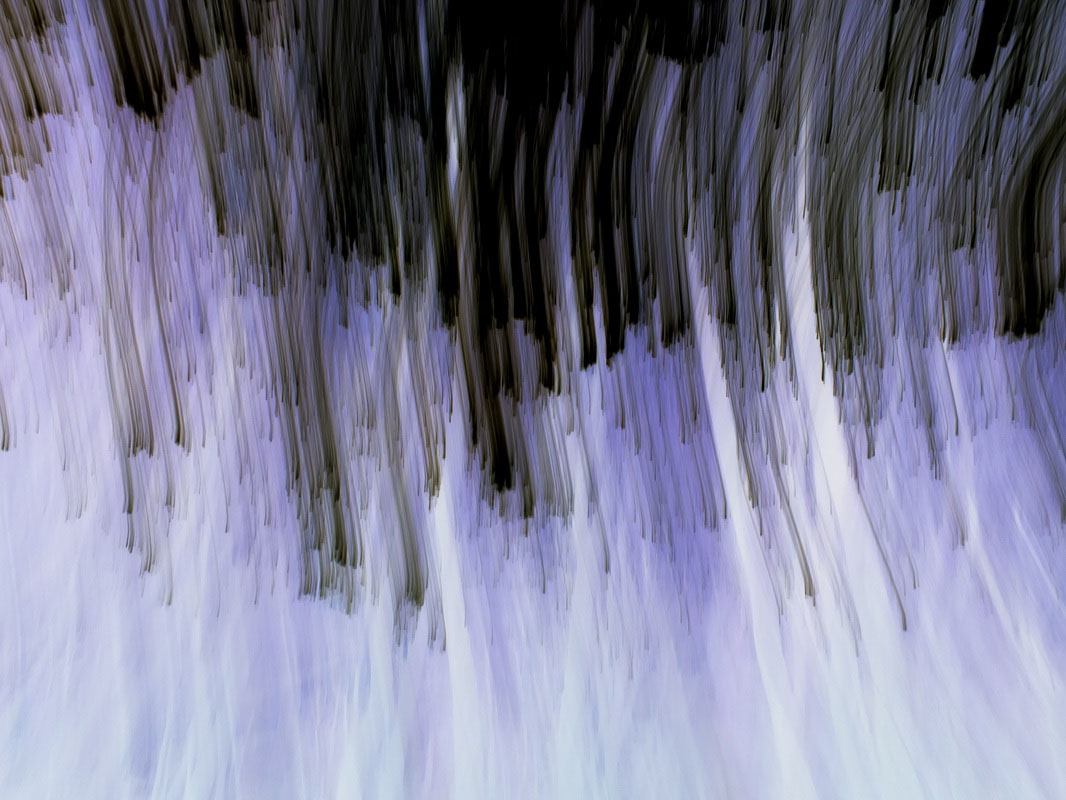
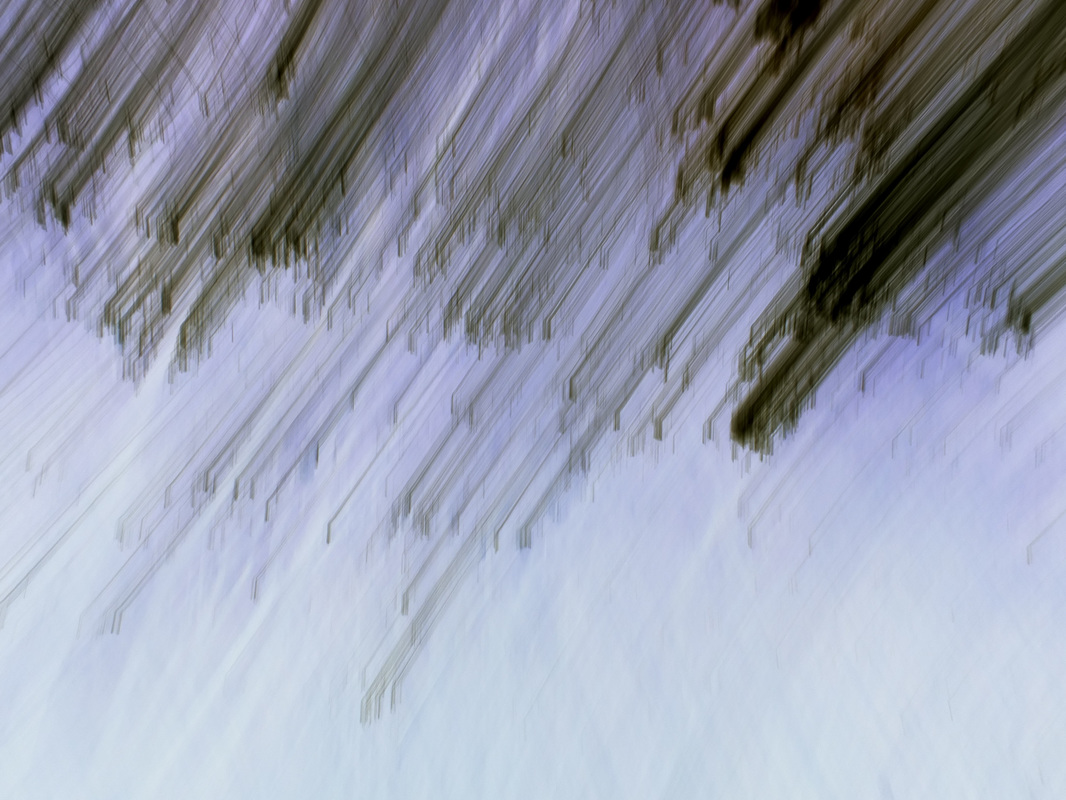
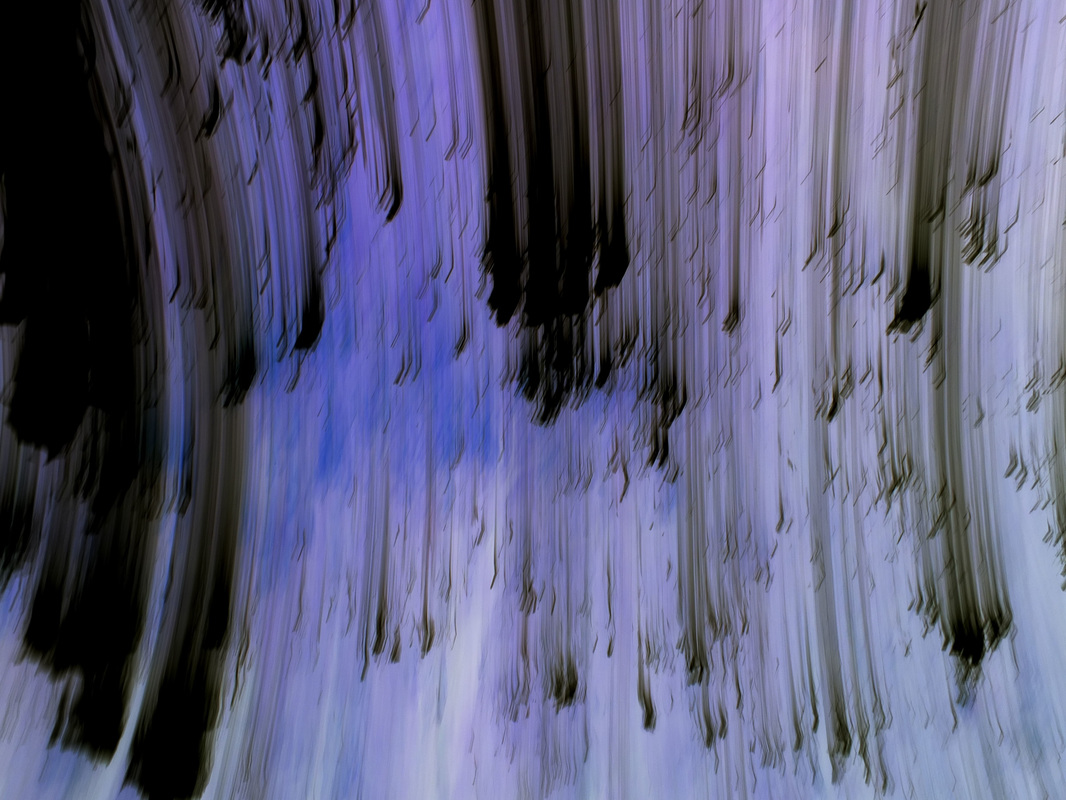
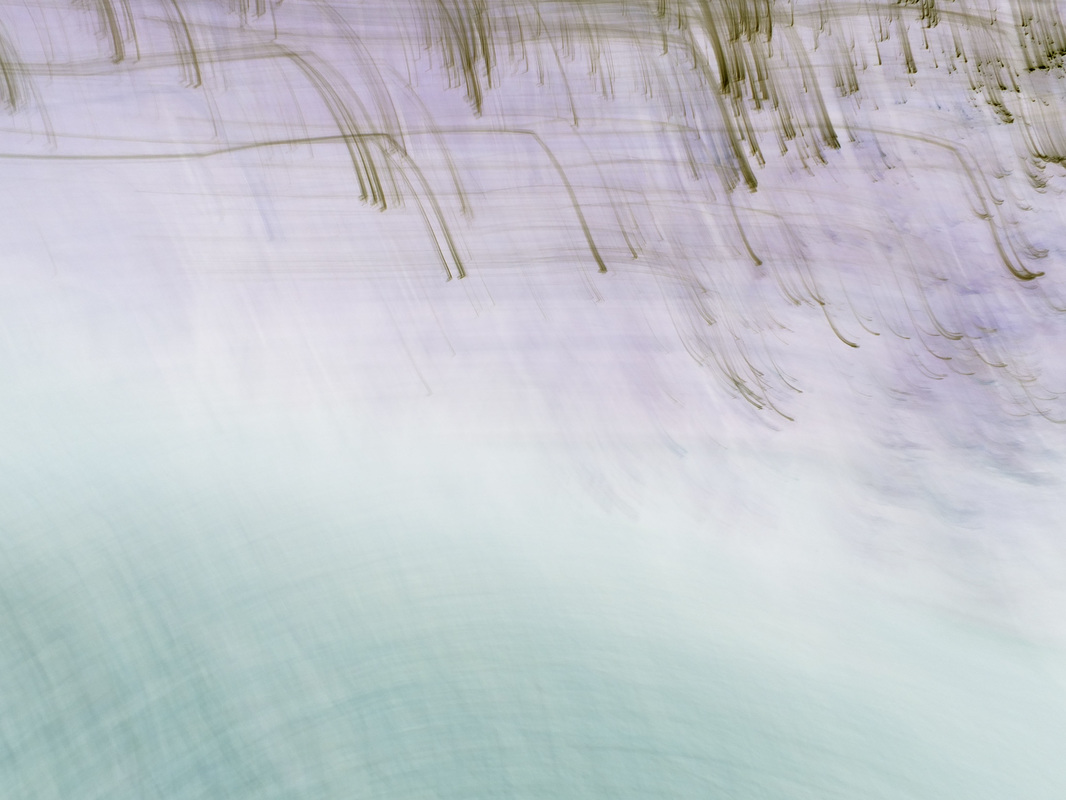
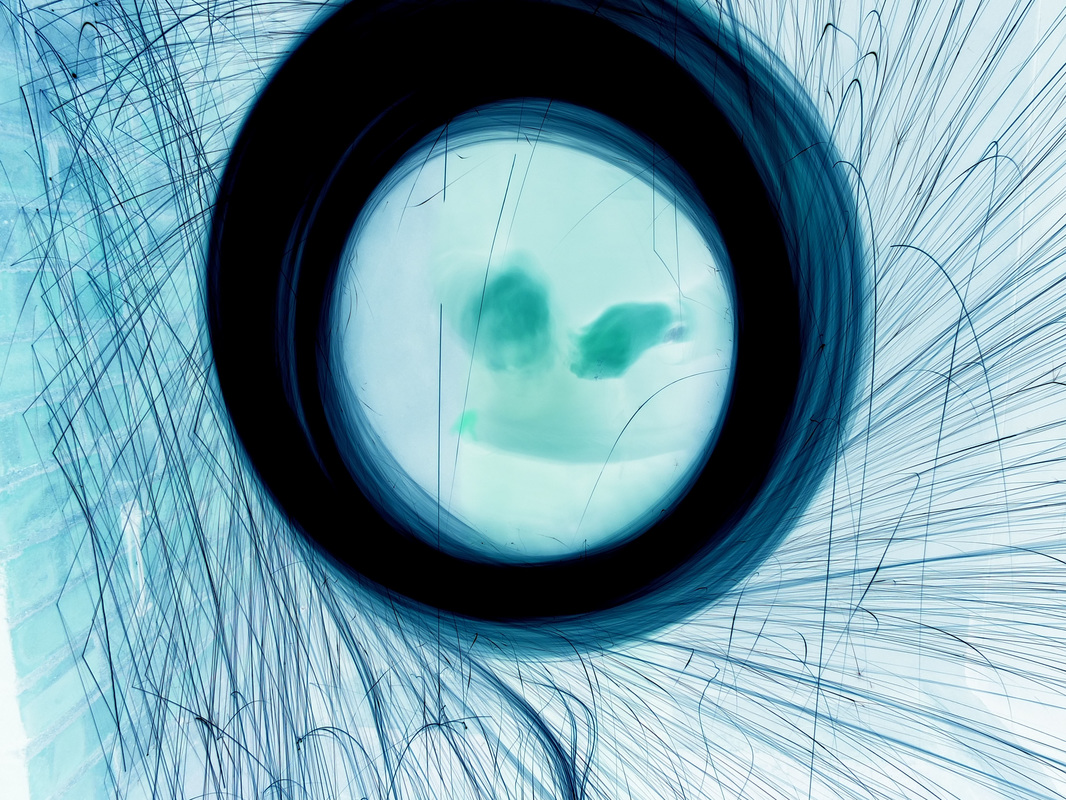
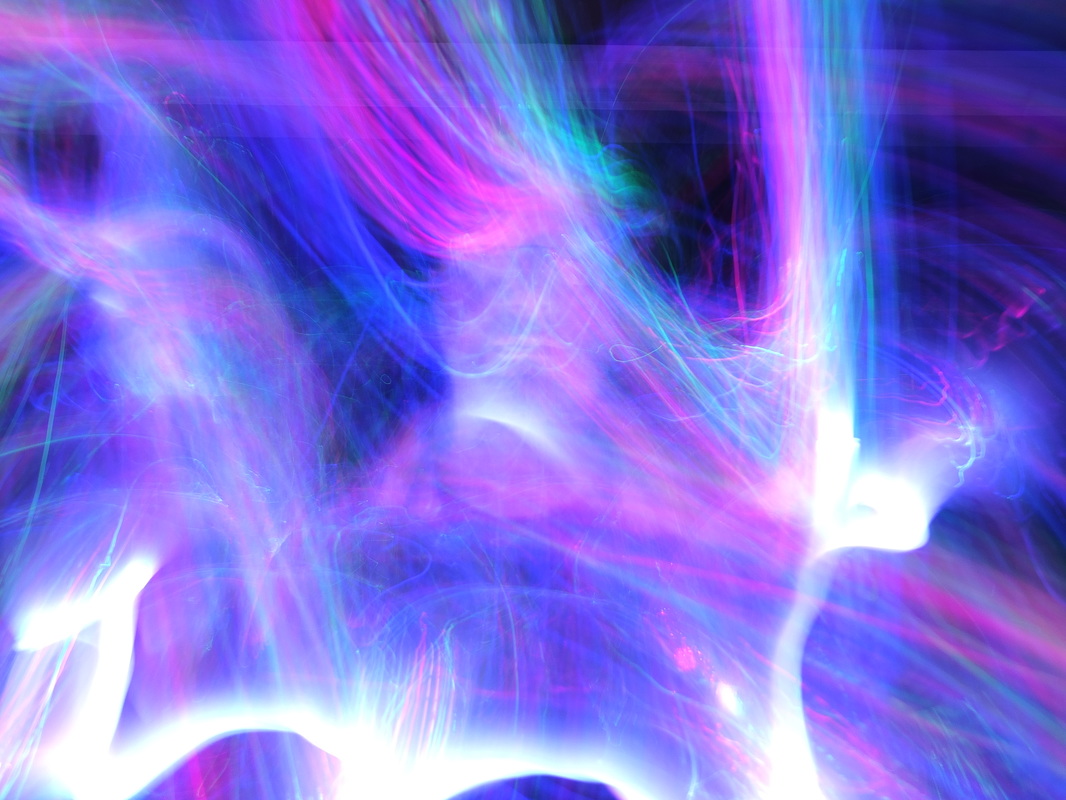
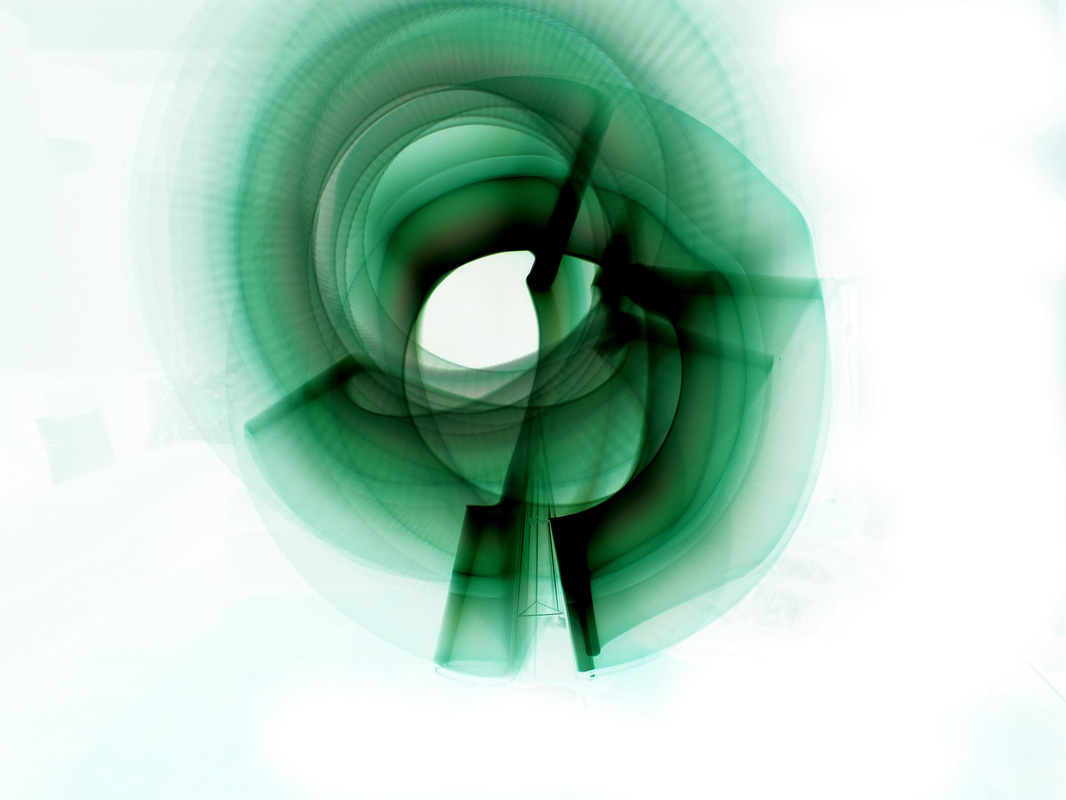
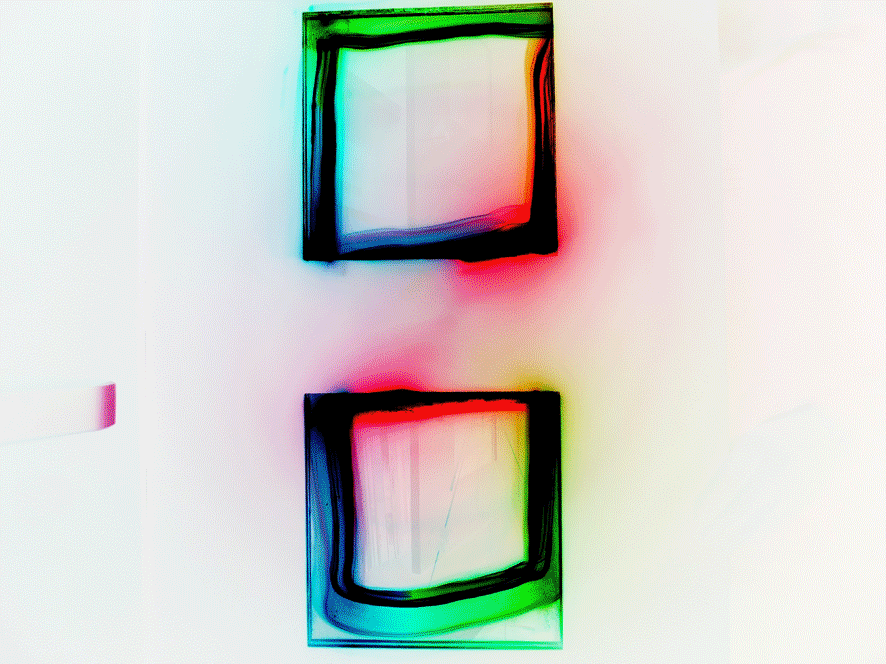
Strand 3: Light abstract
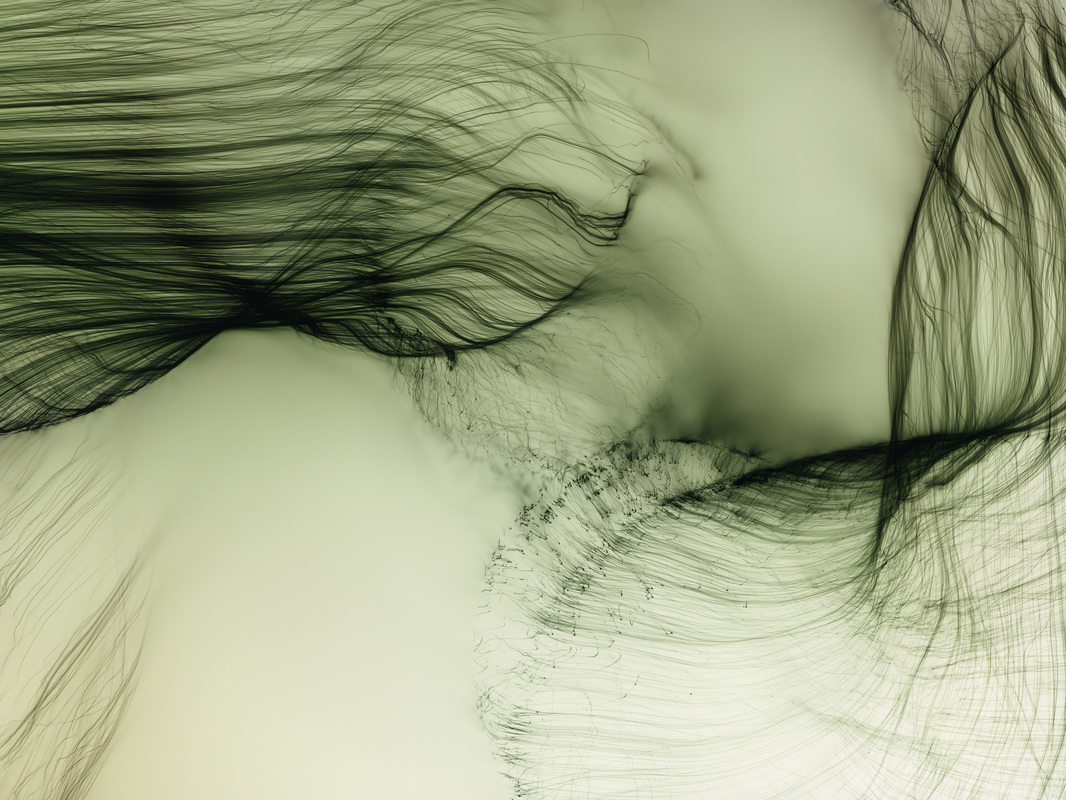
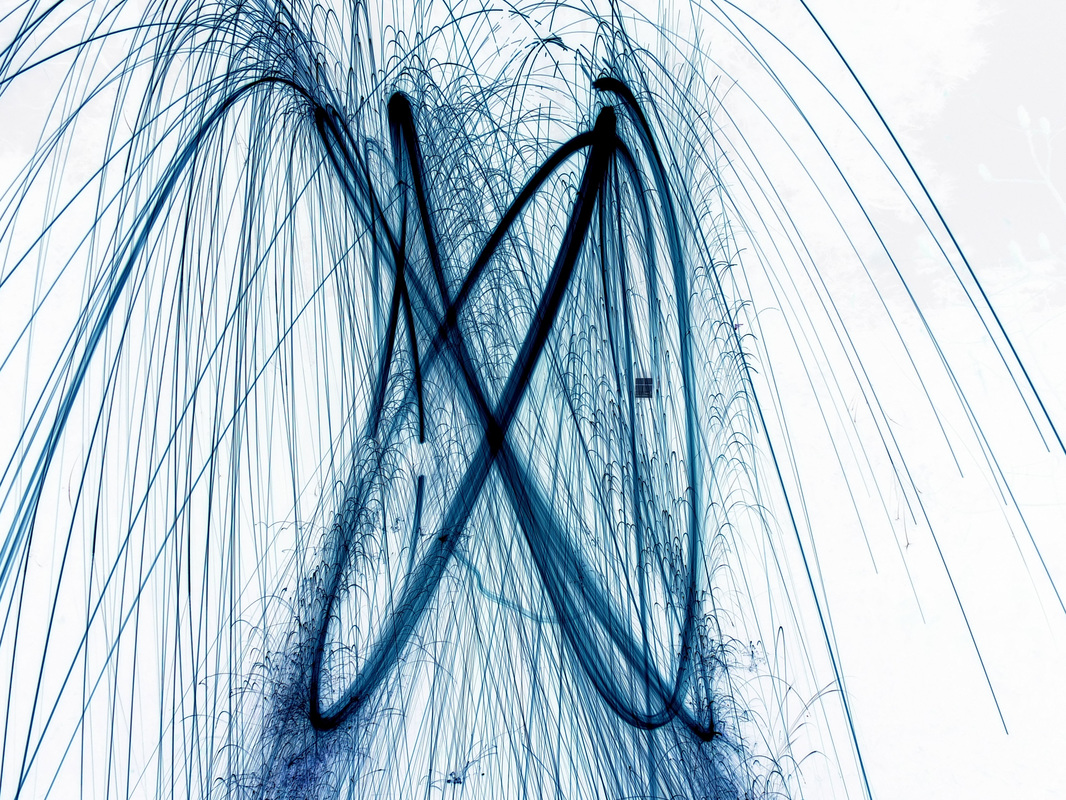
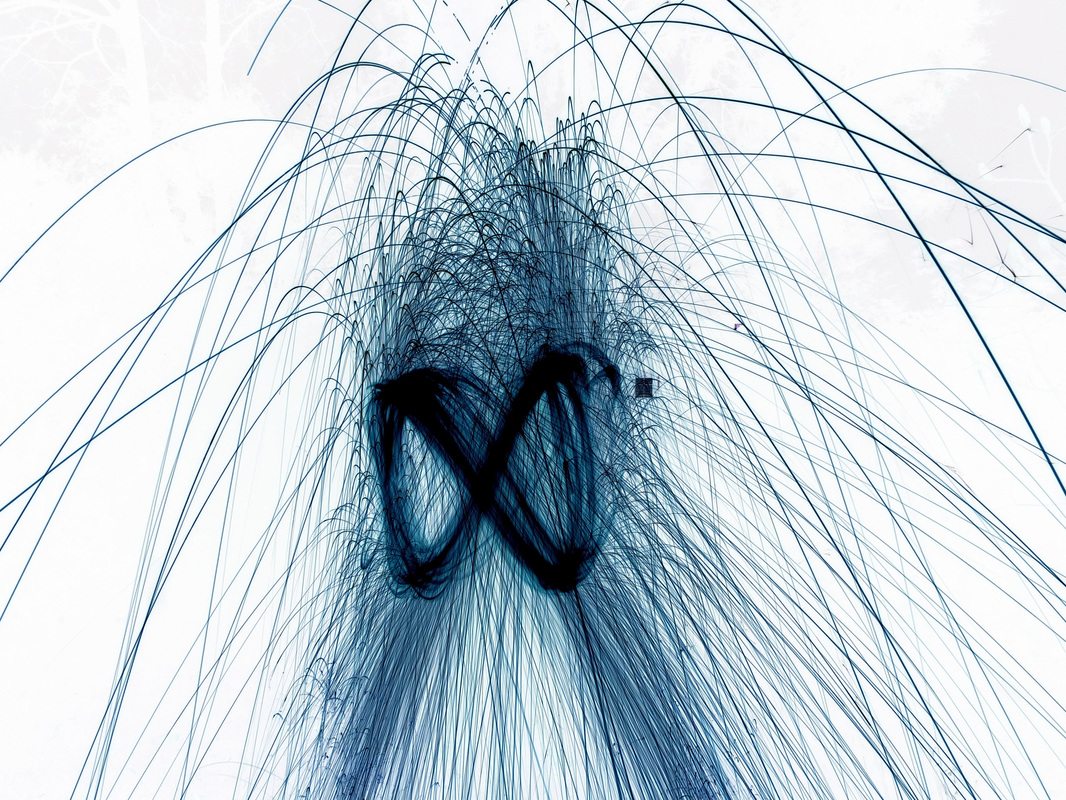
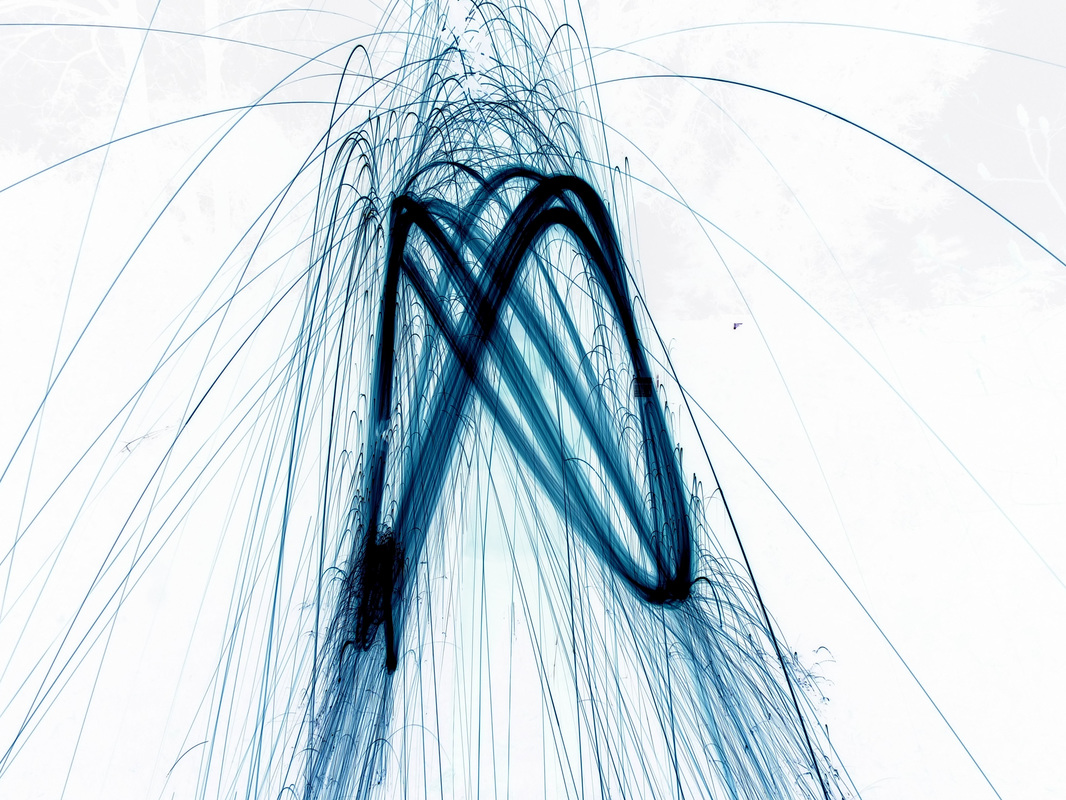
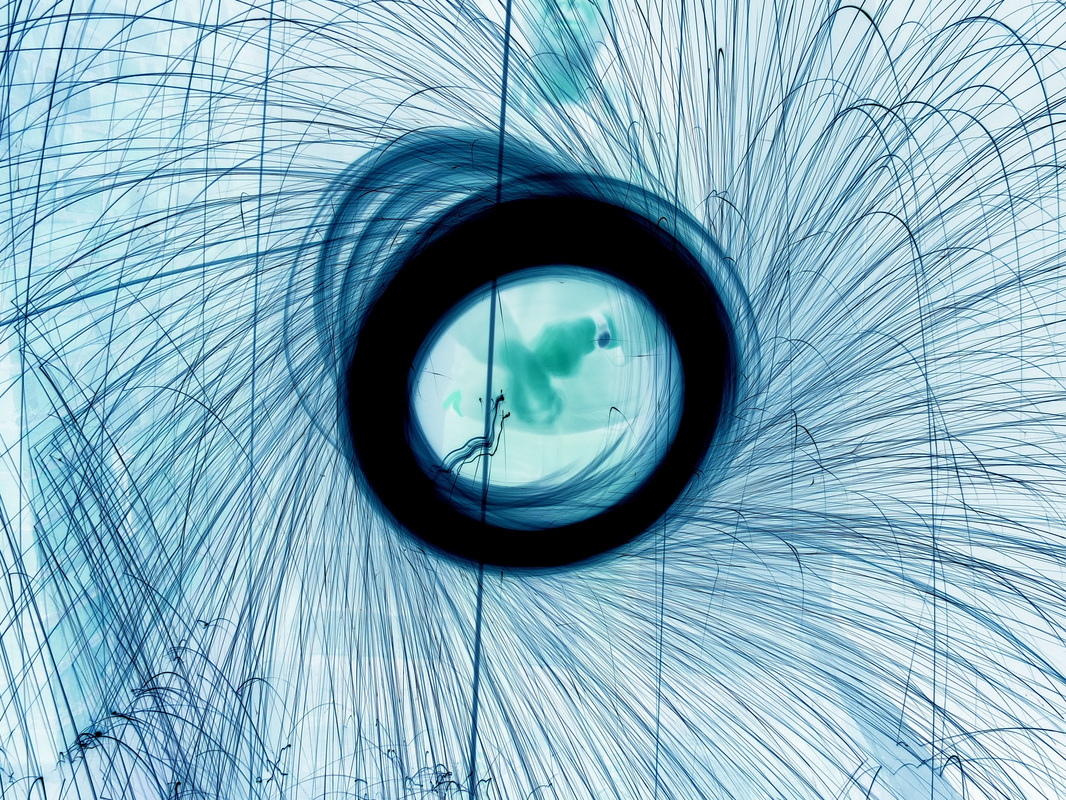
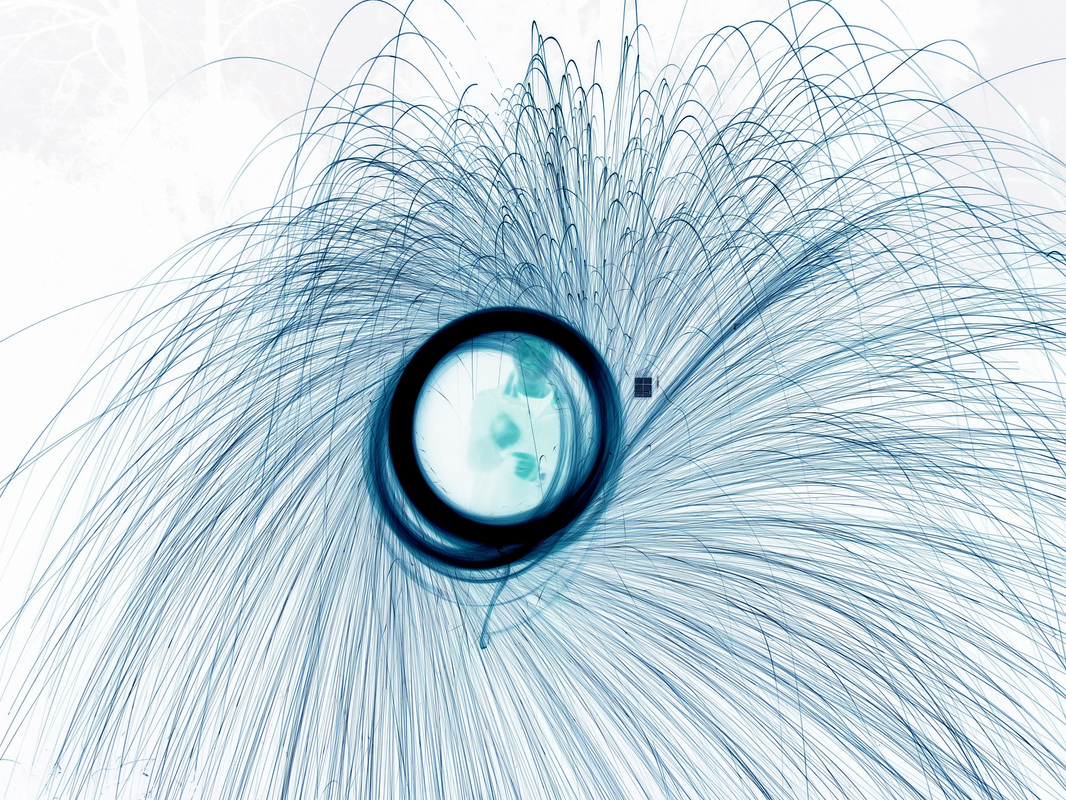
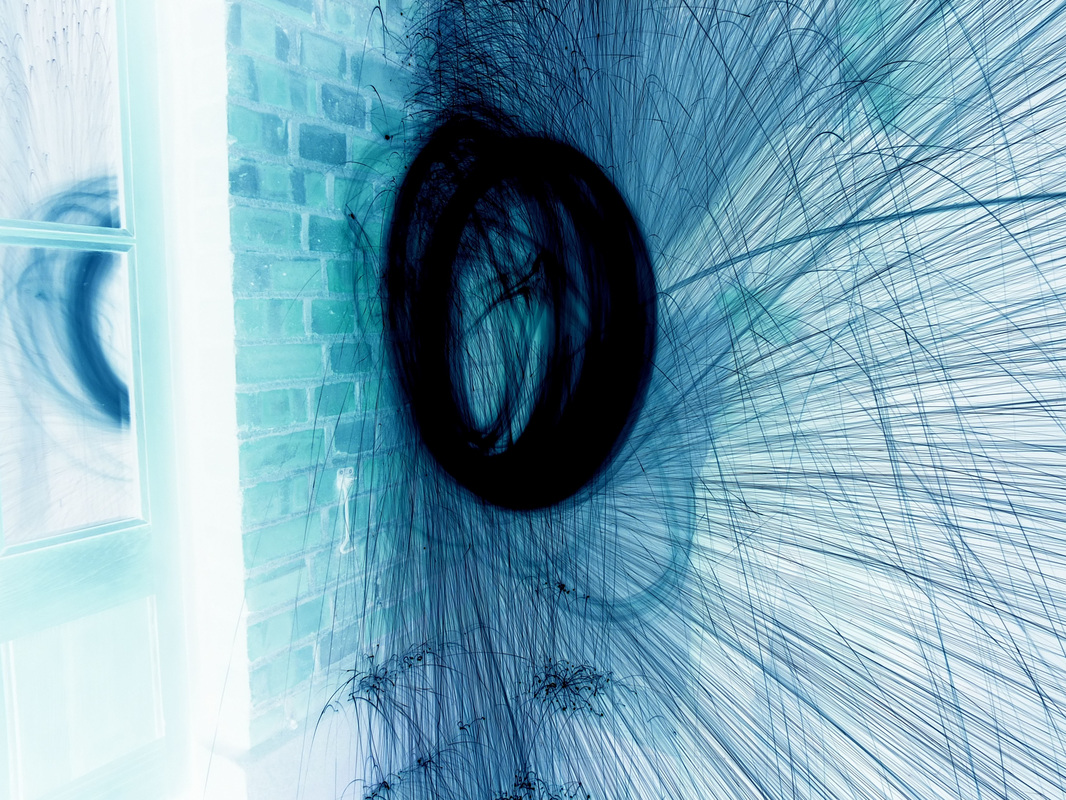
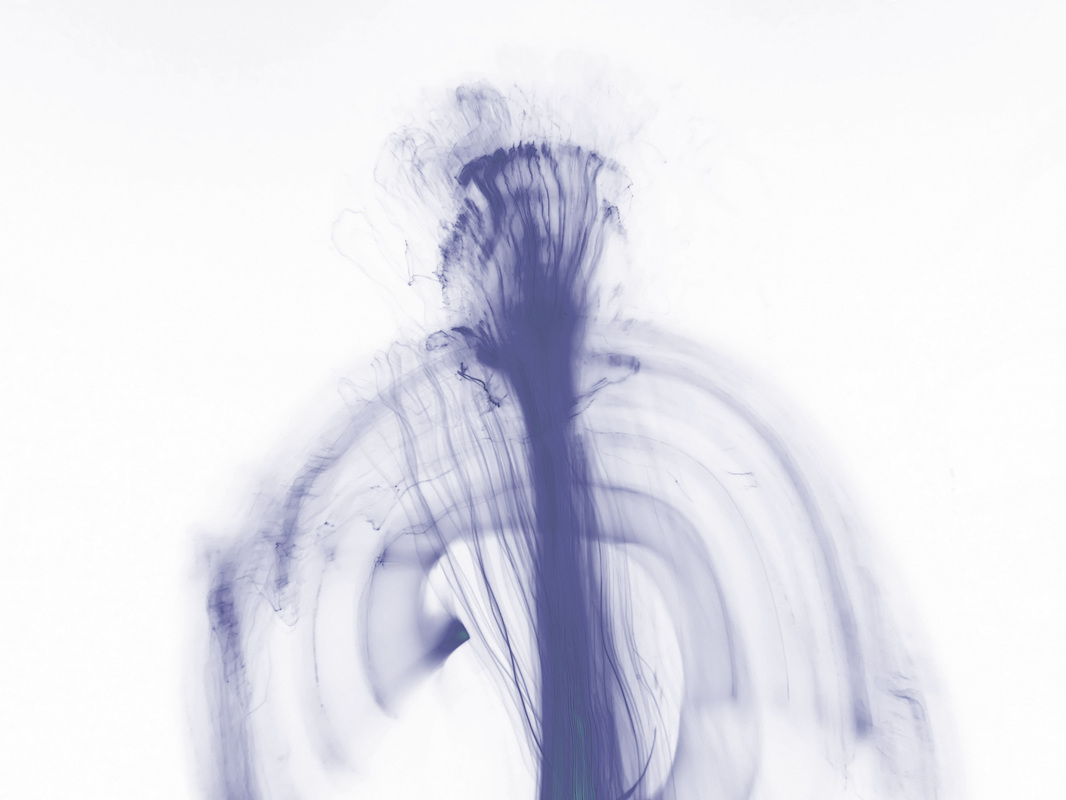
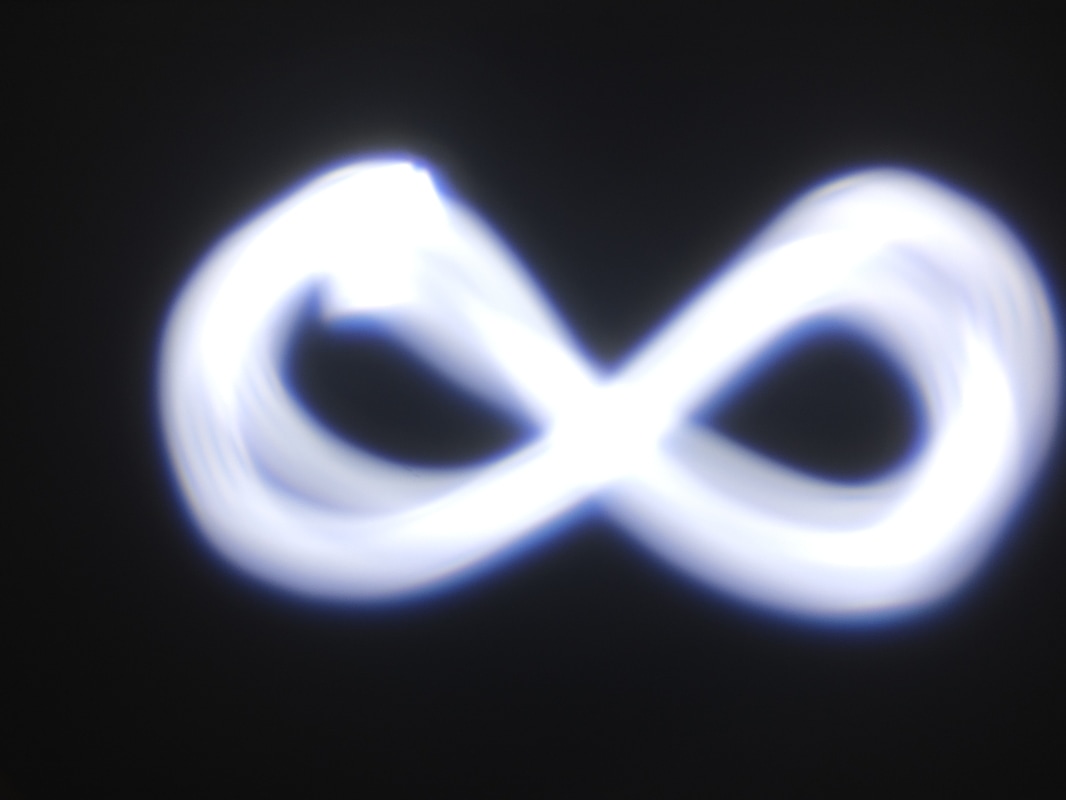
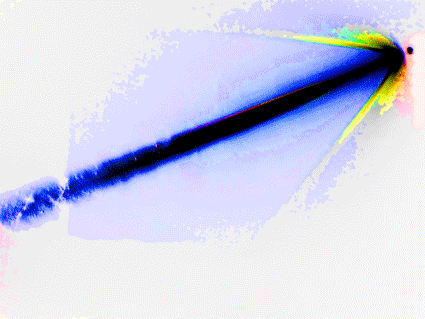
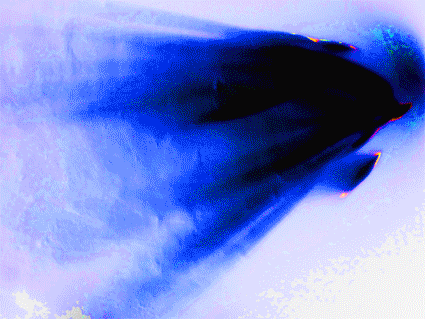
Artist Link: Wolfgang Tillmans
|
Wolfgang Tillmans (born 1968) is a German fine-art photographer. His diverse body of work is distinguished by observation of his surroundings and an ongoing investigation of the photographic medium’s foundations.
One of his most famous bodies of work is his 'Drawing with light' pieces.Though the images are abstract, there is a sense that these are drawings of moving light, somehow made liquid by the recording process. The images suggest a process of chemistry, or, more accurately perhaps given that there is a hint of the magical, of alchemy. Some of the pictures hint at strange underwater lifeforms. Hairlike strands move across the paper, often going in and out of focus as they do so. There is the visual complexity of a detailed drawing, yet there is a glow of empty space and a minimal colour palette. Im fairly sure that Tilmans has done a standard light painting techniques which he has then inverted, to create a effect similar to calligraphy. |
|
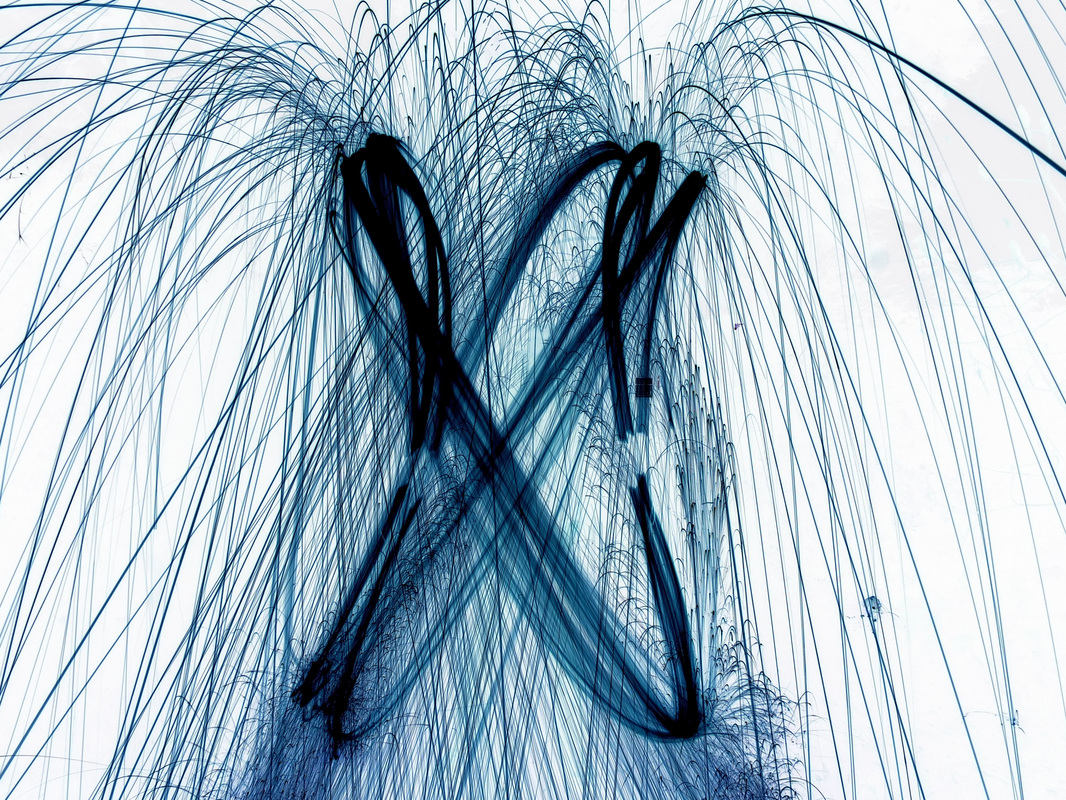
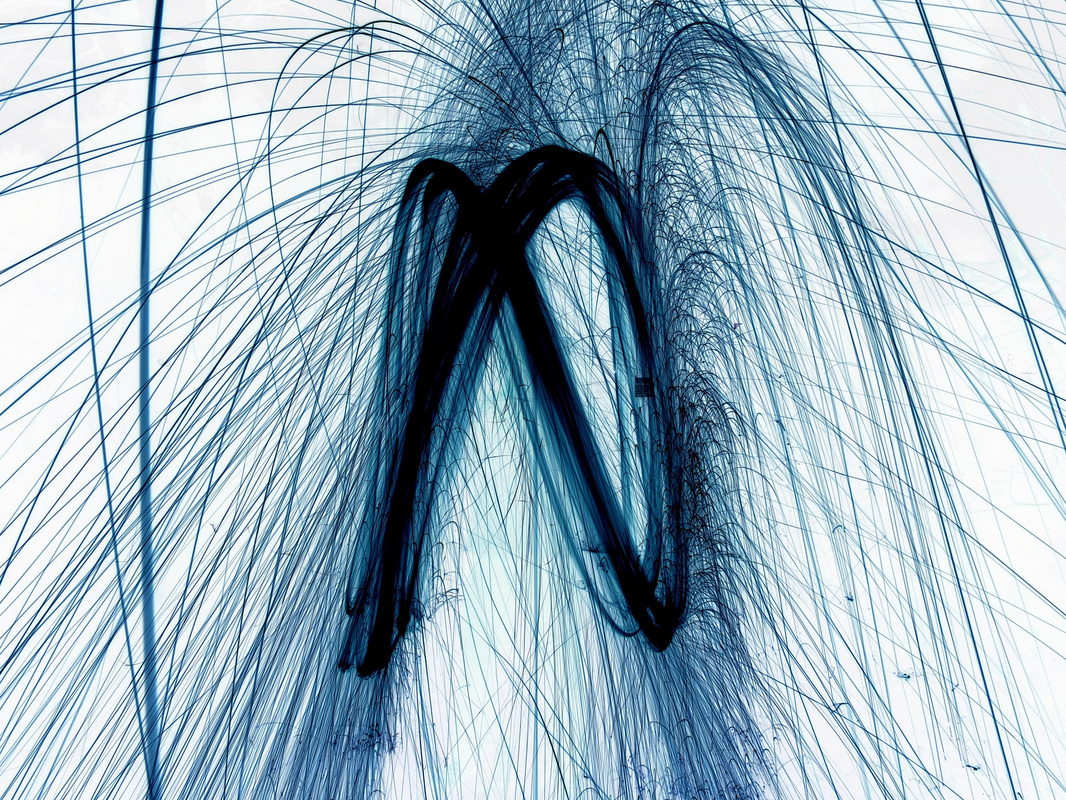
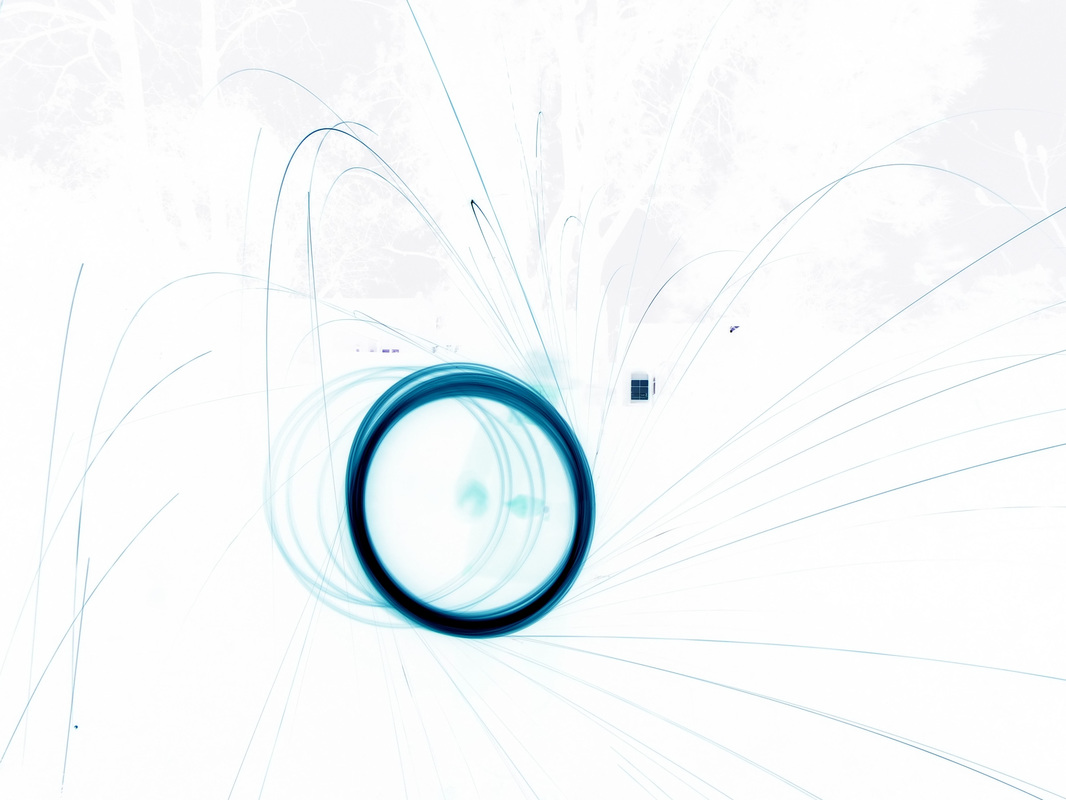
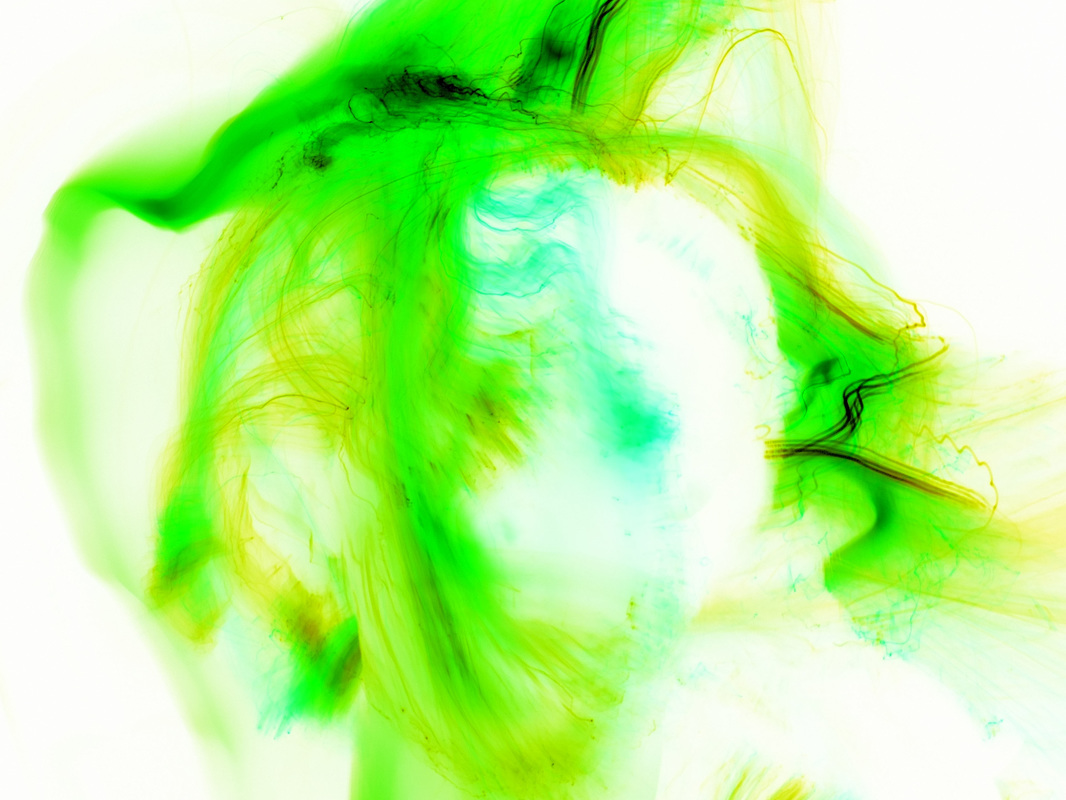
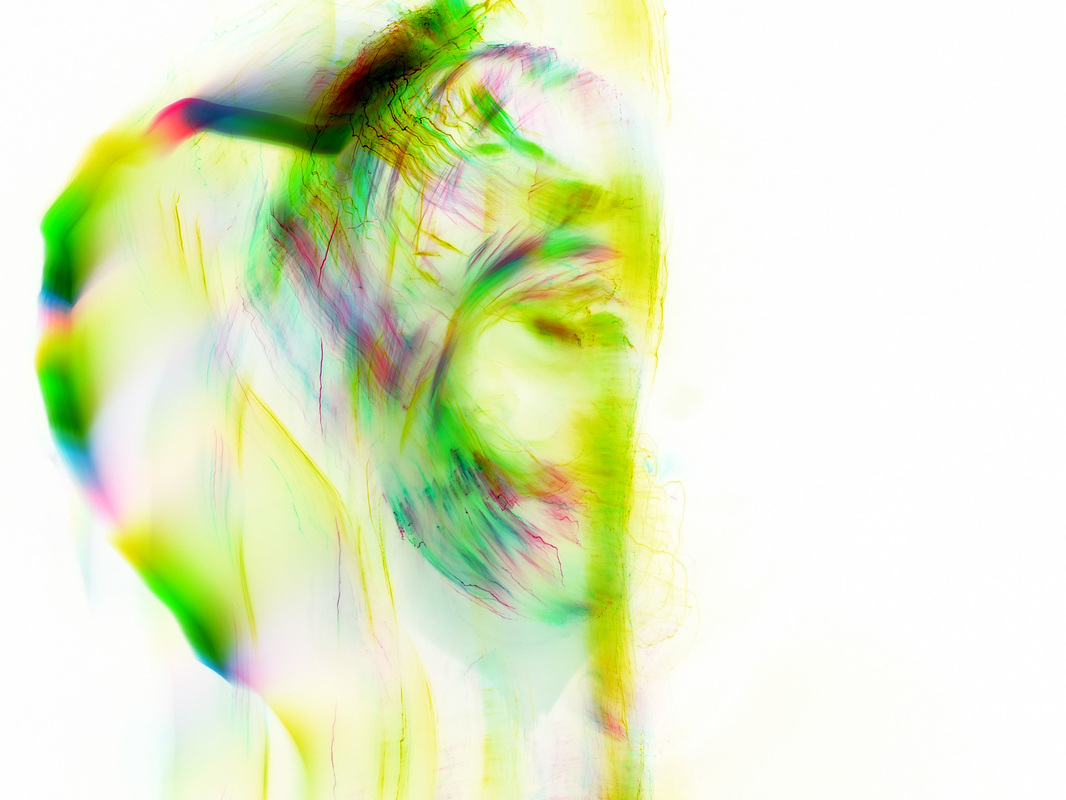
First response
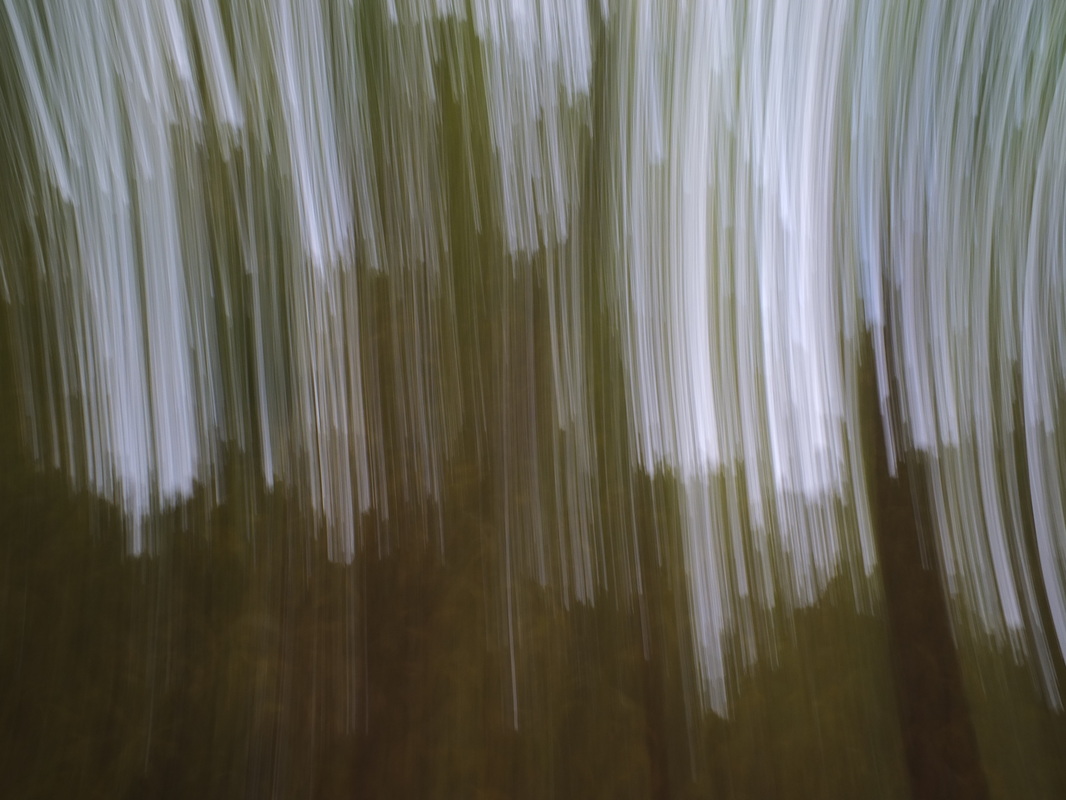
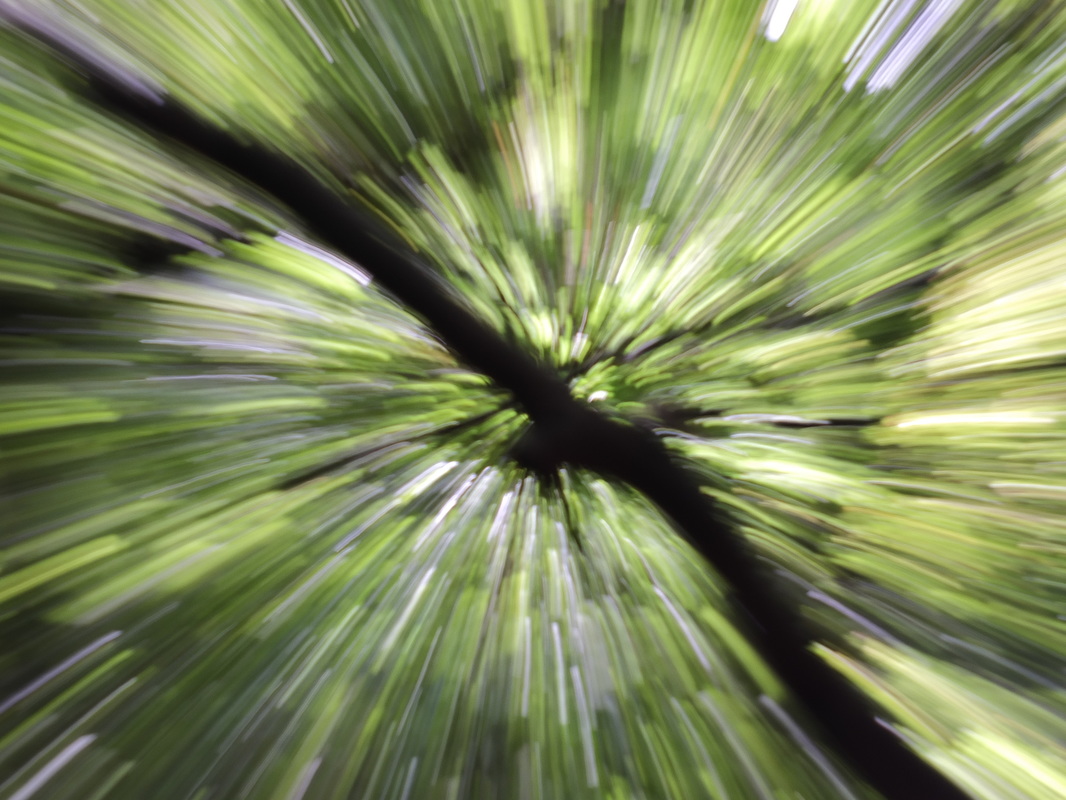
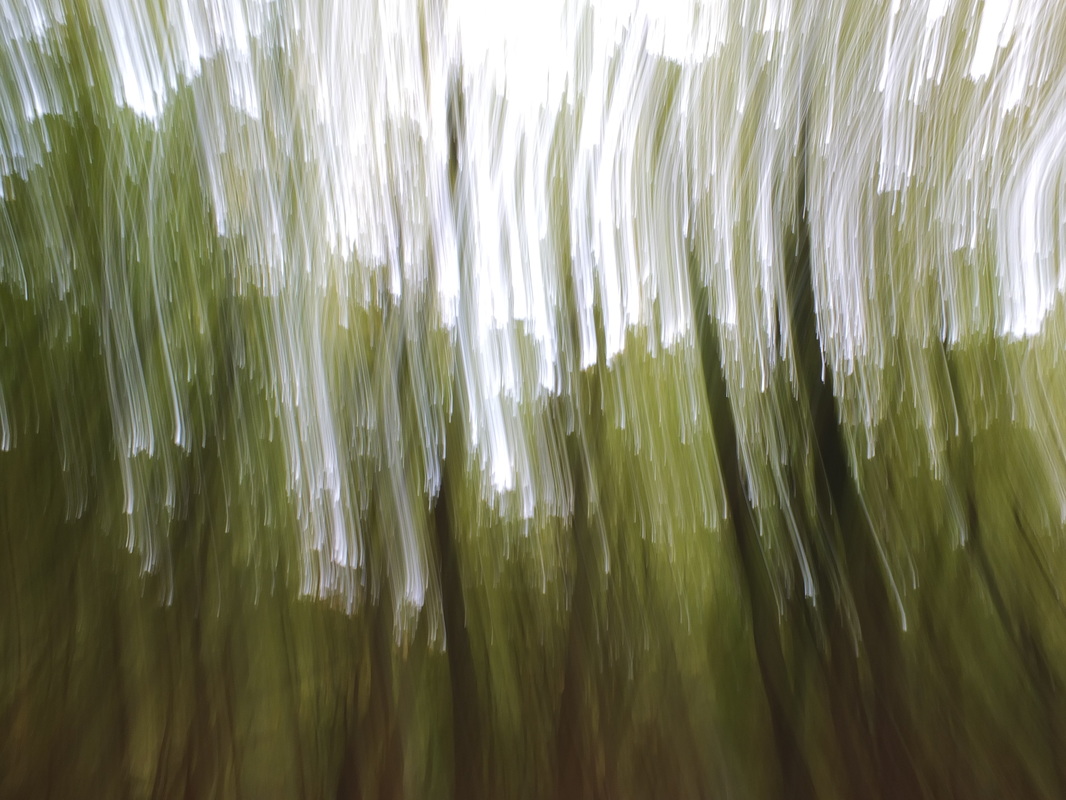
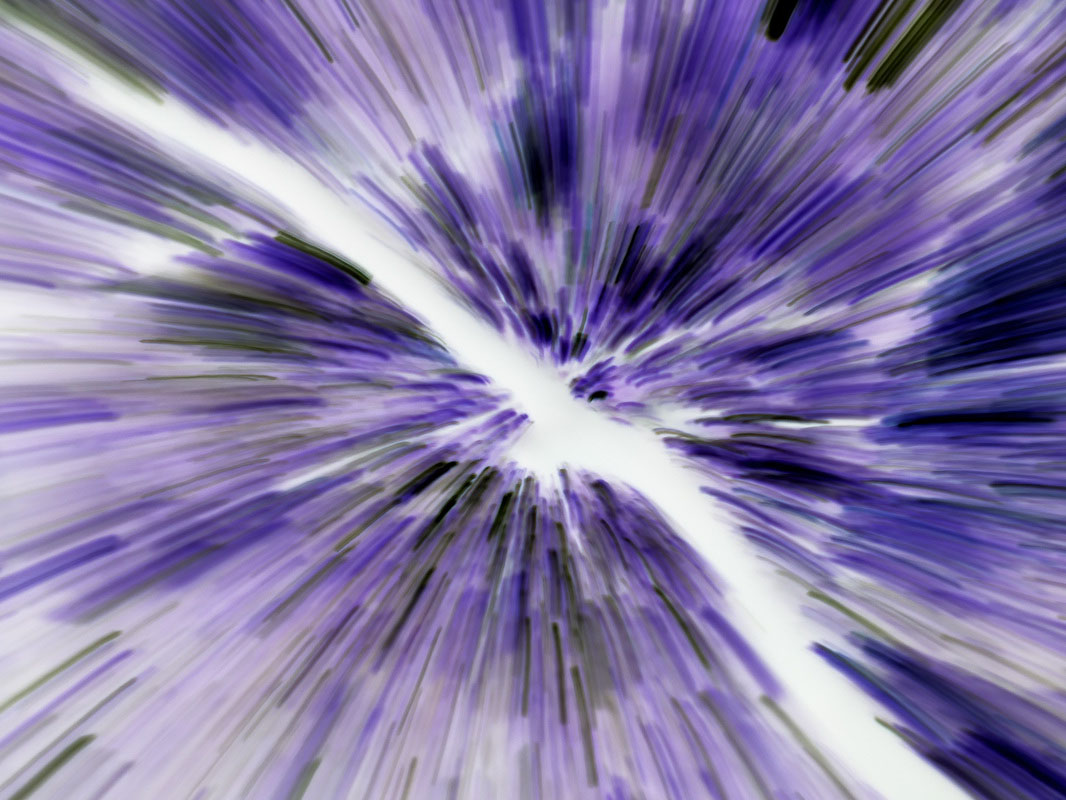
For this response i used techniques such as zoom blur to create images similar to the original artist.
|
|
|
|
|
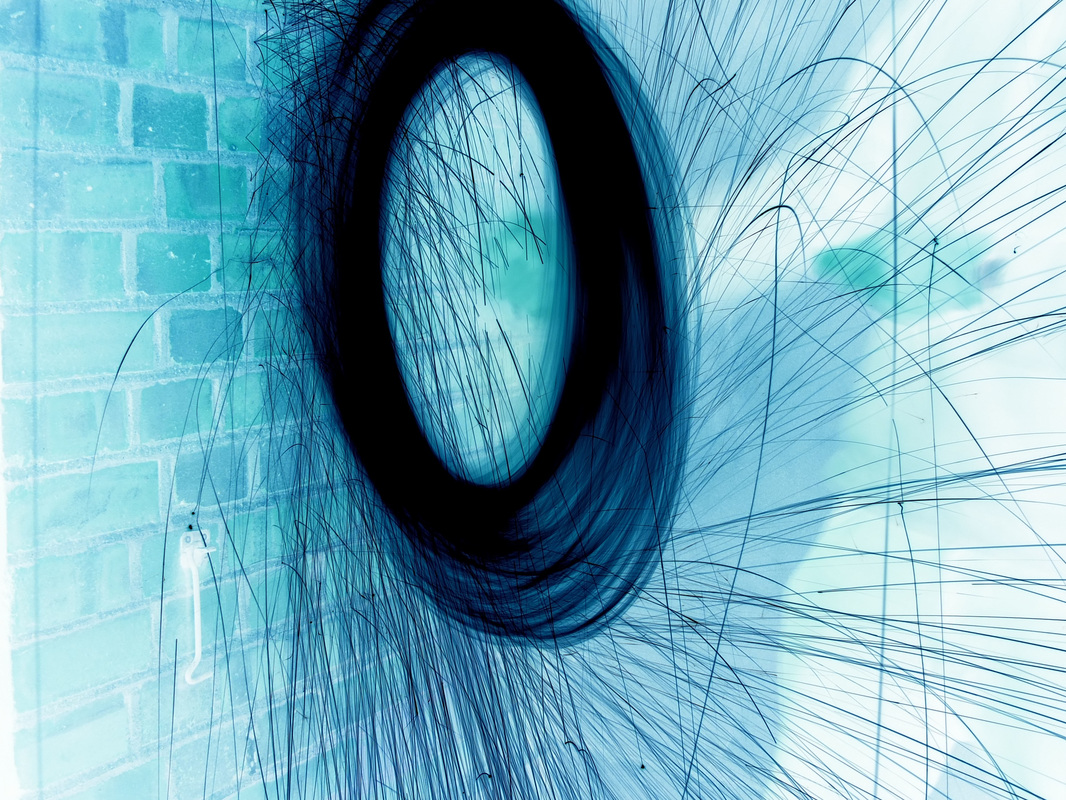
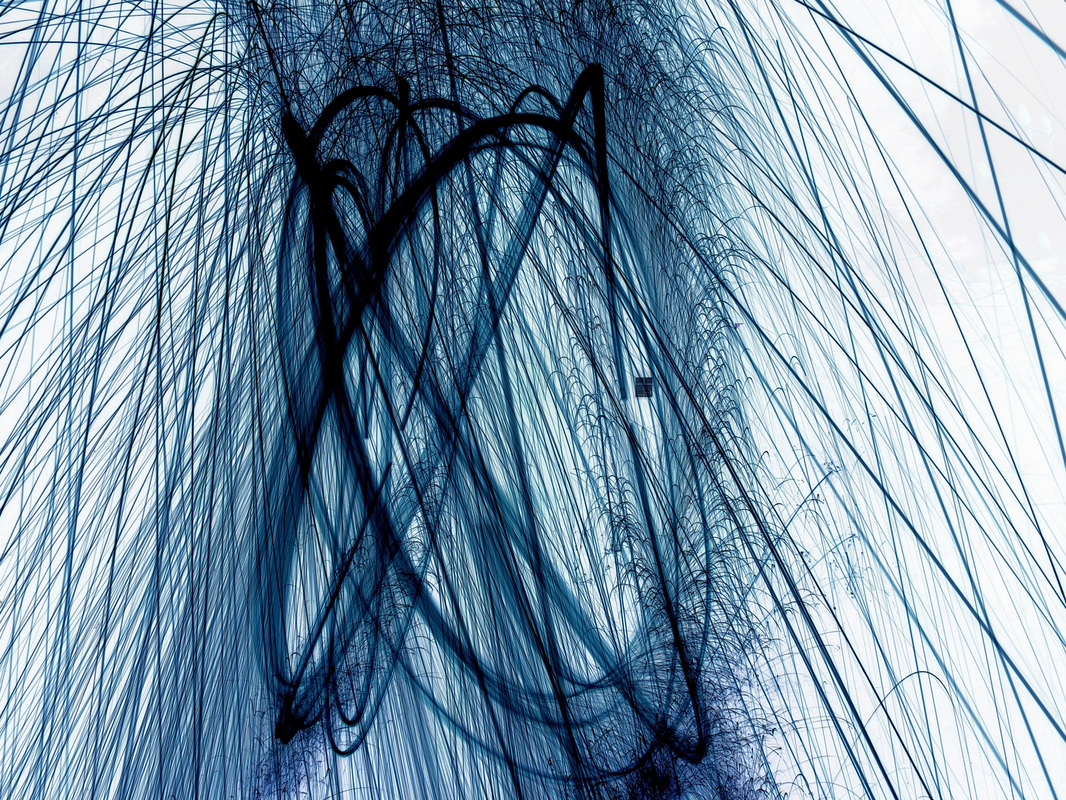
Strand 3 Development 2: Photoshop work
For this development, i used photoshop's invert tool to help match my original images to Tillmans' style
|
|
1: Load your image into photoshop, and make sure that it is presented as a layer or the background
2: Go to the layers drop down menu and select New Adjustment Layer, then go into that drop down menu and select the invert tool. This creates a new layer that is a negative of the original layer. 3. Flatten the image so then new negative layer becomes the background and save it as a JPEG. 4. The finished image should be a similar result as Wolfgang Tillmans' work. |
|
|

|
|
|
|
Strand 3 development 3: Wire wool inverted
|

|

|
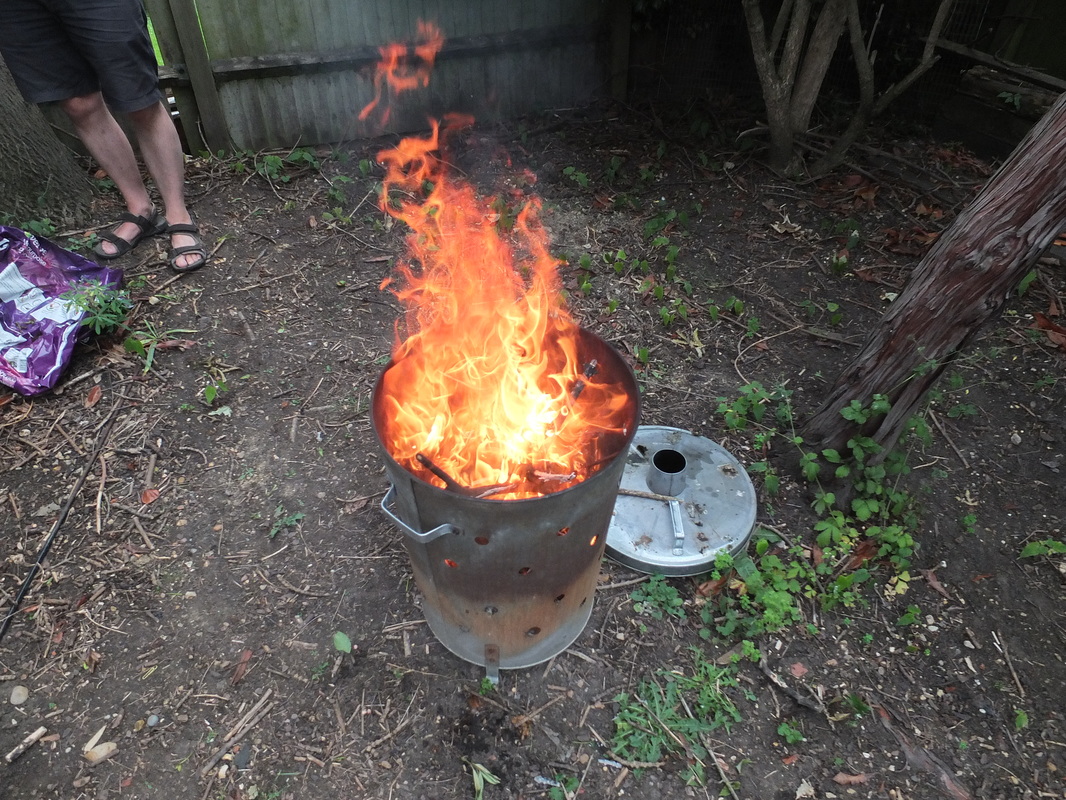
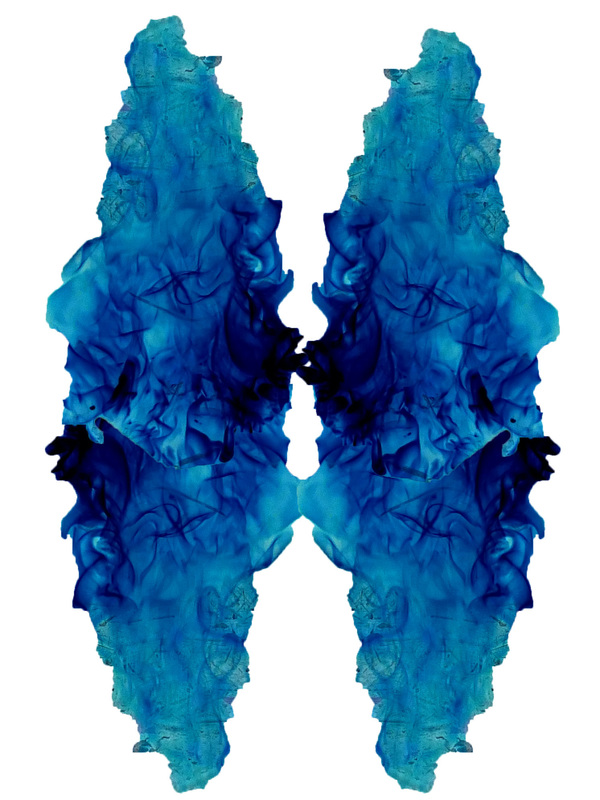
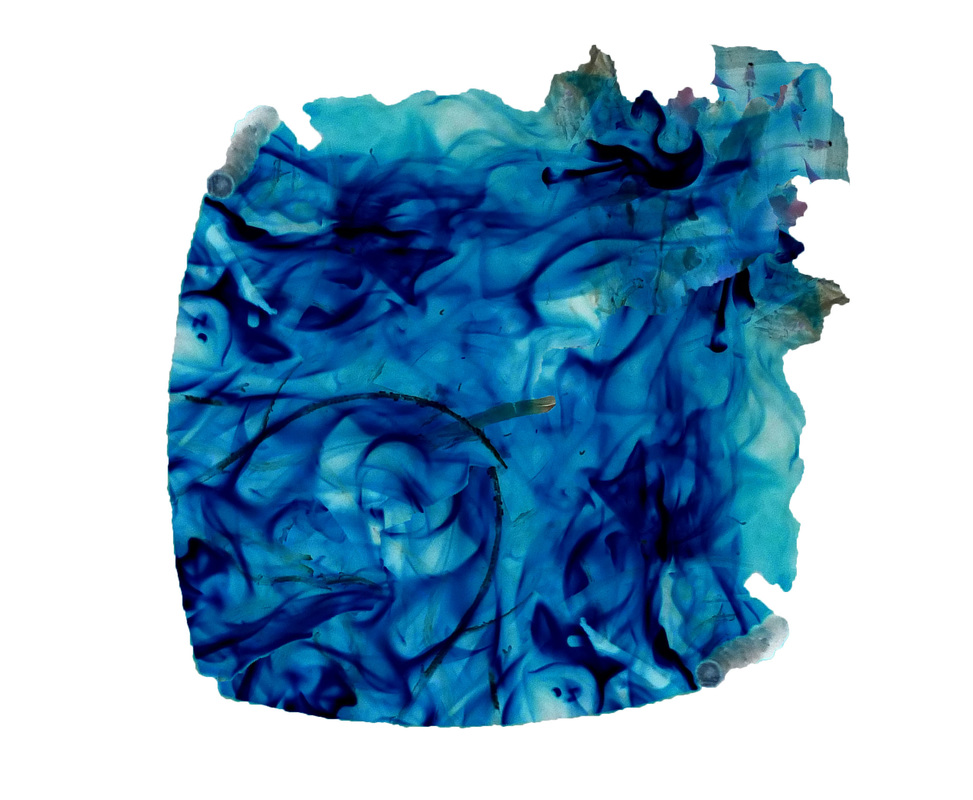
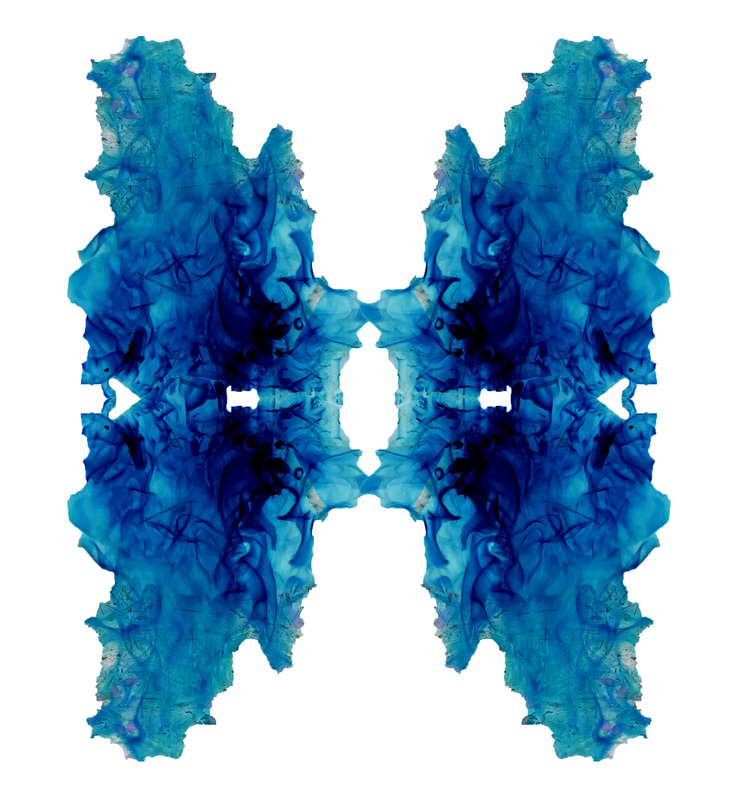
Strand 3 development 4: Fire photoshoped
|
|
1: Use the quickselect tool to select a section of the fire that does not show the outside of other pieces of the background.
2: Then use Ctrl + C and Ctrl + V to copy the isolated section to a new layer. (or use Cmd + C and Cmd + V if on MAC) 3: Repeat step two 4 or 2 times to create multiple layers that are identical. 4: Use the flip horizontal or vertical tool in the Transform menu, do this to create varied layers and make a symmetrical pattern using the move tool. 5: The image should currently look similar to this. 6: Merge the individual layers but leave the background un-merged. 7: Your layers window should look like this. 8: Now use the paint bucket tool to turn everything but the fire black, this means that when the image is inverted the fire will stand out against a white background. 9: Use the invert tool in the Image menu to completely change the colour scheme. 10: Your image should now look like this. Tip: I recommend that you crop out a large amount of the negative space. it draws the eye away from the main focal shape of the inverted fire. |
|
Before
|
After
|
More photos
|
|
|
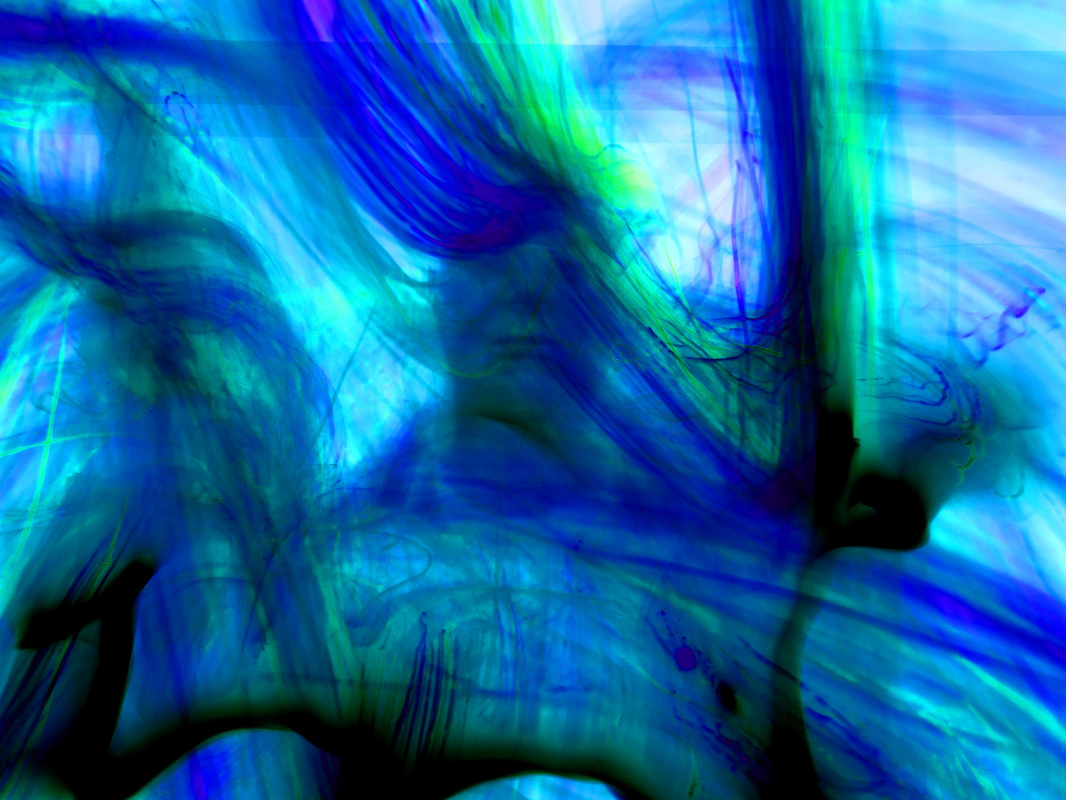
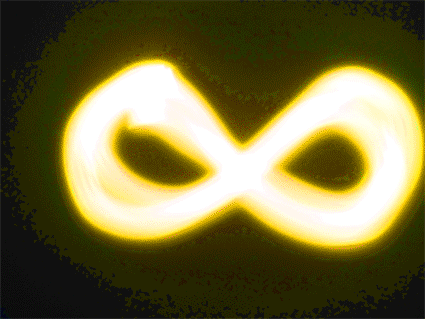
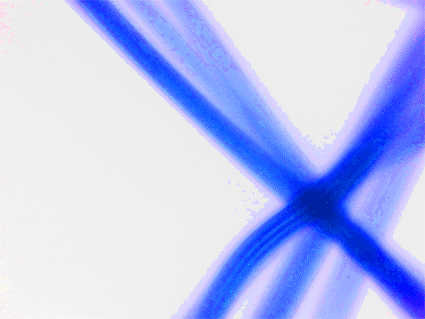
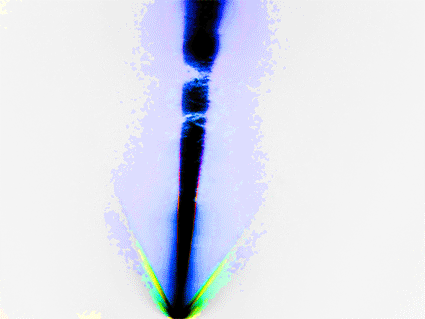
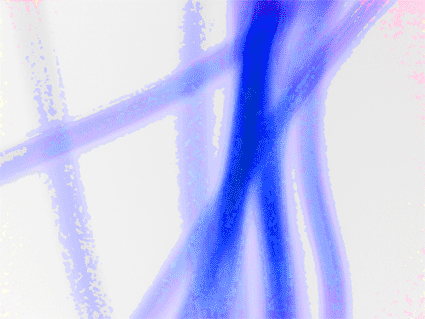
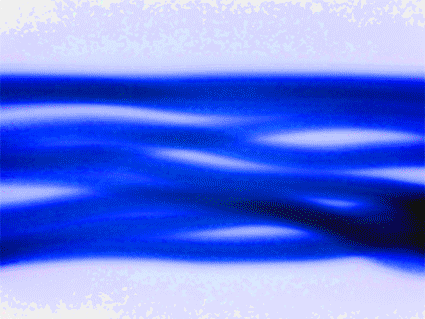
Strand 3 development 5: standard light painting inverted
For this development, i used images of light painting using standard methods, such as using a torch, to create even more similar work to that of Wolfgang Tillmans. I used the same technique in photoshop to invert the images colour scheme. Although i made some small changes using Hue and Saturation to create more interesting images.
|
|
1: Load your light painting image into photoshop.
2: Then invert the image to create a dark misty version of the original image. 3: Use the Hue and Saturation tool to change the colour of the image further. 4: The final image should have a certain dark vibrance to it. Tip: I recommend upping the Saturation to full first, as any colour change will be more vibrant and interesting if you do. Also try different Hues to create a different image. |
|
Before
|
After
|
More Photos
|
|
|
Strand 3 development 6: light painting inverted GIF
|
|
1) load the image into photoshop, then invert the image, do this by going into the image menu and then adjustments.
2) After doing this, start creating duplicates of the layer that the image is on, i reccomend doing 10 new duplicate layers for the most even colour changing GIF. 3) start to change the hue and saturation on the layers. Make the top layer -180 and continue increasing hue by 40 every time. 4) When you have done this, go to the animation window and select the make frames from layers option in the drop down menu. 5) Copy all of the frames except for the first frame, then place the copies after the last frame. 6) reverse all of the copied frames at the end of the animation. This will create a colour changing effect that is more interesting and even. 7) change the image width size to 15 and the resolution to 150. 8) use the save for web devices option in file. but make sure that the file is saved as a GIF. Tips) i would reccomend naming the duplicate layers to something that you can recognise and identify what their hue is. This will prevent you from becoming confused. |
|
|
|
|
|
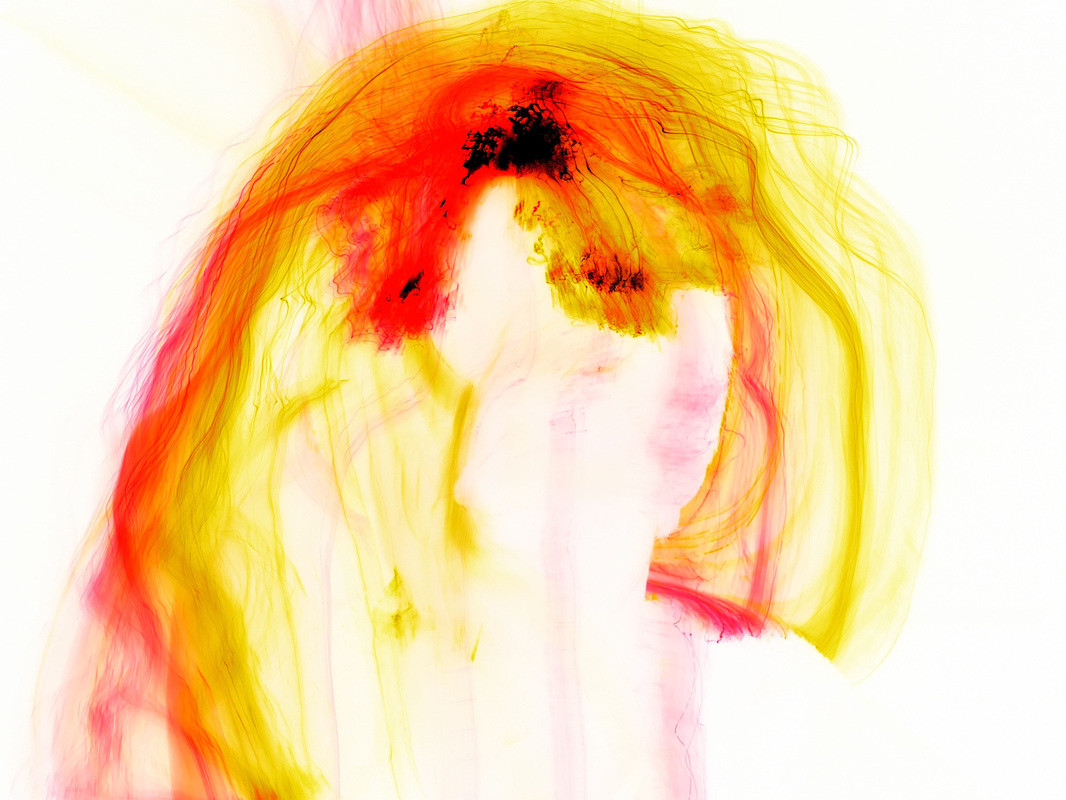
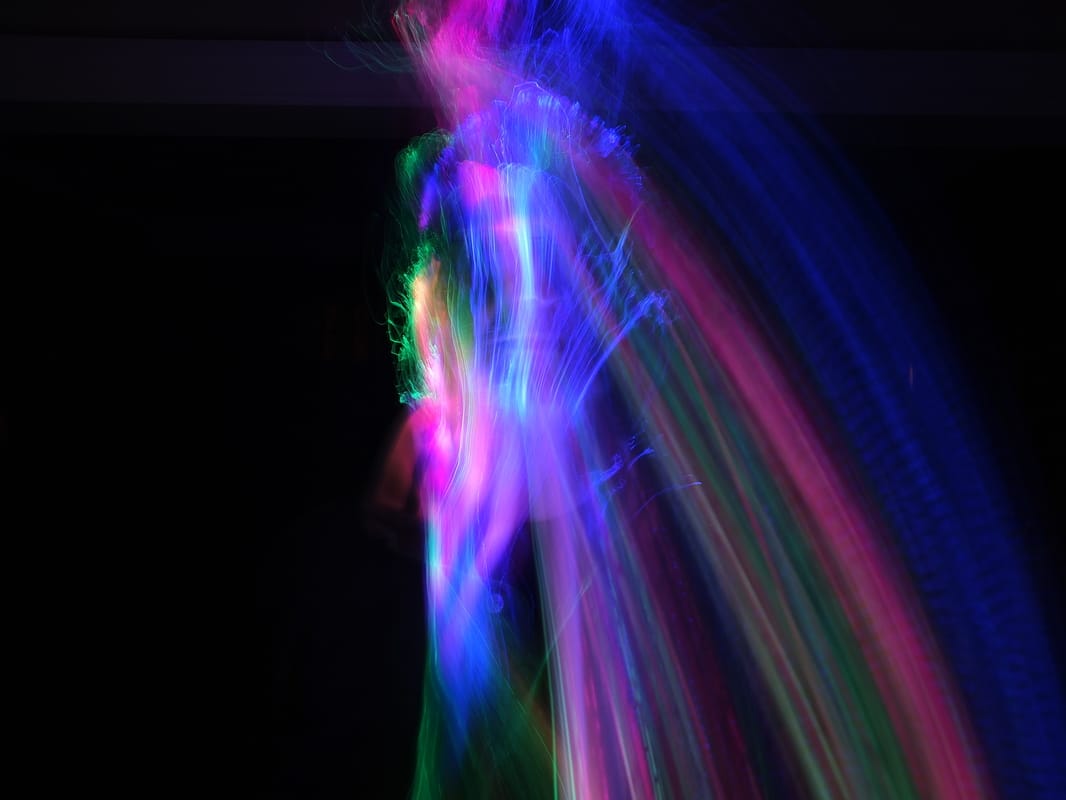
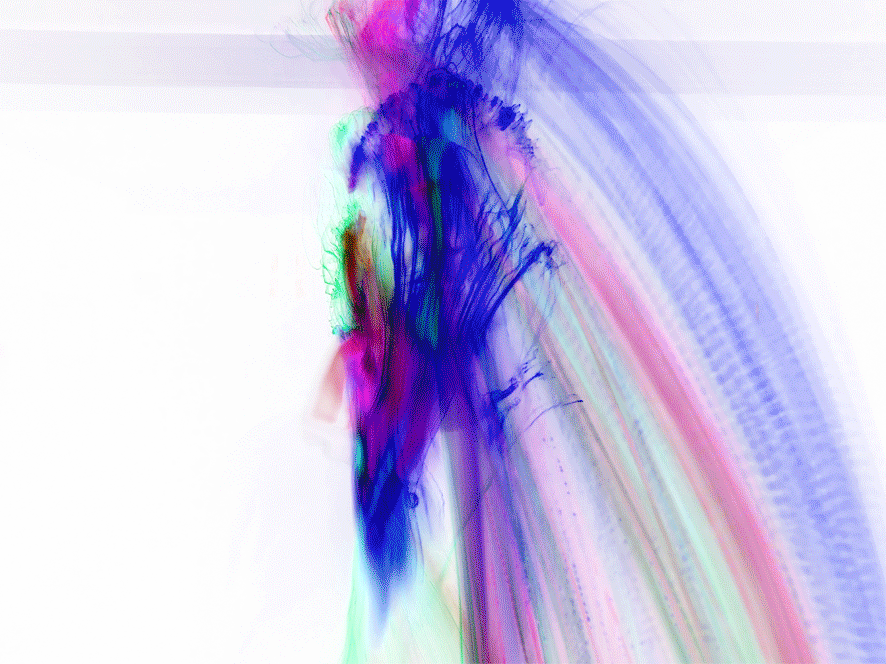
Strand 3 development 7: Advanced light painting inverted GIF
For this development, i want to create a gentle colour changing gif of light painting invert.
|
|
1) load the image into photoshop, then invert the image, do this by going into the image menu and then adjustments.
2) After doing this, start creating duplicates of the layer that the image is on, i reccomend doing 10 new duplicate layers for the most even colour changing GIF. 3) start to change the hue and saturation on the layers. Make the top layer -180 and continue increasing hue by 40 every time. 4) When you have done this, go to the animation window and select the make frames from layers option in the drop down menu. 5) Copy all of the frames except for the first frame, then place the copies after the last frame. 6) reverse all of the copied frames at the end of the animation. This will create a colour changing effect that is more interesting and even. 7) change the image width size to 15 and the resolution to 150. 8) use the save for web devices option in file. but make sure that the file is saved as a GIF. Tips) i would reccomend naming the duplicate layers to something that you can recognise and identify what their hue is. This will prevent you from becoming confused. |
|
Before
|
After
|
more photos
|
|
Final Piece
For my final piece, I used the most advance light painting and photoshop techniques i had to create a steady light changing image of my dad. For this I used a light brush, which i ran over his face. Then I put the image through the technique I perfected in my 7th development.
|
|
|


|

|
